
Making a tie
It has never been so easy to produce a present for a 36 year old male!
We walked into the Shakespeare’s Birthplace Trust shop in Stratford on Avon in the summer, and much to my surprise he said, “I wonder if they have any ties. I have to wear a tie for work now, and i like to find subject matter that will be of interest to the children”, or words to that effect.
Quick mental note! Make him a tie.
They have made ties for the pattern challenge on Sewing Bee, ages ago, but other than that i dont think that i have come across a handmade tie. It’s not something that i typically look for.
There are a number of tie patterns online. Printing them uses many many sheets of paper, and as i pay for my printer ink by the page, it is almost cheaper to buy a paper pattern. I also found the instructions and highly necessary accompanying photos, rather difficult to extract in a usable form. Meanwhile, i attended a charity event for Cancer Research featuring ‘Sewing Bees’s own Mark Francis, from nearby Kenilworth, and he has a pattern for a tie, a cravat and a cap. Which i eventually bought, primarily for the instructions, but in the end, didnt use. Does anyone need a cravat???
You may be realising that preparing to make a tie is much harder work than actually making the tie!
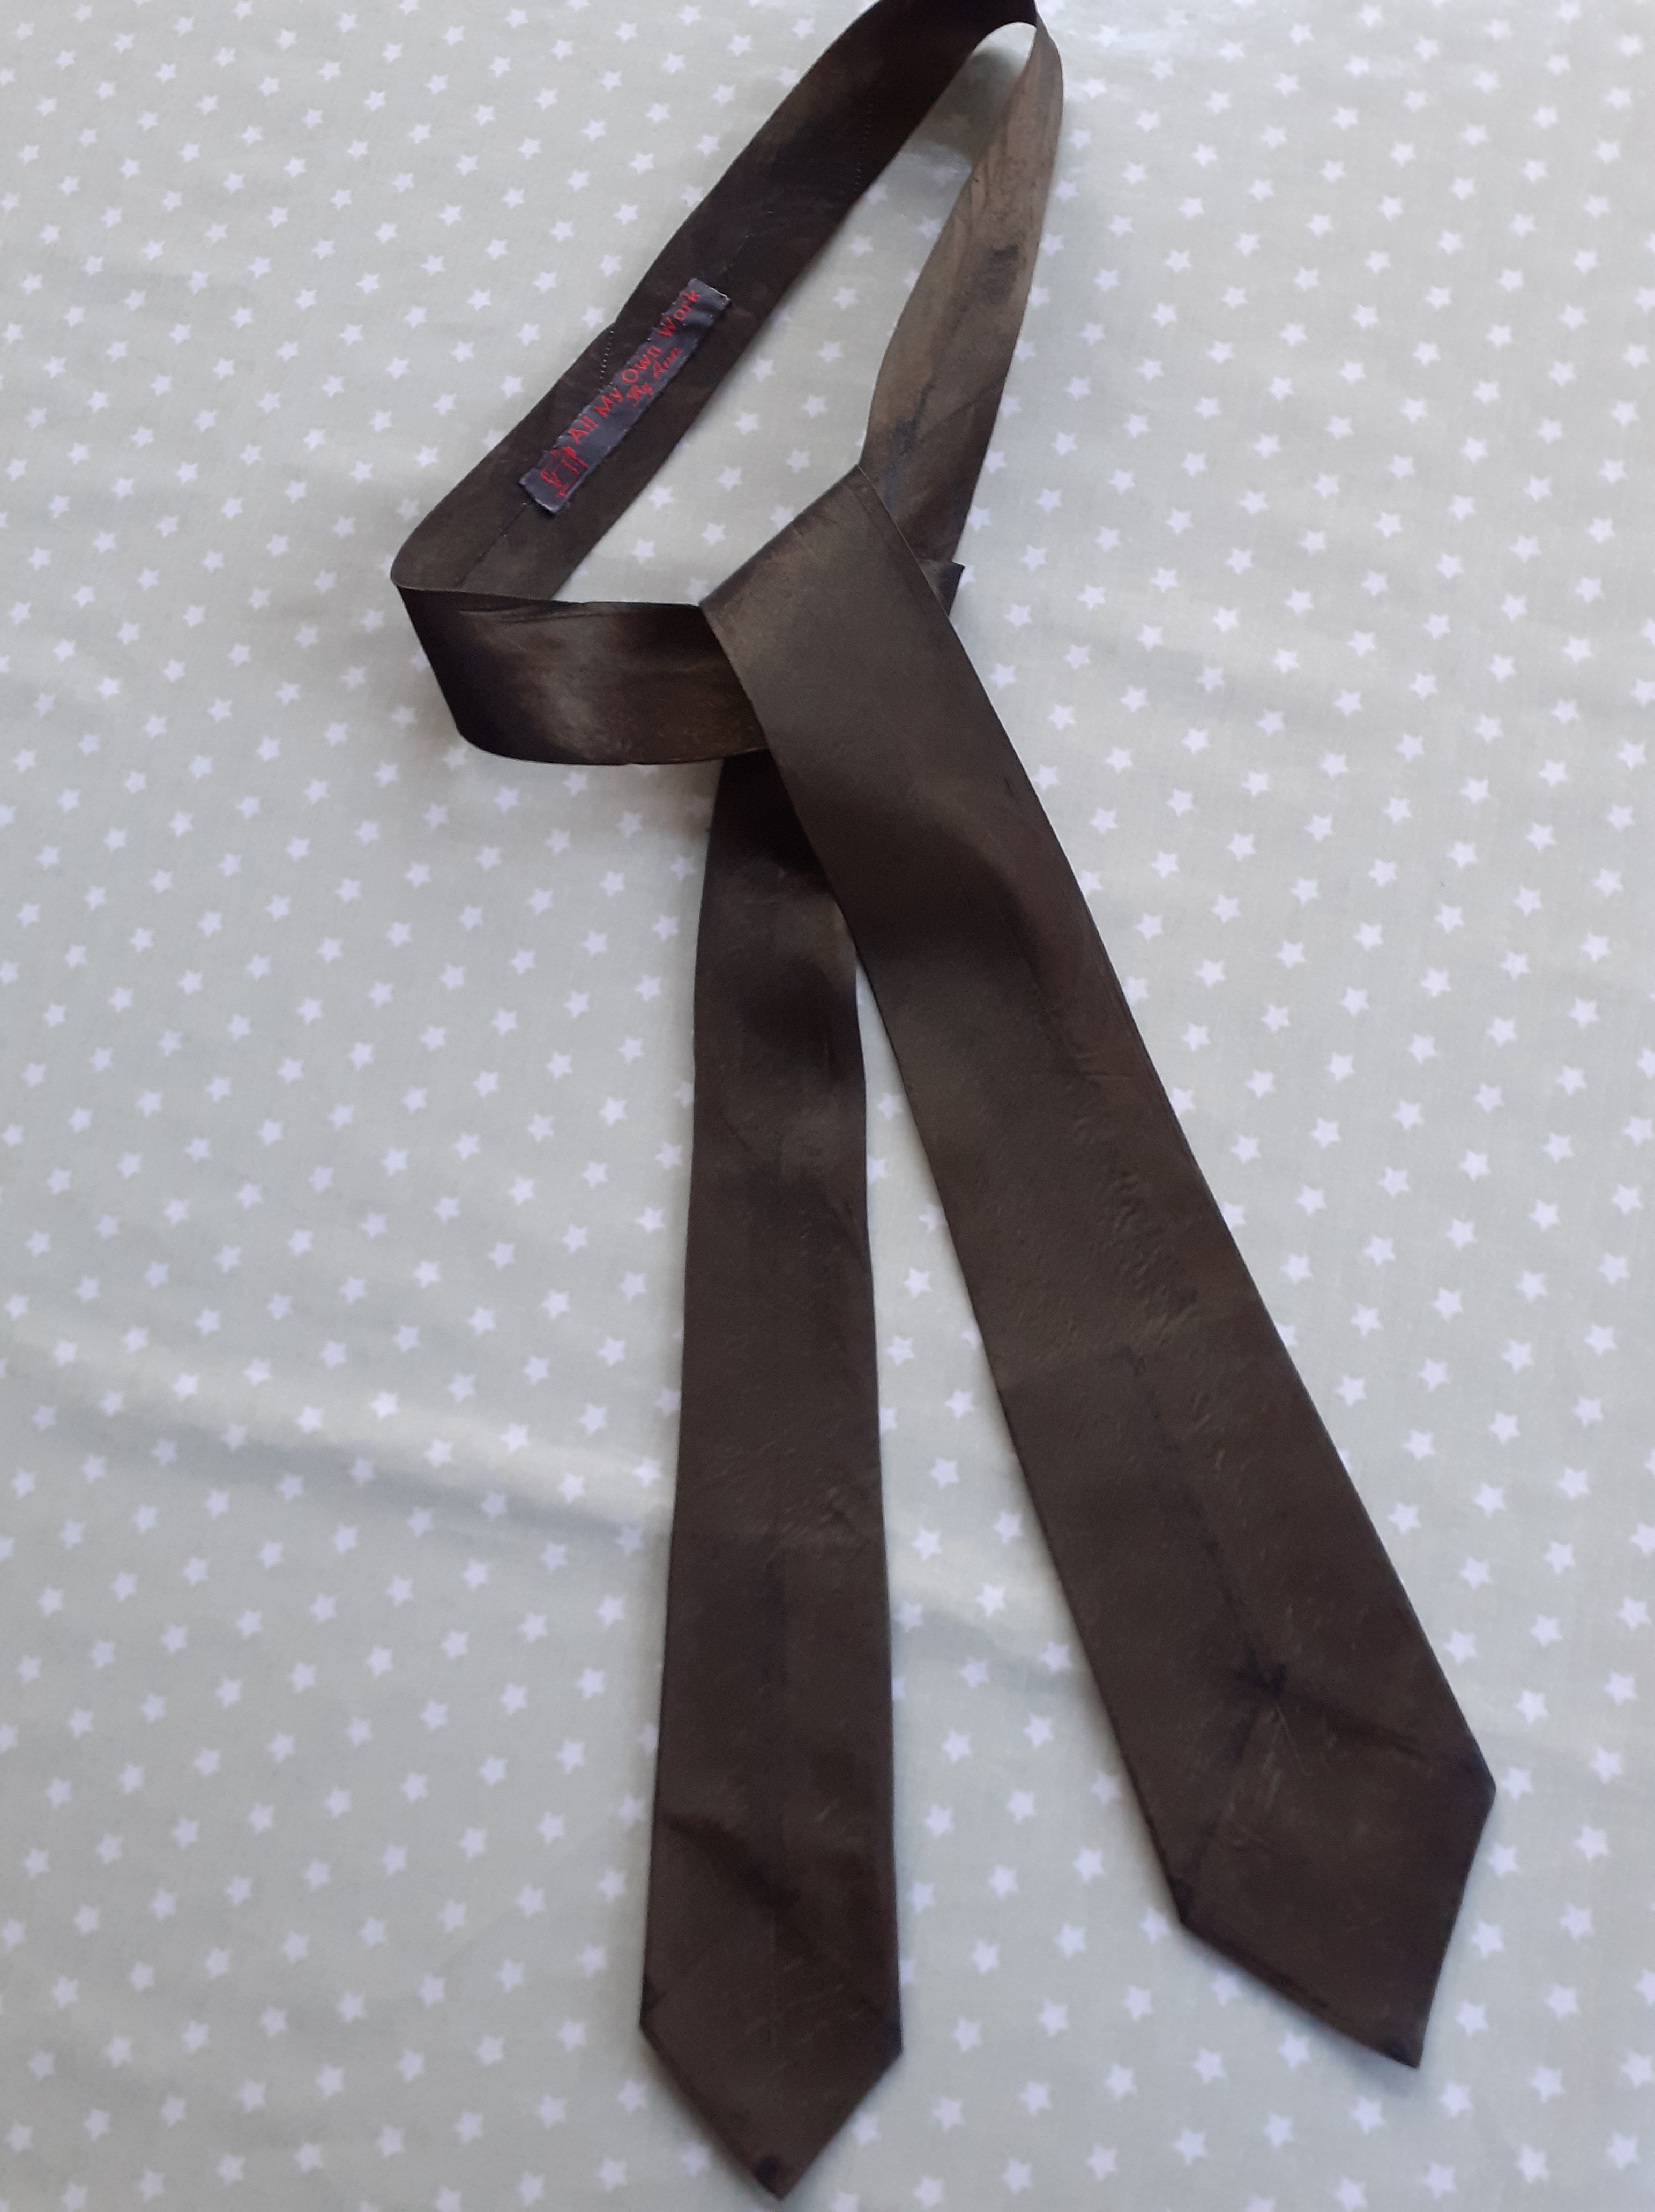
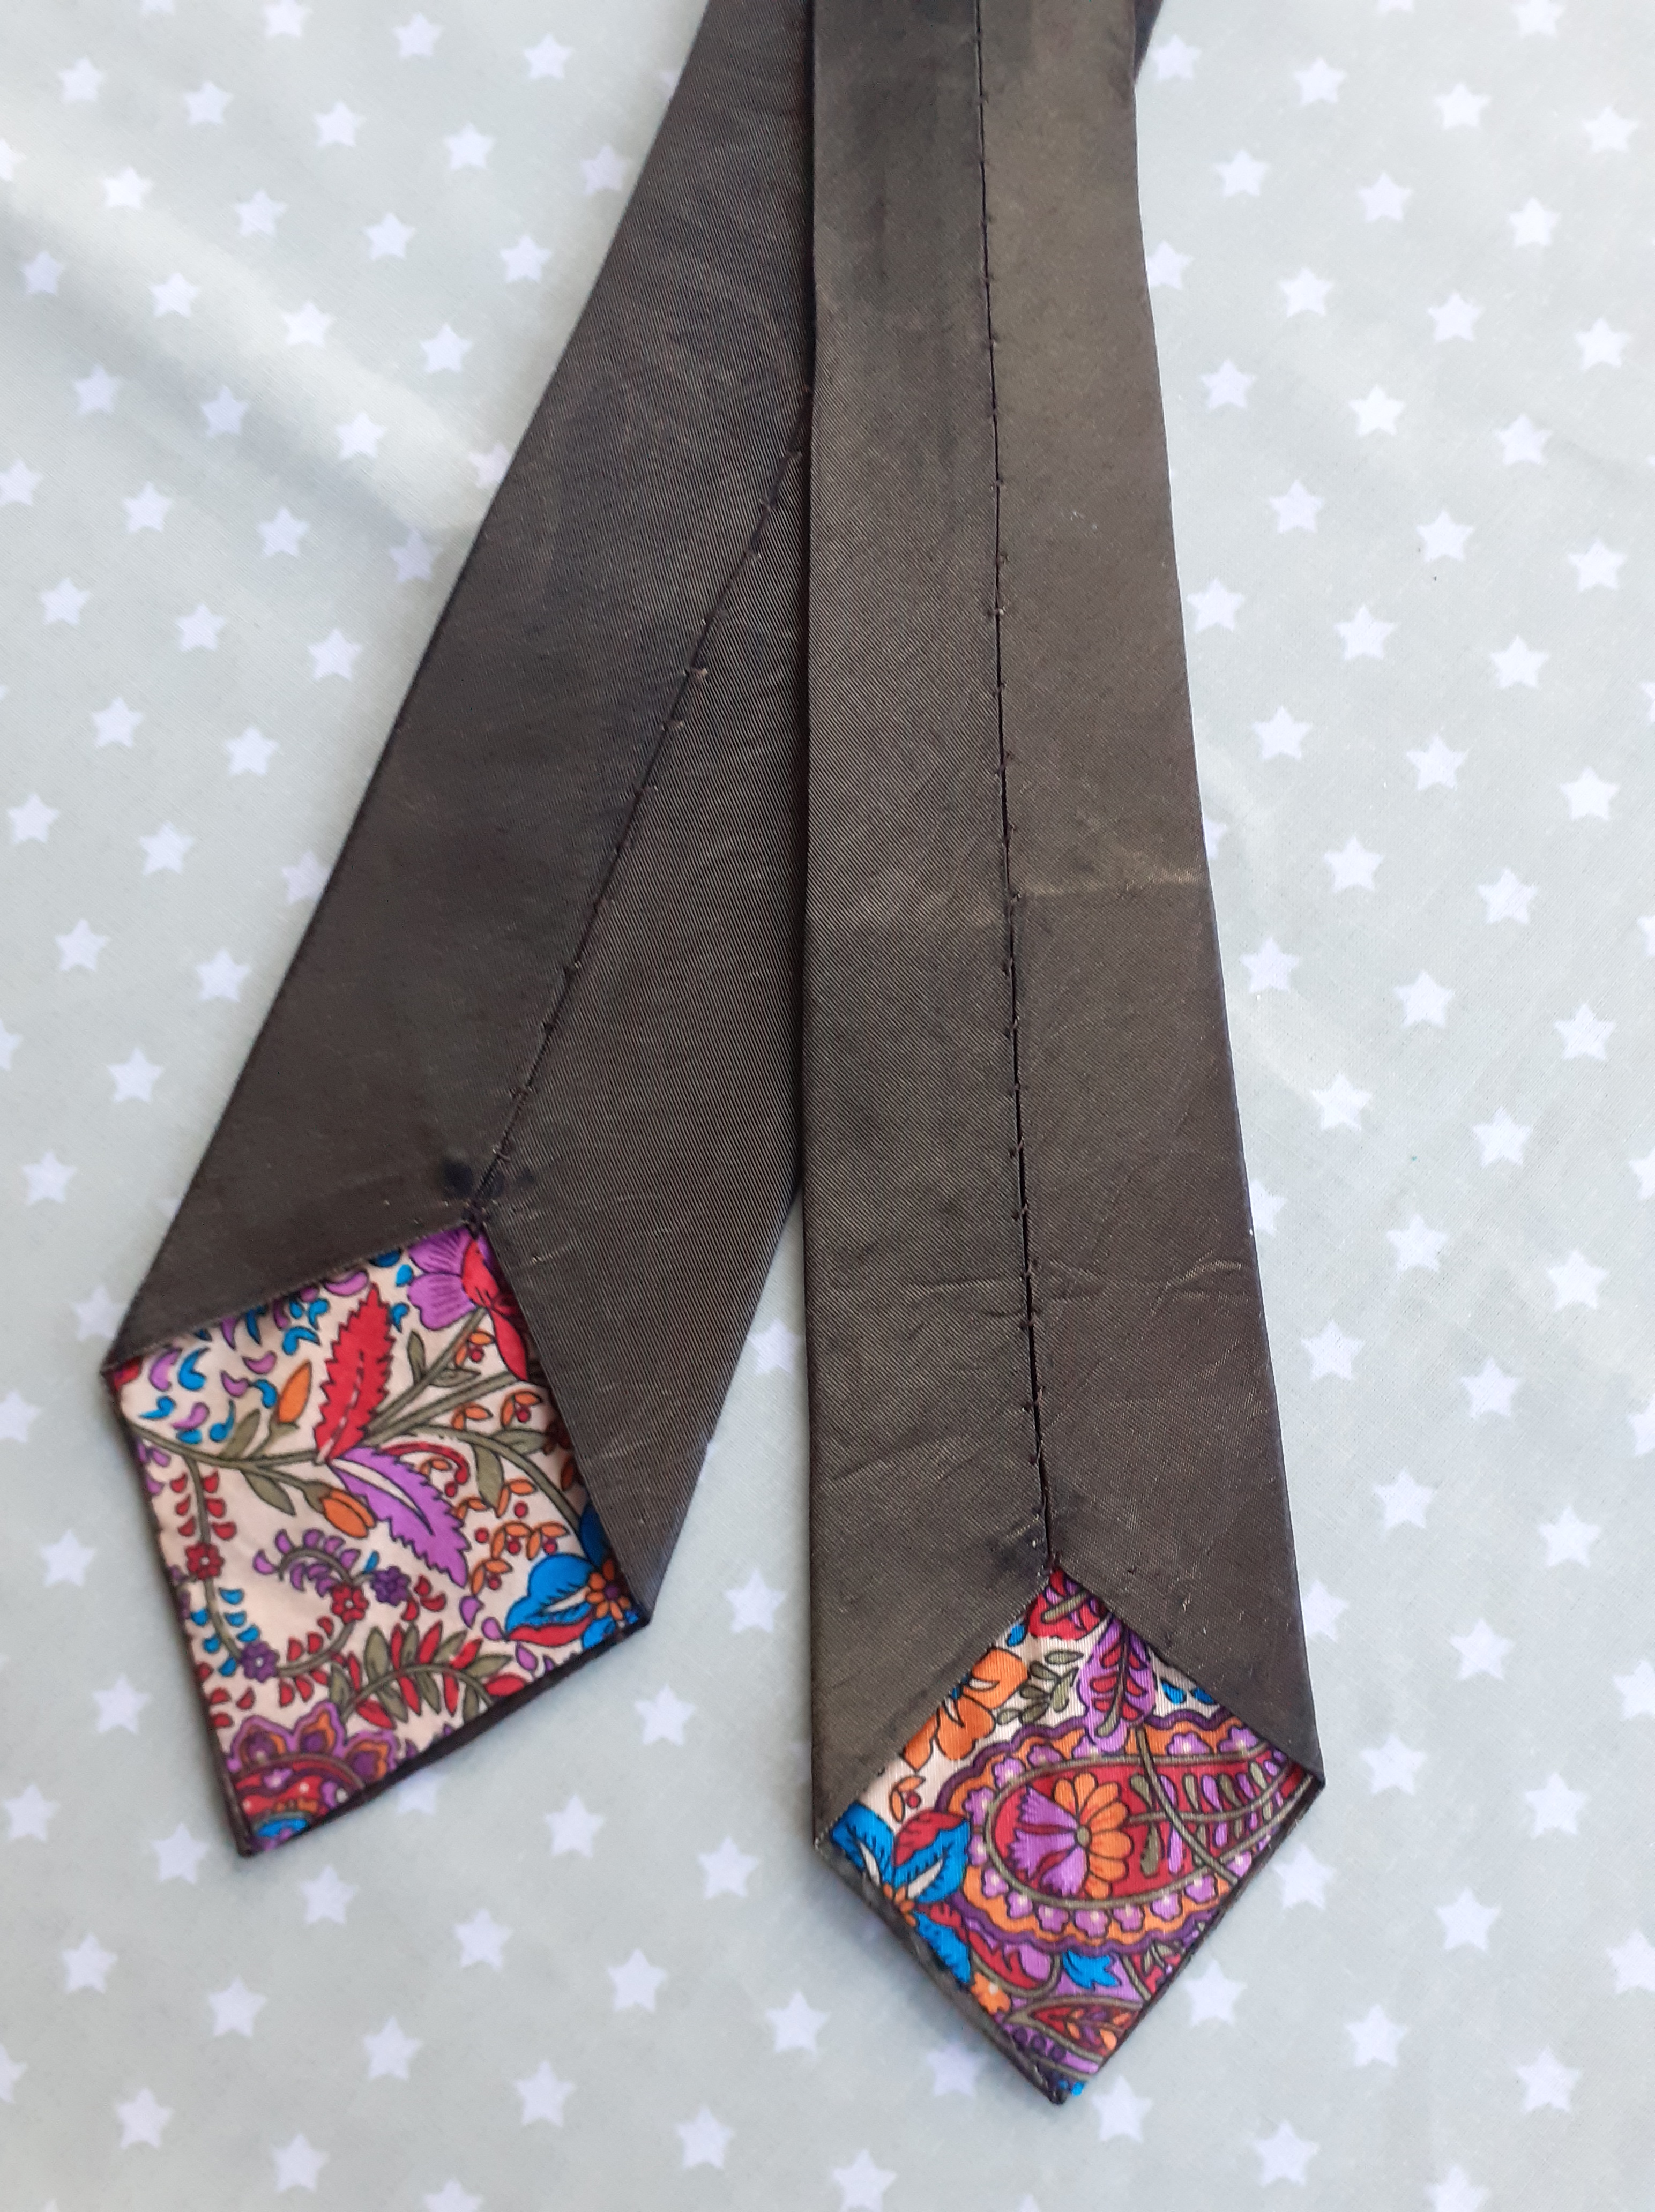
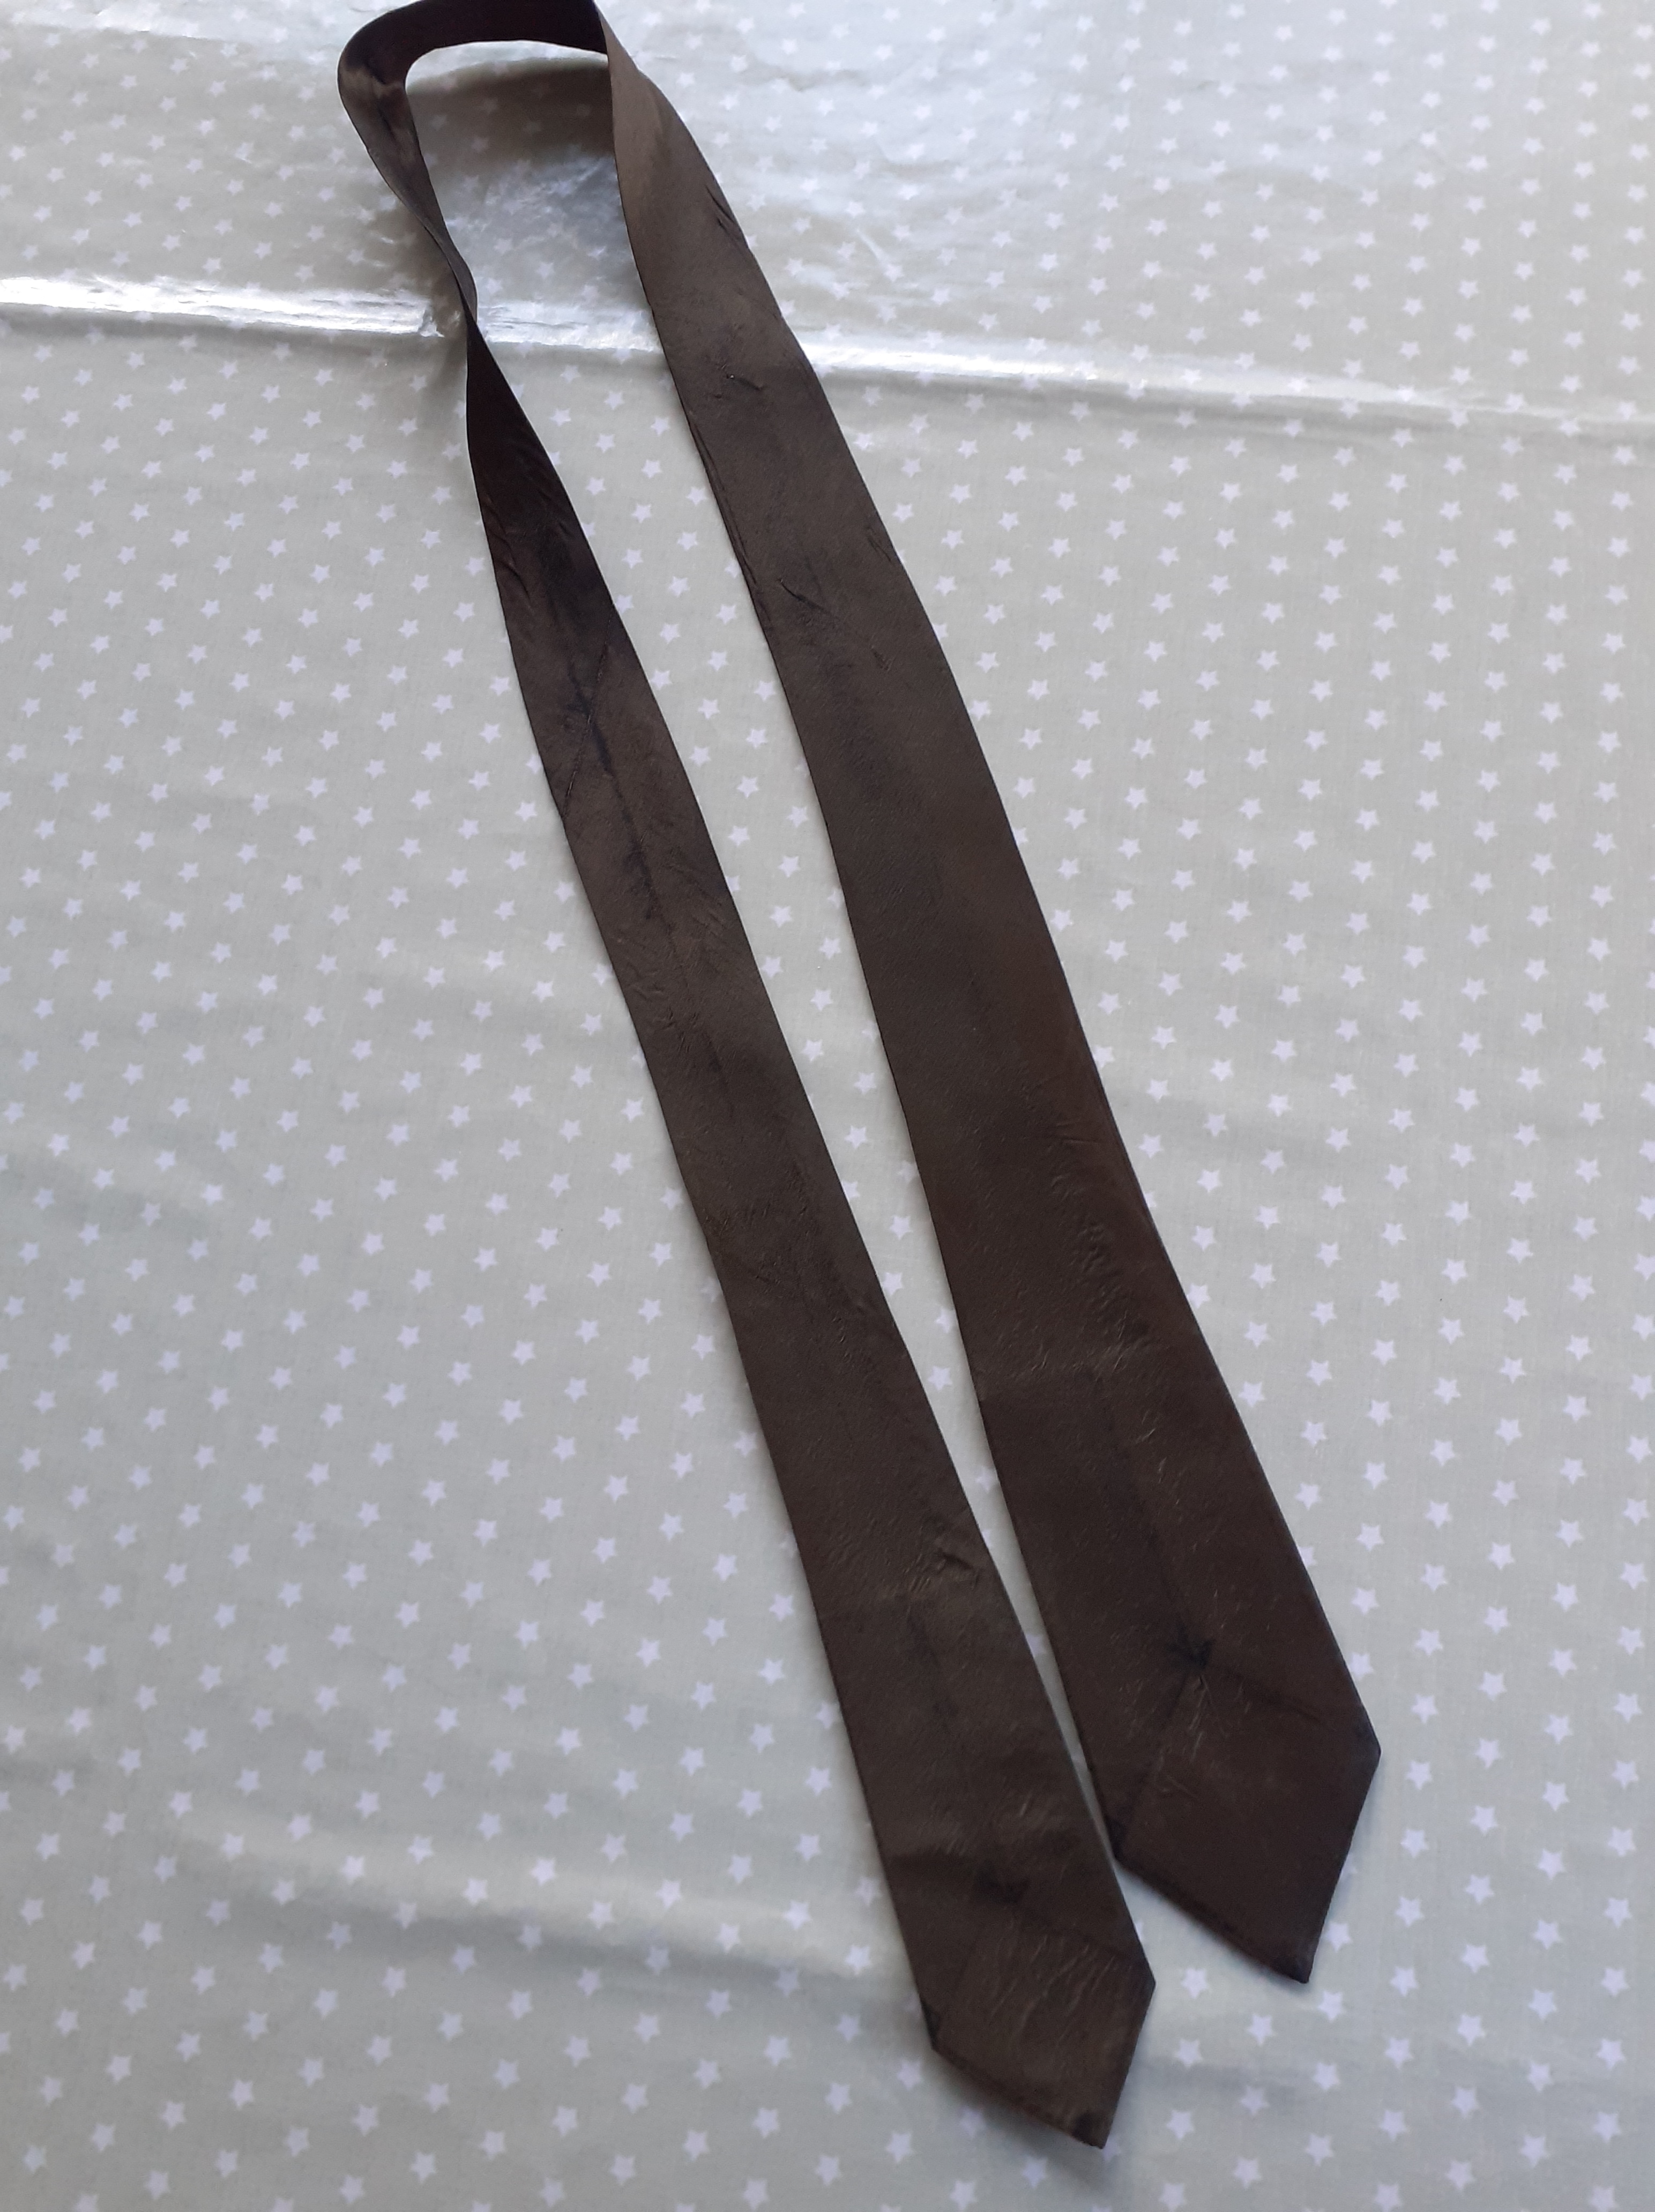
In better news, the rest of the costs of the tie were £0, as i had everything that i needed ‘in stock’. I was gifted some suitable fabric ages ago. I dont know what it is, other than synthetic, but it is just the right weight for a tie. I have vast stocks of left overs, so i used the remnants from a bright summer dress for lining.
Ties are cut on the cross, so have potential to use (and waste) a lot of fabric, but with judicious folding of the 3 part pattern (pity i didnt take a photo), i probably used about 1/2 m. I noted that some patterns say that with careful laying out, it is possible to get 2 ties out of 1m.
I primarily used a free online pattern from Purl Soho.
Making a tie is mainly about cutting out, pressing, and hand stitching. The only machine stitching was when i stitched the three sections together, to create one long tie. That took a bit of working out, even with clear diagrams. I think that the three parts are probably beneficial, in that it creates some flexibility in the curved section that goes round the neck. Then, eventually with even edges, the pressing and hand stitching starts. The lining is hand stitched in place, and then the back of the tie uses ladder stitches, about 1cm apart, all the way up the back of the tie. A gentle pull on the thread pulls the two sides neatly together. It didnt take too long, given 1cm between stitches.
To interface or not?? As instructed i inserted interfacing along the length of the tie, but didnt iron it until the tie was fully stitched. Would i use it again? My fabric had some body. I found that once i had pressed the tie with its interfacing, it (of course) stuck to the fabric and then some of the fabric didn’t lie completely flat. This was rather annoying after all that hand stitching! Having said that, a lot of people wouldnt have noticed that it wasnt perfectly flat. I needed to soften the interfacing a little, so a gently washed the tie and let it drip dry. Much better.
However, with softer fabric, and the Purl Soho pattern used Tana Lawn, interfacing may be necessary to get the lighter weight of fabric to hang properly.
Anyway, i’m quite proud of the finished tie, and hope that it is appreciated, and generates discussion at work. ‘This was handmade by one of my relatives’.
One Week, One Pattern

Me Made May 2016

Me Made May 2015

Simplicity Competition

Sew Over it Patterns

