
White seersucker shirt

I think that a lot of us sew a bit ‘off season’ i.e. we are sewing for the forthcoming season rather than for ‘now’. This blouse is for ‘now’, when ever now might be. On completion there was a relatively rare event of straight off the ironing board and onto my back!
There is a reason for making this ‘now’. Having had enormous problems with my button hole foot, I needed a proper test that the recent sewing machine service had fixed the problem. This is my go-to shirt pattern, Butterick 5526, and it probably has more buttons than any other pattern that I own. So since this is something of a test garment, I also needed it to be highly functional. So off I went to Fancy Silk Store and found white seersucker, which has the added advantage of ‘stripes’ making cutting out straightforward.
Result: 10 actual button holes, plus 2 tests before starting, with no problems! I’ve no idea what was wrong, but it seems to be right now. All those hours that I have wasted unpicking half completed button holes on other garments!
Just before cutting out I had an idea that I thought would support the collar stand and collar better, and used slightly contrasting shirting (from my Merchant and Mills shirt dress), on the reverse side of both sections. I thought that the shirting fabric would take the interfacing better.
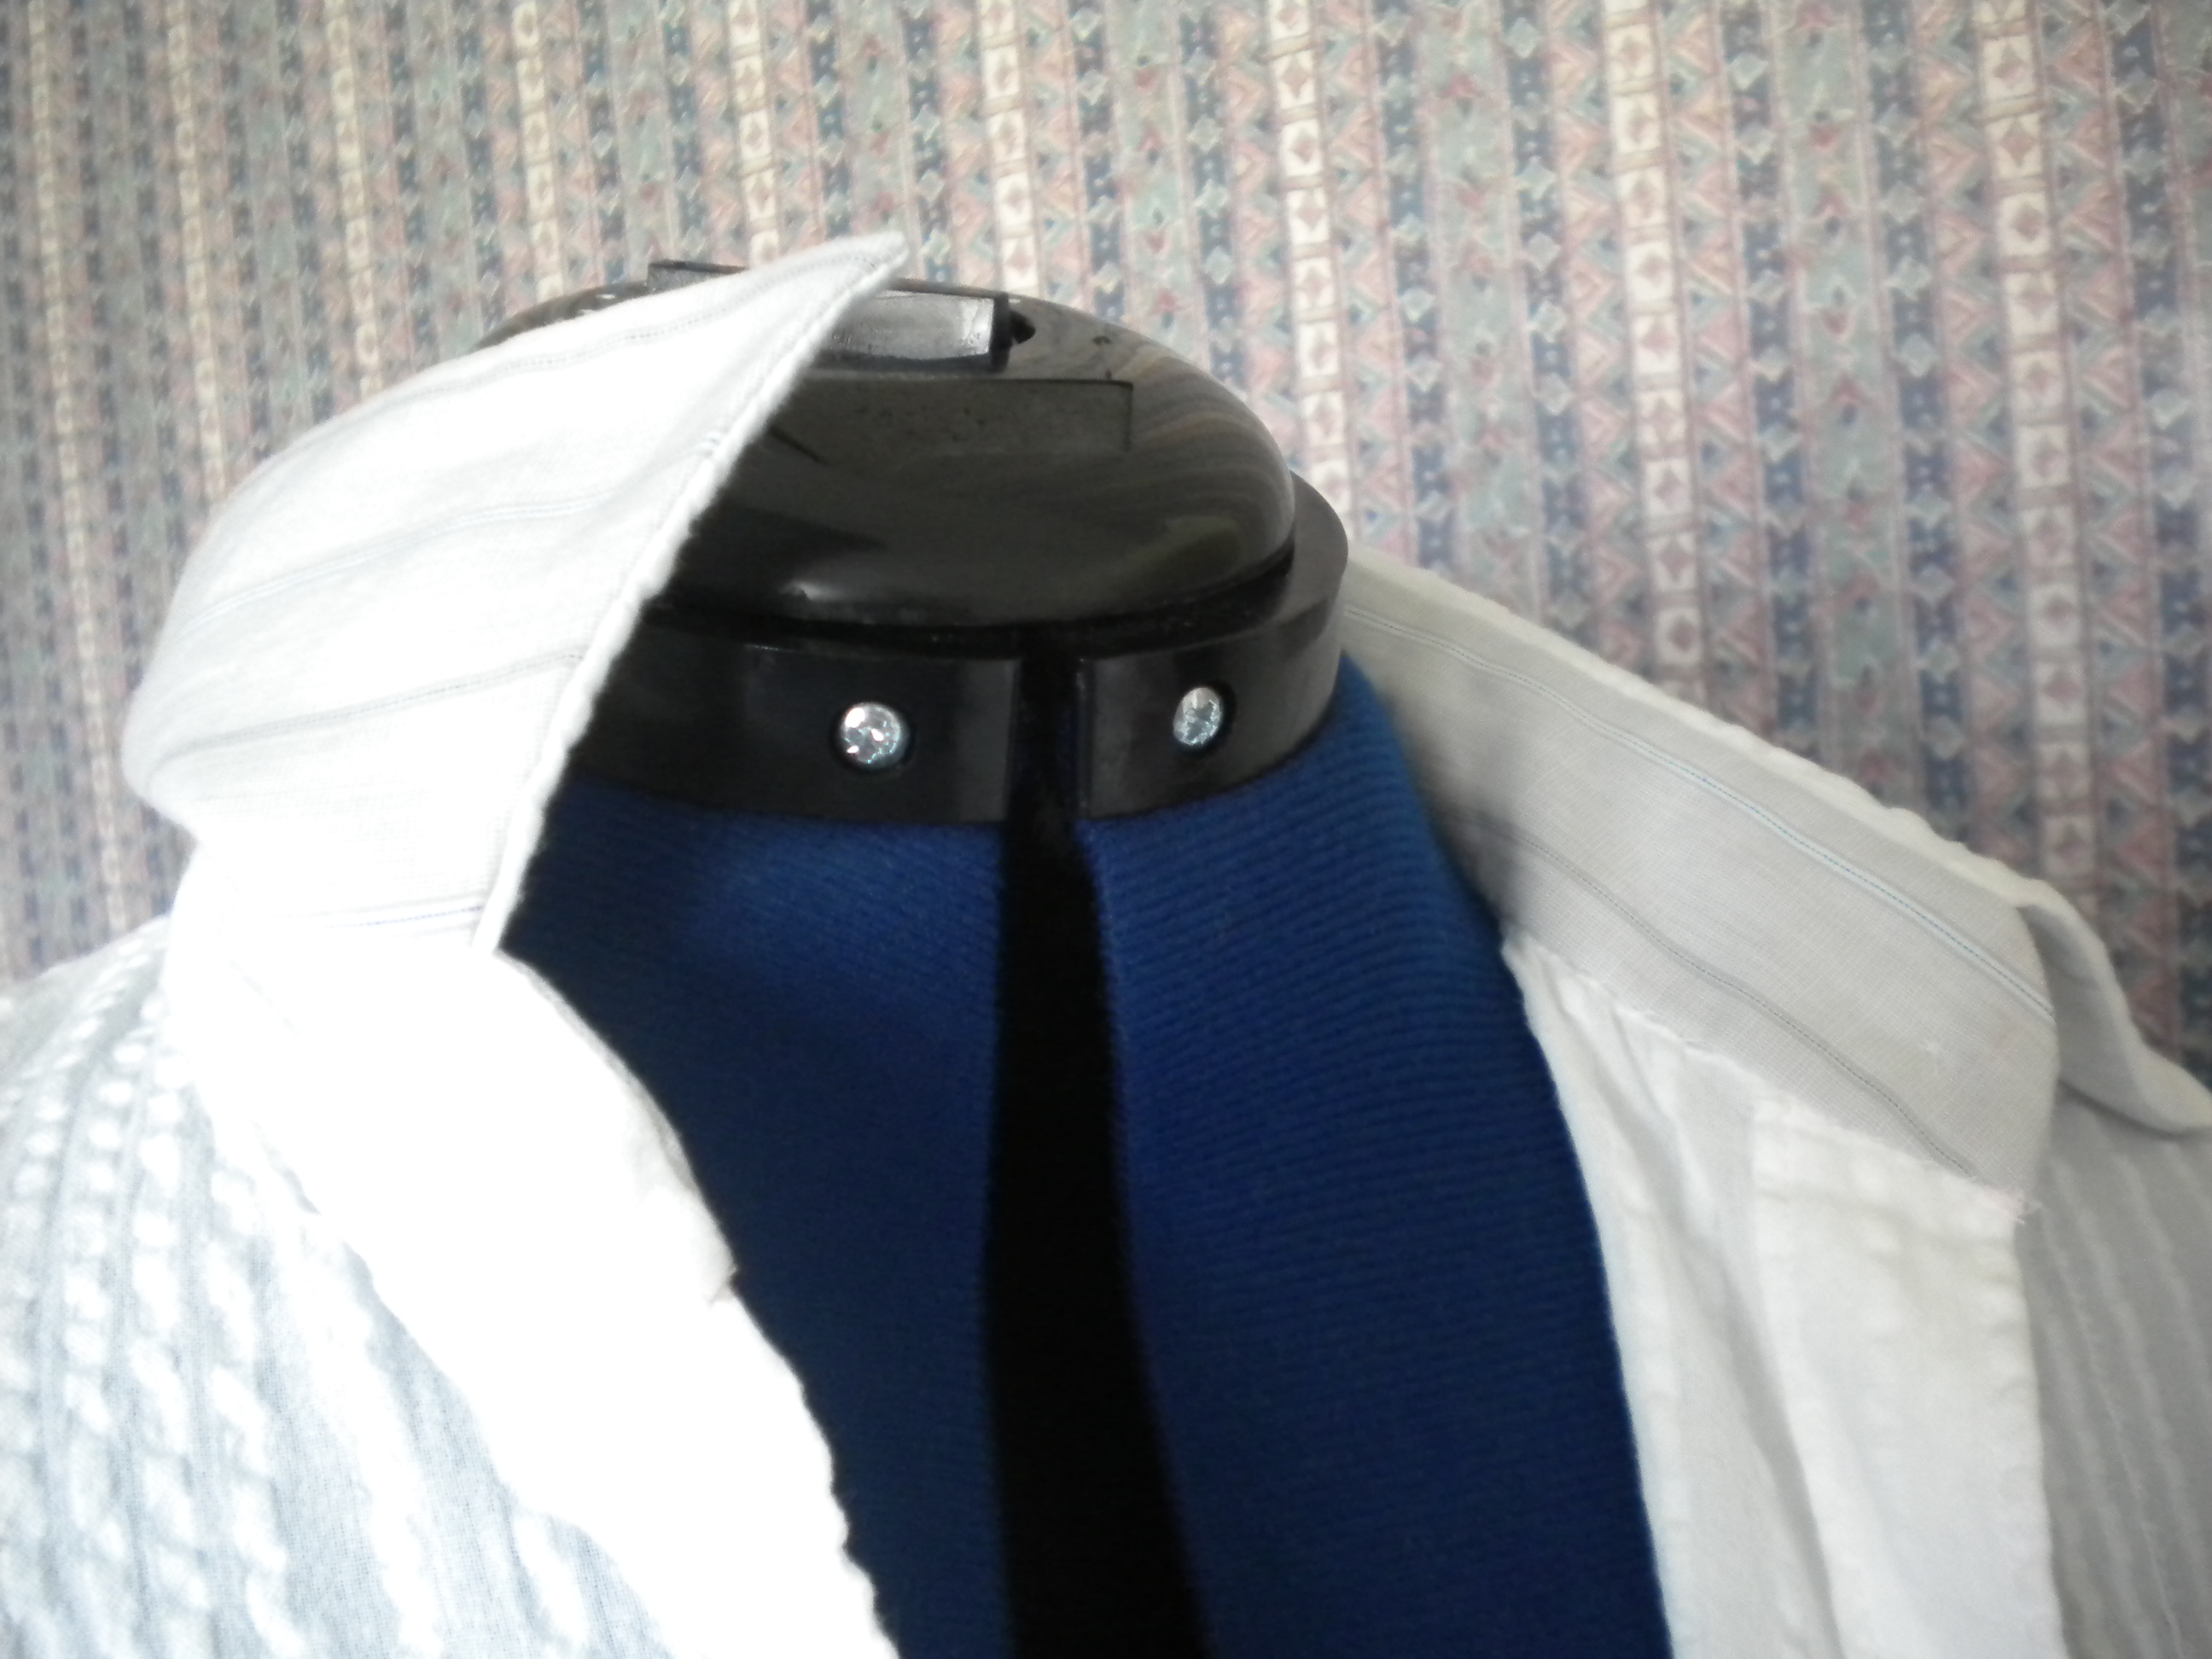
I’m quite pleased that I did this, because its not at all obvious when I am wearing the shirt, and I think it does support the collar better than interfaced seersucker would have done. Sorry that the collar facing is not very clear, but the stand facing is. I did the same with the sleeve placket. (Oh, how I dislike sleeve plackets! I read other people who dislike setting in sleeves or inserting zips. In fact, I quite like inserting sleeves, but sleeve plackets – so fiddly to get right at the pointy end….)
The seams that show were finished on the overlocker, and I did not want the buttons to be a feature. I wanted them to blend in, which they do rather nicely. 8p each from the Rag Market. You cant go wrong at that price.
I am loving this shirt, but for a few dreadful moments I thought I might have ruined it. For what ever reason I chose to mark the fabric with pink wax paper. I always use wax paper, but usually in an unobvious shade. The markings were beautifully clear on both sides (whoops), which made construction very simple, but, when it was all wonderfully finished, with all the pink bits matching, the markings were very visible on the outside. I got out the stain remover and gave the shirt a hot wash…….. Phew, gone. What a relief! A quick iron and I was wearing it.
I have used this pattern a couple of times before, before I started the blog.
-

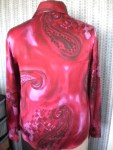
- Silk blouse
-
- one of my earliest makes
The red paisley is silk, and is the same design as the white seersucker version. The seams that show are all French seams. The collar has a tendency to ‘flop’ quite wide, which might be why I decided to strengthen the seersucker version. Yes, its a bit garish, maybe even a bit 70’s vintage, before vintage was trendy. I don’t wear it all that much, and when I do, it has tended to be for work, with people that I know well! It is comfortable to wear though, and I suspect that it will last forever.
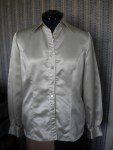
The off white satin version was one of the first things that I made after I got my new sewing machine. I returned to sewing with most of my ancient knowledge intact, and dived straight in at the deep end! I just needed a sewing machine that didn’t emit smoke. It has princess seams, so is a closer fit all round, due to both the design and the nature of the fabric. It has also been worn for work, and is very appropriate for when I am meeting new customers. I don’t enjoy wearing it so much, as it is more constricting that the other versions. It also pre-dates the overlocker by a number of years, and is not well finished inside. In this respect, it will probably be the first version to wear out.
One Week, One Pattern

Me Made May 2016

Me Made May 2015

Simplicity Competition

Sew Over it Patterns

