
Katherine Tilton Jacket
-

- Back view
-

- Left hand side
-

- Right hand side
I am trying to decide where to rank this project in the all time history of difficult things to sew.

Front view
It’s not at the top. The silk scarves were harder work. The fabrics are OK to sew. But it needs constant concentration to get it right. The pattern classification was ‘Average’, and I’ve done one or two of those recently. I also noted the phrase ‘moin facile’. Maybe that fits better – ‘less easy’.
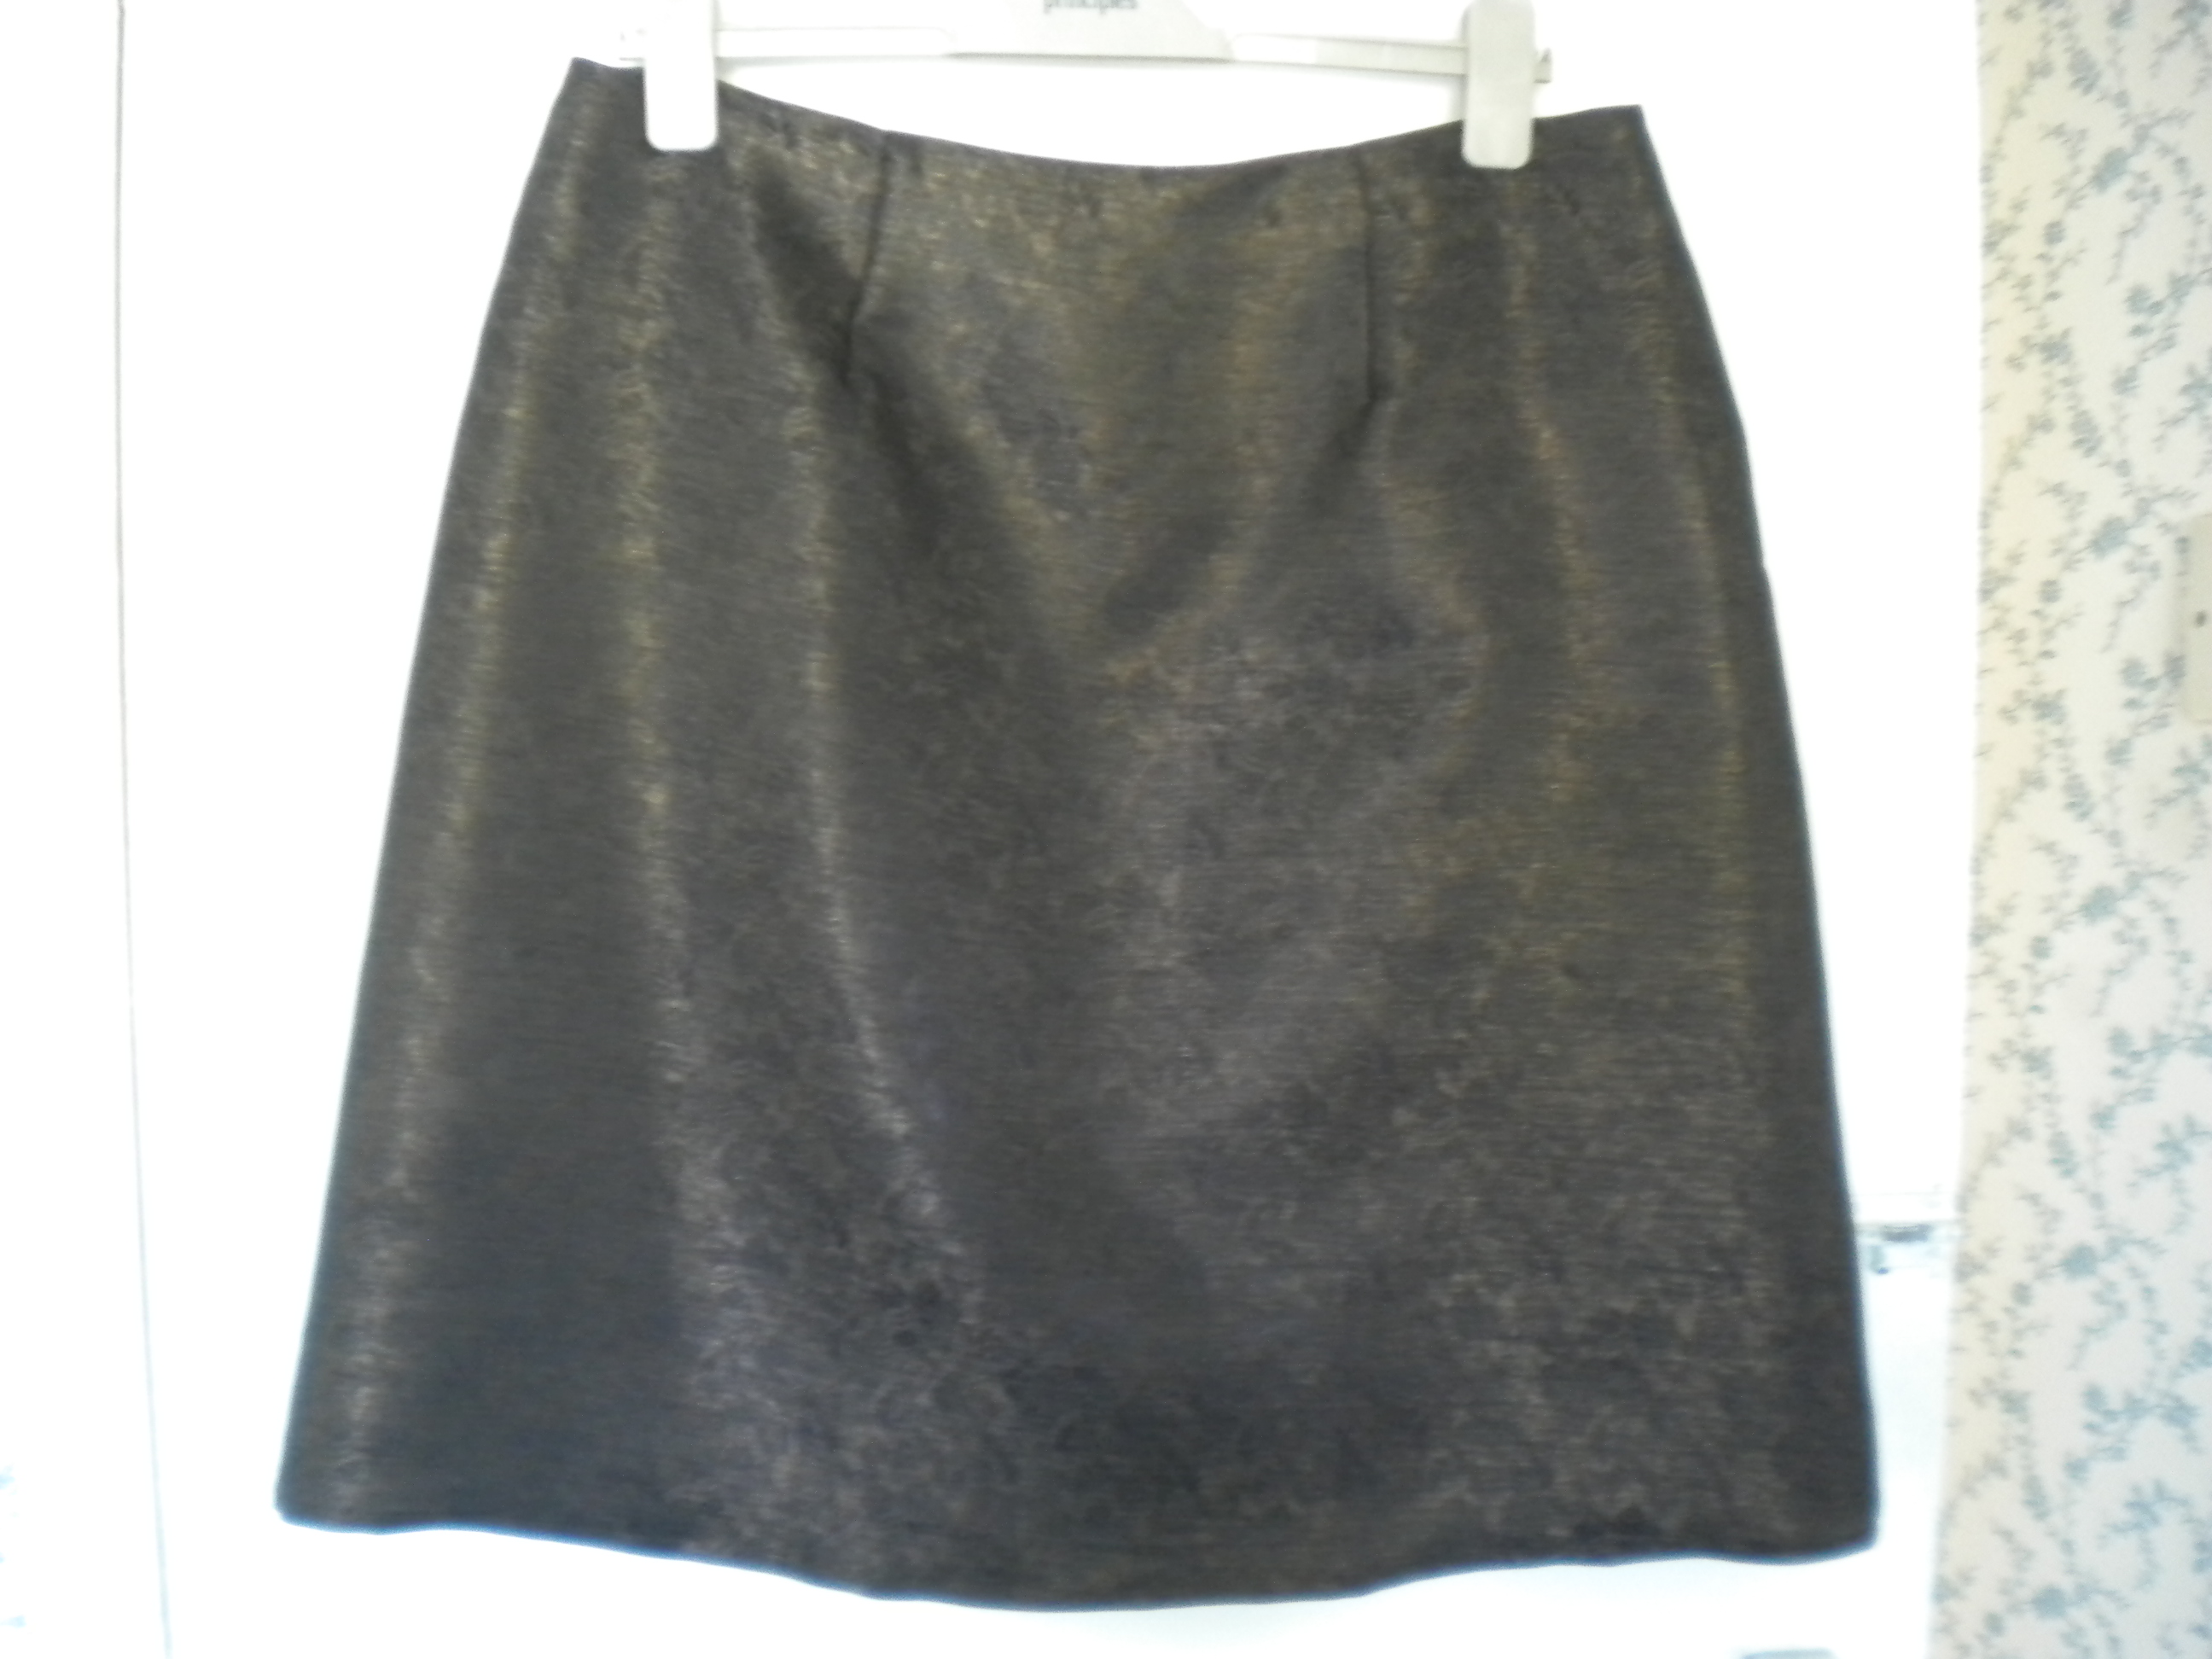
Lets start with the skirt, which was actually ‘easy’. I bought the fabric in Kathmandu last year, with a vague intention of making some sort of smart suit with it. Then you get the fabric home and remember that most Asian fabric comes quite narrow and you can’t do quite as much with it as you were expecting. I’ve worn the skirt quite a bit. I just didn’t blog it because the fabric has quite a lot of sheen, and back lit photos just bounce light off it, so it doesn’t come out very well. But here’s the best picture anyway!
I had a reasonable amount of fabric left and contemplated what to do with it, when I saw this Katherine Tilton pattern. In fact. one of the drivers for my trip to Goldhawk Road was to find a suitably contrasting fabric to use with the brown jacquard. That objective failed. I bought scarf and Mimi blouse fabric instead. After all that, the contrast came from Guthrie-Ghani, just down the road.
I noted one of the independent pattern designers saying that she didn’t include layouts, as it was very much up to the individual circumstances how best to cut out projects. How true! I have almost given up using layouts. This was a case of extreme pattern laying out…..
It really was a case of squashing the pieces together to see how many I could get from the remaining jacquard, whilst bearing in mind how each piece inter-related and thus the impact on the look of the jacket. Then I took the remaining pieces to Guthrie-Ghani, and, not for the first time, lay them out on the contrasting fabric in the shop, to work out how much i needed!
I think that this is the first time that I have annotated the pattern details with a sort of check list of which pieces i had, how many off, and what remained. With an additional note to remind me that as many of the pieces are ‘cut one’ from a single layer, I needed to get them the right way round! You see what I mean about needing to concentrate throughout?
 Here’s the checklist.
Luckily, both fabrics could actually be used on either side, and there is some reversal of sides in the garment. Having said that, I only cut out one piece the wrong way round, and that was the first piece of interfacing, which I tested with the actual facing, realised it was wrong and made sure that I cut the rest correctly.
It’s not actually all that difficult to construct. You attach piece 2 to piece 1, press and finish. Then you attach piece 3 to piece 2, press and finish; piece 4 to piece 3 and so on….. Often I mess about with the order that I make things, so that I can accumulate pieces to press or over lock, but not this time. I religiously followed the instructions in the order presented, making for a very busy dining room… All seams had to be over locked as it is not lined. The overlocker behaved perfectly, including stitching correctly first time after a quick thread change.
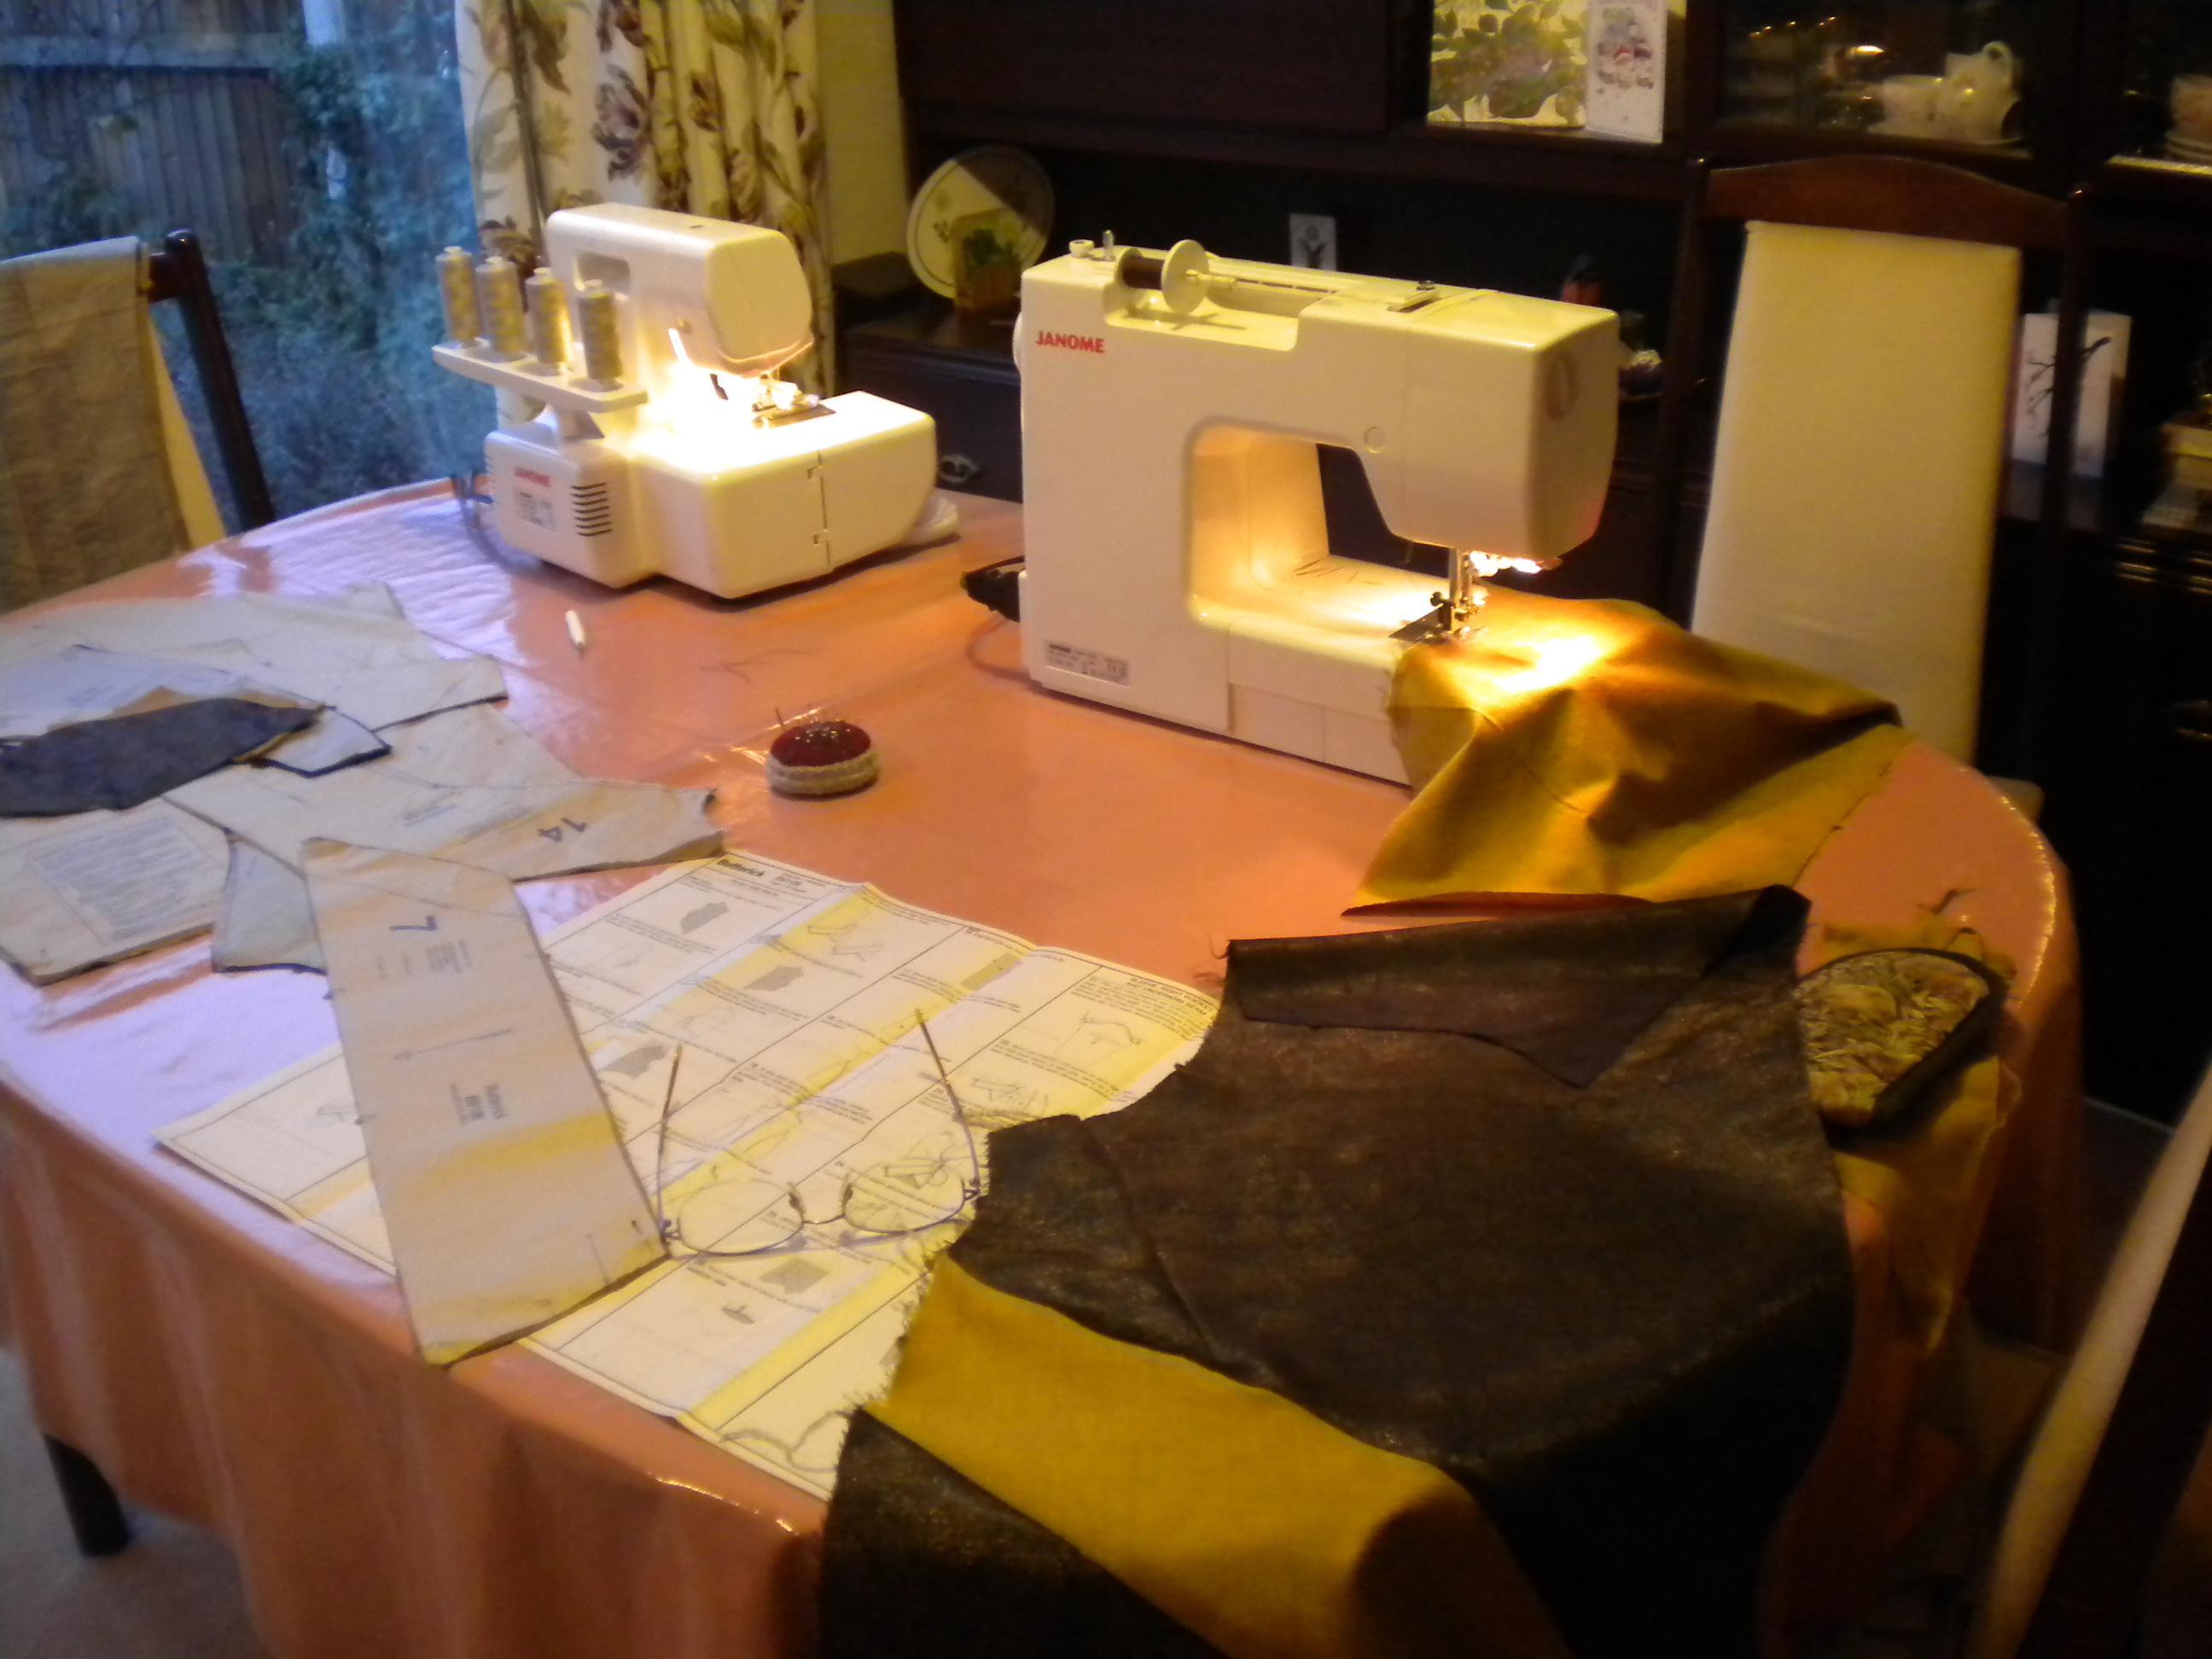 Everything was out on the table, and the garment itself takes up quite a bit of space. And the ironing board is behind me. Quite a lot of it is straightforward sewing, although there are some weirdly curving seems that needed some stay stitching and care, and twice I pre-prepared the next stage so that I could see that what I was doing at the current stage was correct and would fit into the right place on the jacket. It always did fit into the right place…..
At last I got to the last piece of the jigsaw.

Piece 16, which obviously attaches to piece 15. Actually, I think it attaches to piece 8. I just took the picture because it was the last loose piece lying on the table, but I did need to mock up the next stage with this piece to check that when I turned everything back in on itself, all of the front and hem would line up. Because I checked, they did!!
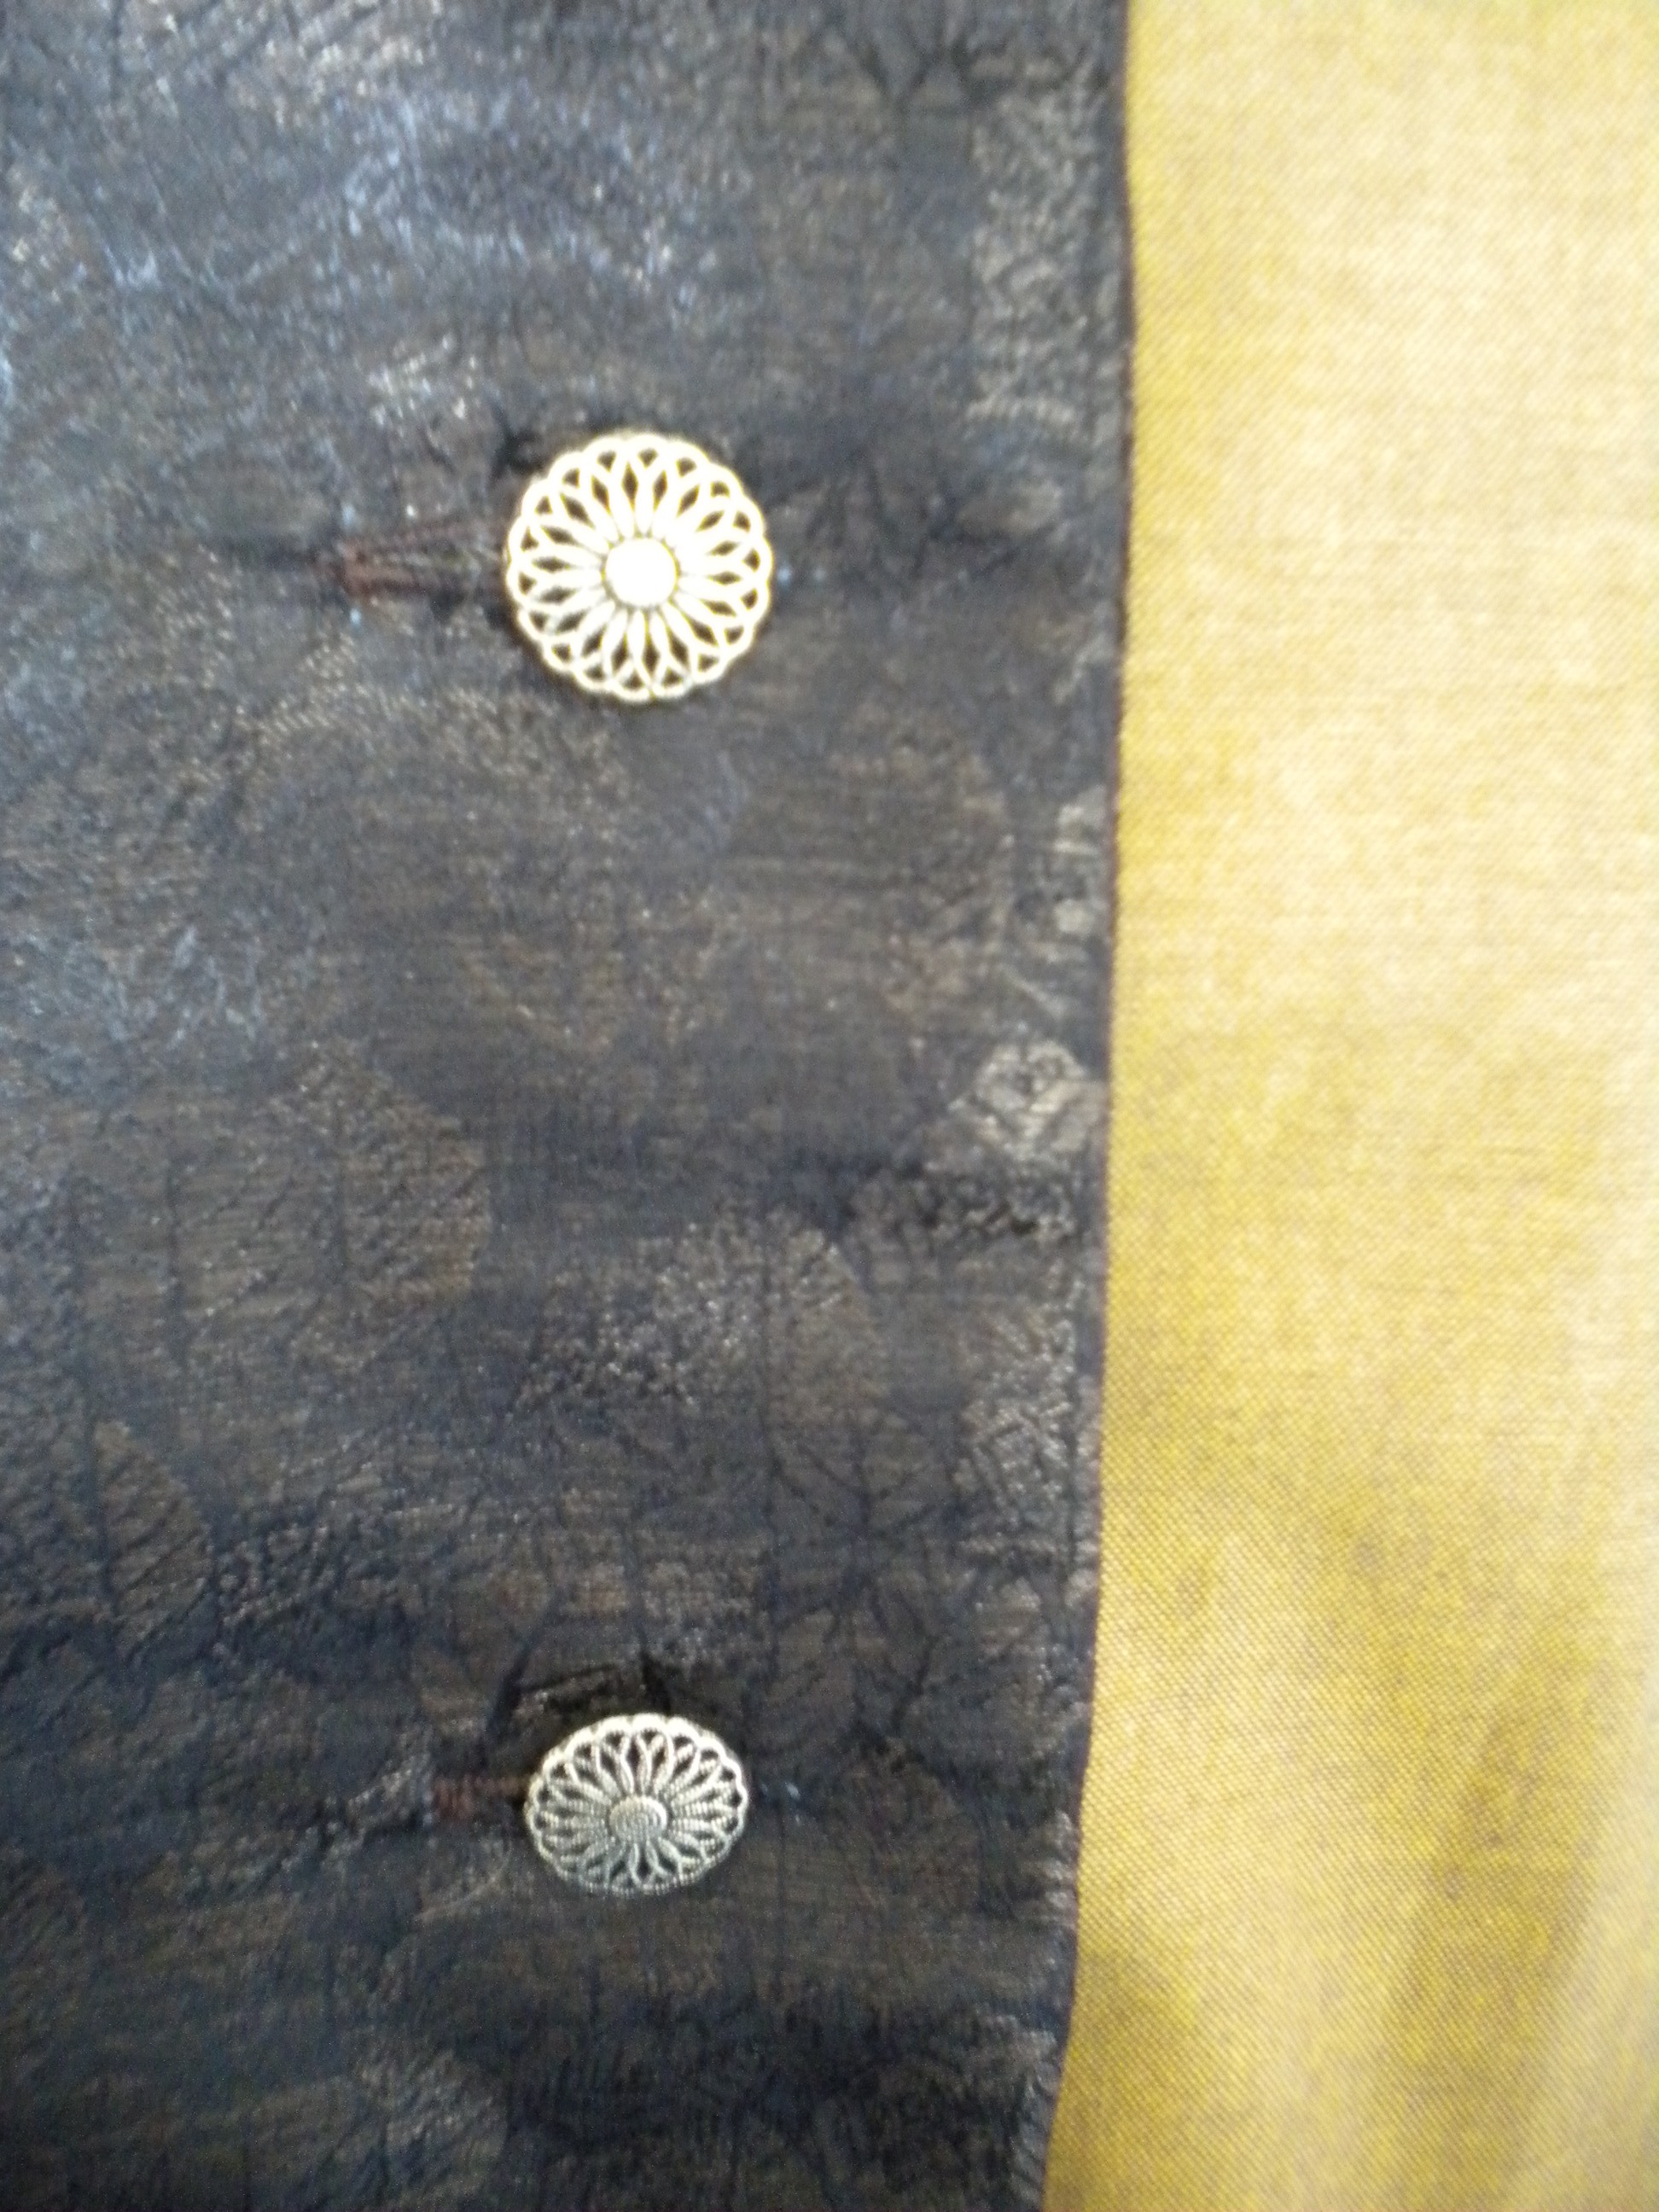
Now my last post suggests that I had conquered the button hole problem…… I hadn’t, and I really didn’t want a mess on the front of the jacket. Luckily, my thread matches very well with the jacquard and it is quite hard to see the button hole stitching, but that also makes it rather difficult to unpick them. Anyway, after many combined hours of fighting with the button hole function, I have at long last found a tidy solution, but it took me about 5 unpicks until it dawned on me. It always stitches the back pass ok. The problem is that it doesn’t always turn and do the forward stitch. So I simply stopped at the end of the back pass, removed the fabric, and started another button hole from the other end! How thick of me not to have spotted this sooner. And of course, on one occasion it decided to do the forward pass when I had started at the far end, and I had two lots of stitching down one side. I let it carry on. Better two lots than none at all, I thought. What was very annoying this time was that every test button hole was good, and so were the first two on the jacket. I really did think that all was well.
I quite pride myself on my selection of buttons, and these are no exception. Birmingham market. It rarely disappoints on the button front.
I started this in September and finished it on December 30th, with many other items having passed in between. And now I have just cut out some more silk, so I suspect that the same thing may happen again. There are no button holes on the next project, but I do need to finish the edges of the silk, preferably on the overlocker. See silk scarves….. so I didn’t learn a lesson there then!
One Week, One Pattern

Me Made May 2016

Me Made May 2015

Simplicity Competition

Sew Over it Patterns

