
Silk scarves
Thanks to an idea I got from Twitter, some of my friends are getting silk scarves for Christmas this year. It’s been a very difficult project.
The silk came from my trip to Goldhawk Road, from a shop with a lovely range of colours, a reasonable price per metre, and bulk discount without even asking. I wanted to contrast two colours per scarf, this time based on a scarf that I purchased in Bosnia a couple of years ago. I am certain that what I have created are unique, although I wonder if it was worth it.
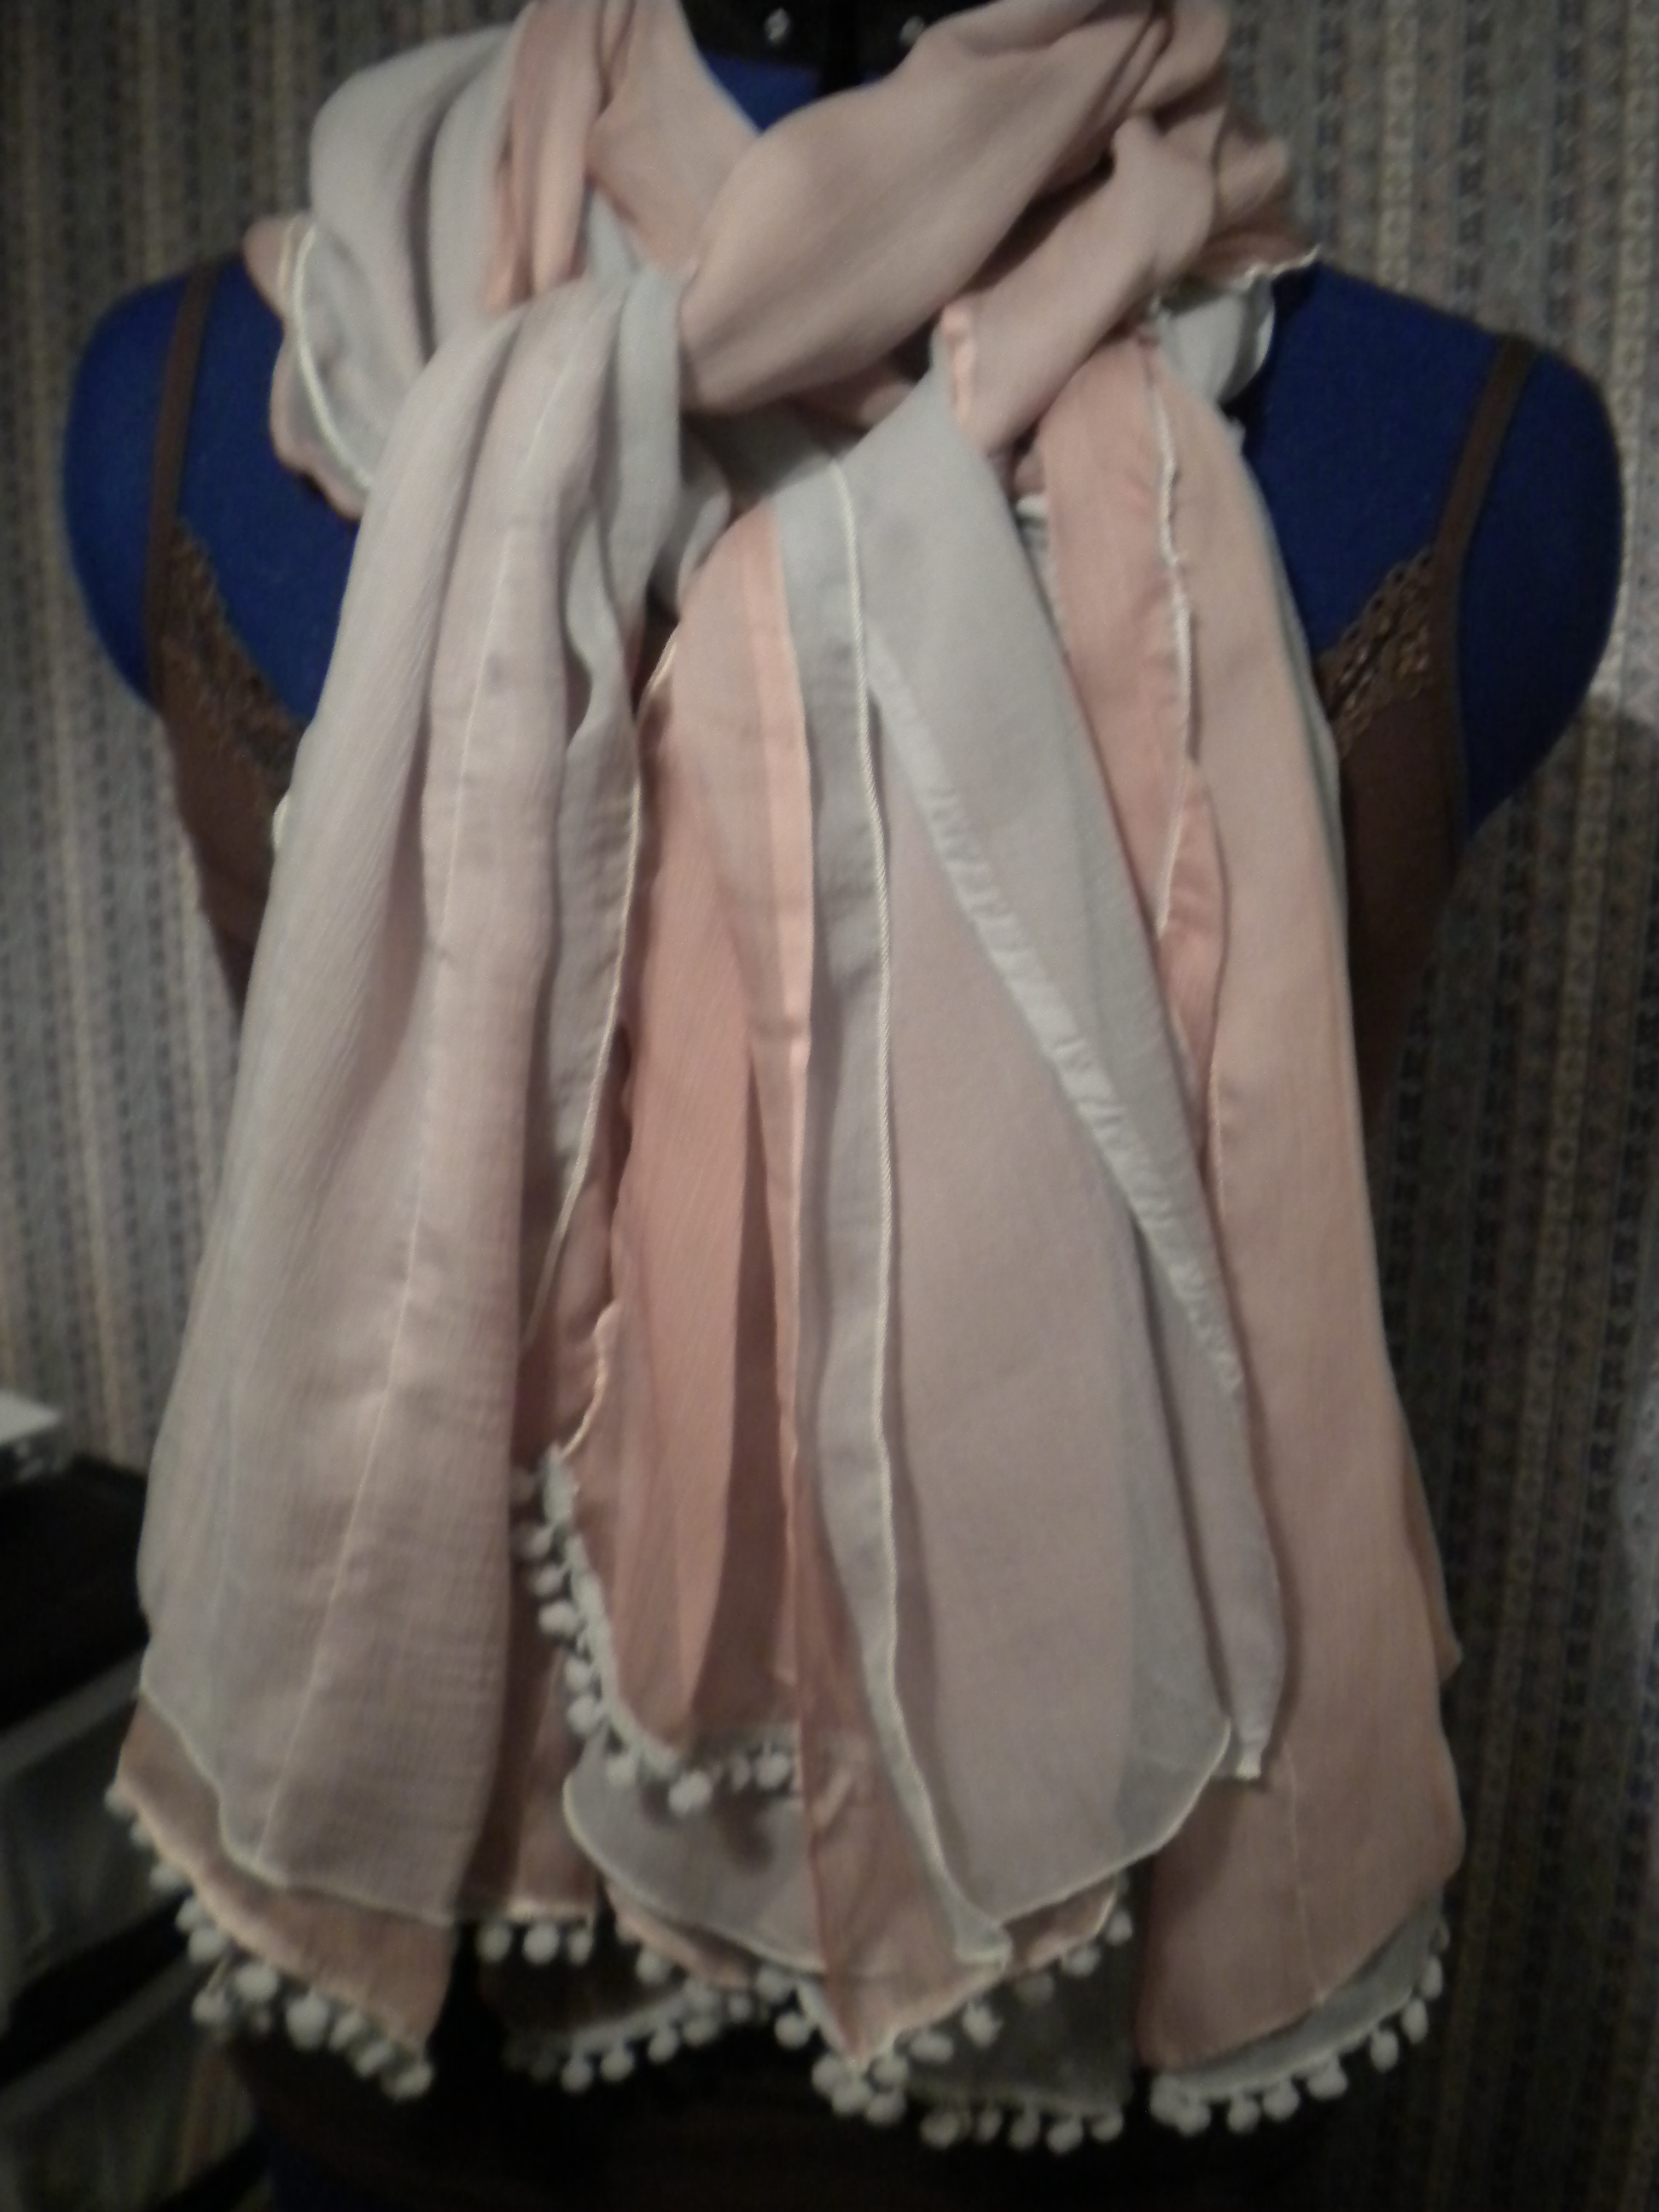
The finished items – grey and pink:
I also went out a purchased a rotary cutter and mat to help me get straight edges. I’d been considering the idea for a while and this seemed like the right time. So armed with weights, which haven’t been used for weighing out ingredients for years, a ruler and my cutter, I set about cutting the silk into scarf widths.
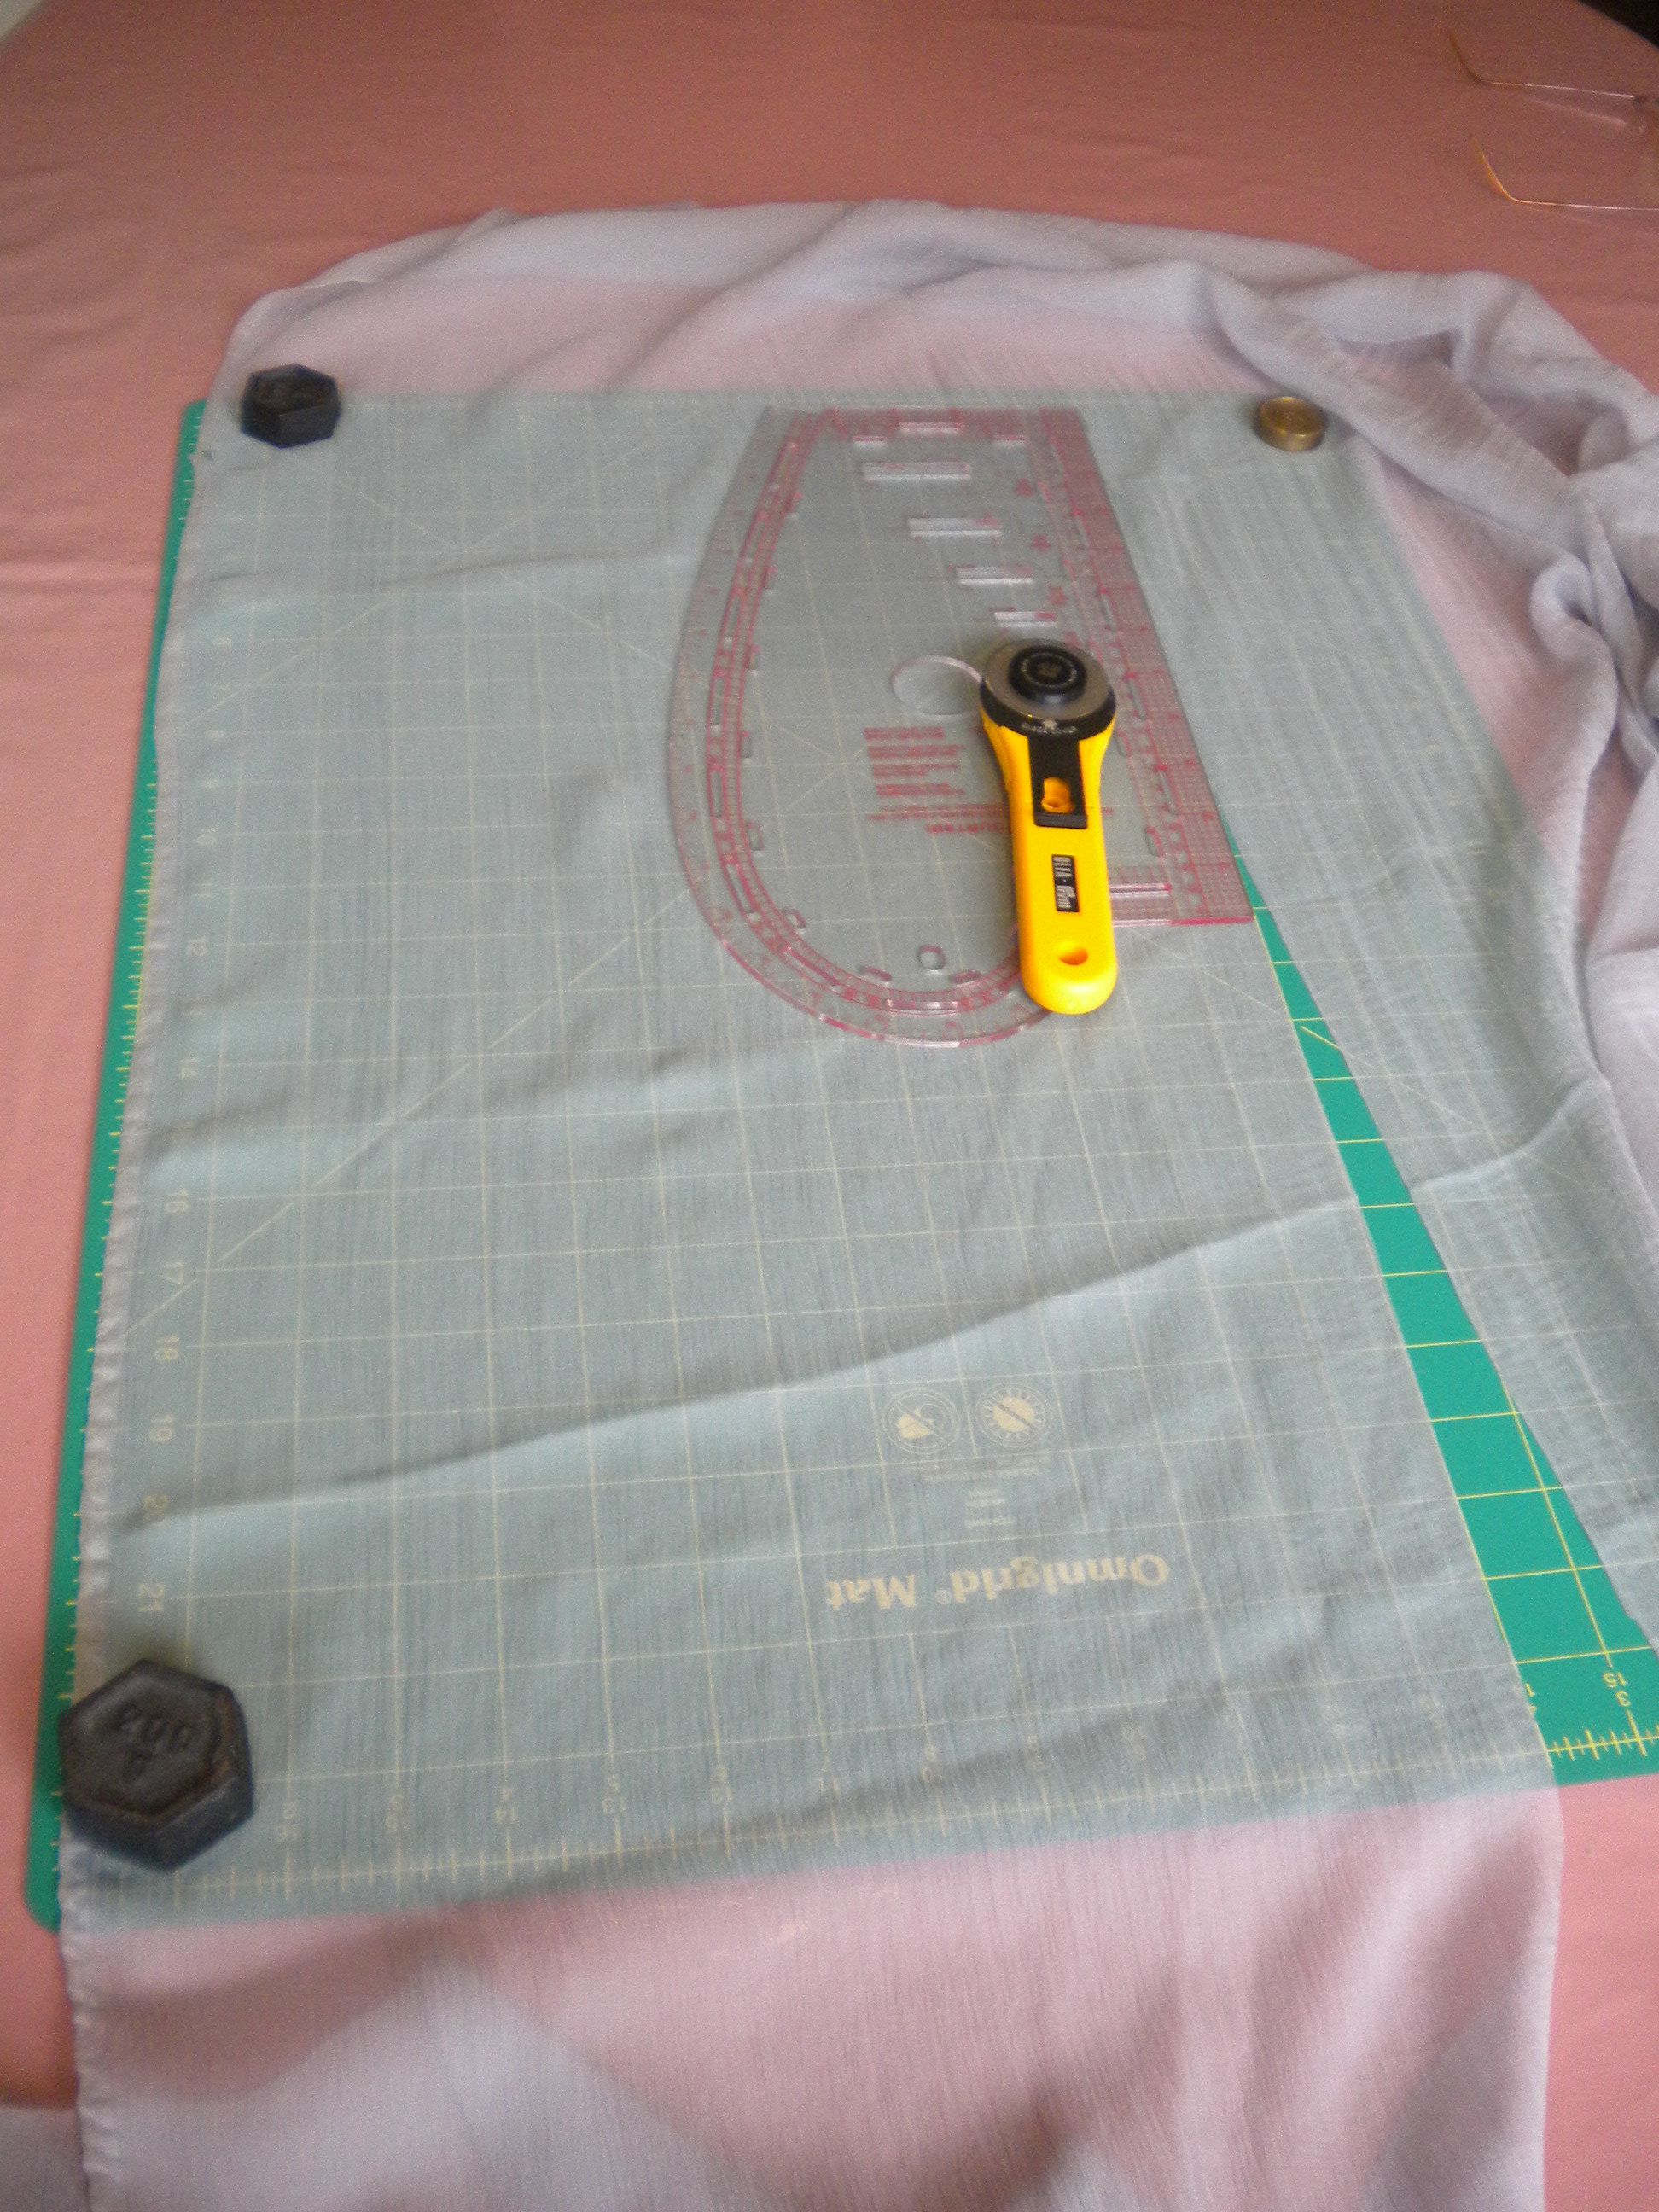 So far so sort of good, although the edges are far from straight because, as I was to find out, the silk has a mind of its own. The picture makes it look good though!
Its the first time I have used the rolled hem function on the overlocker, so I did a bit of practicing, on some equally fine fabric. The test seemed to be OK, so off I went with the real product. 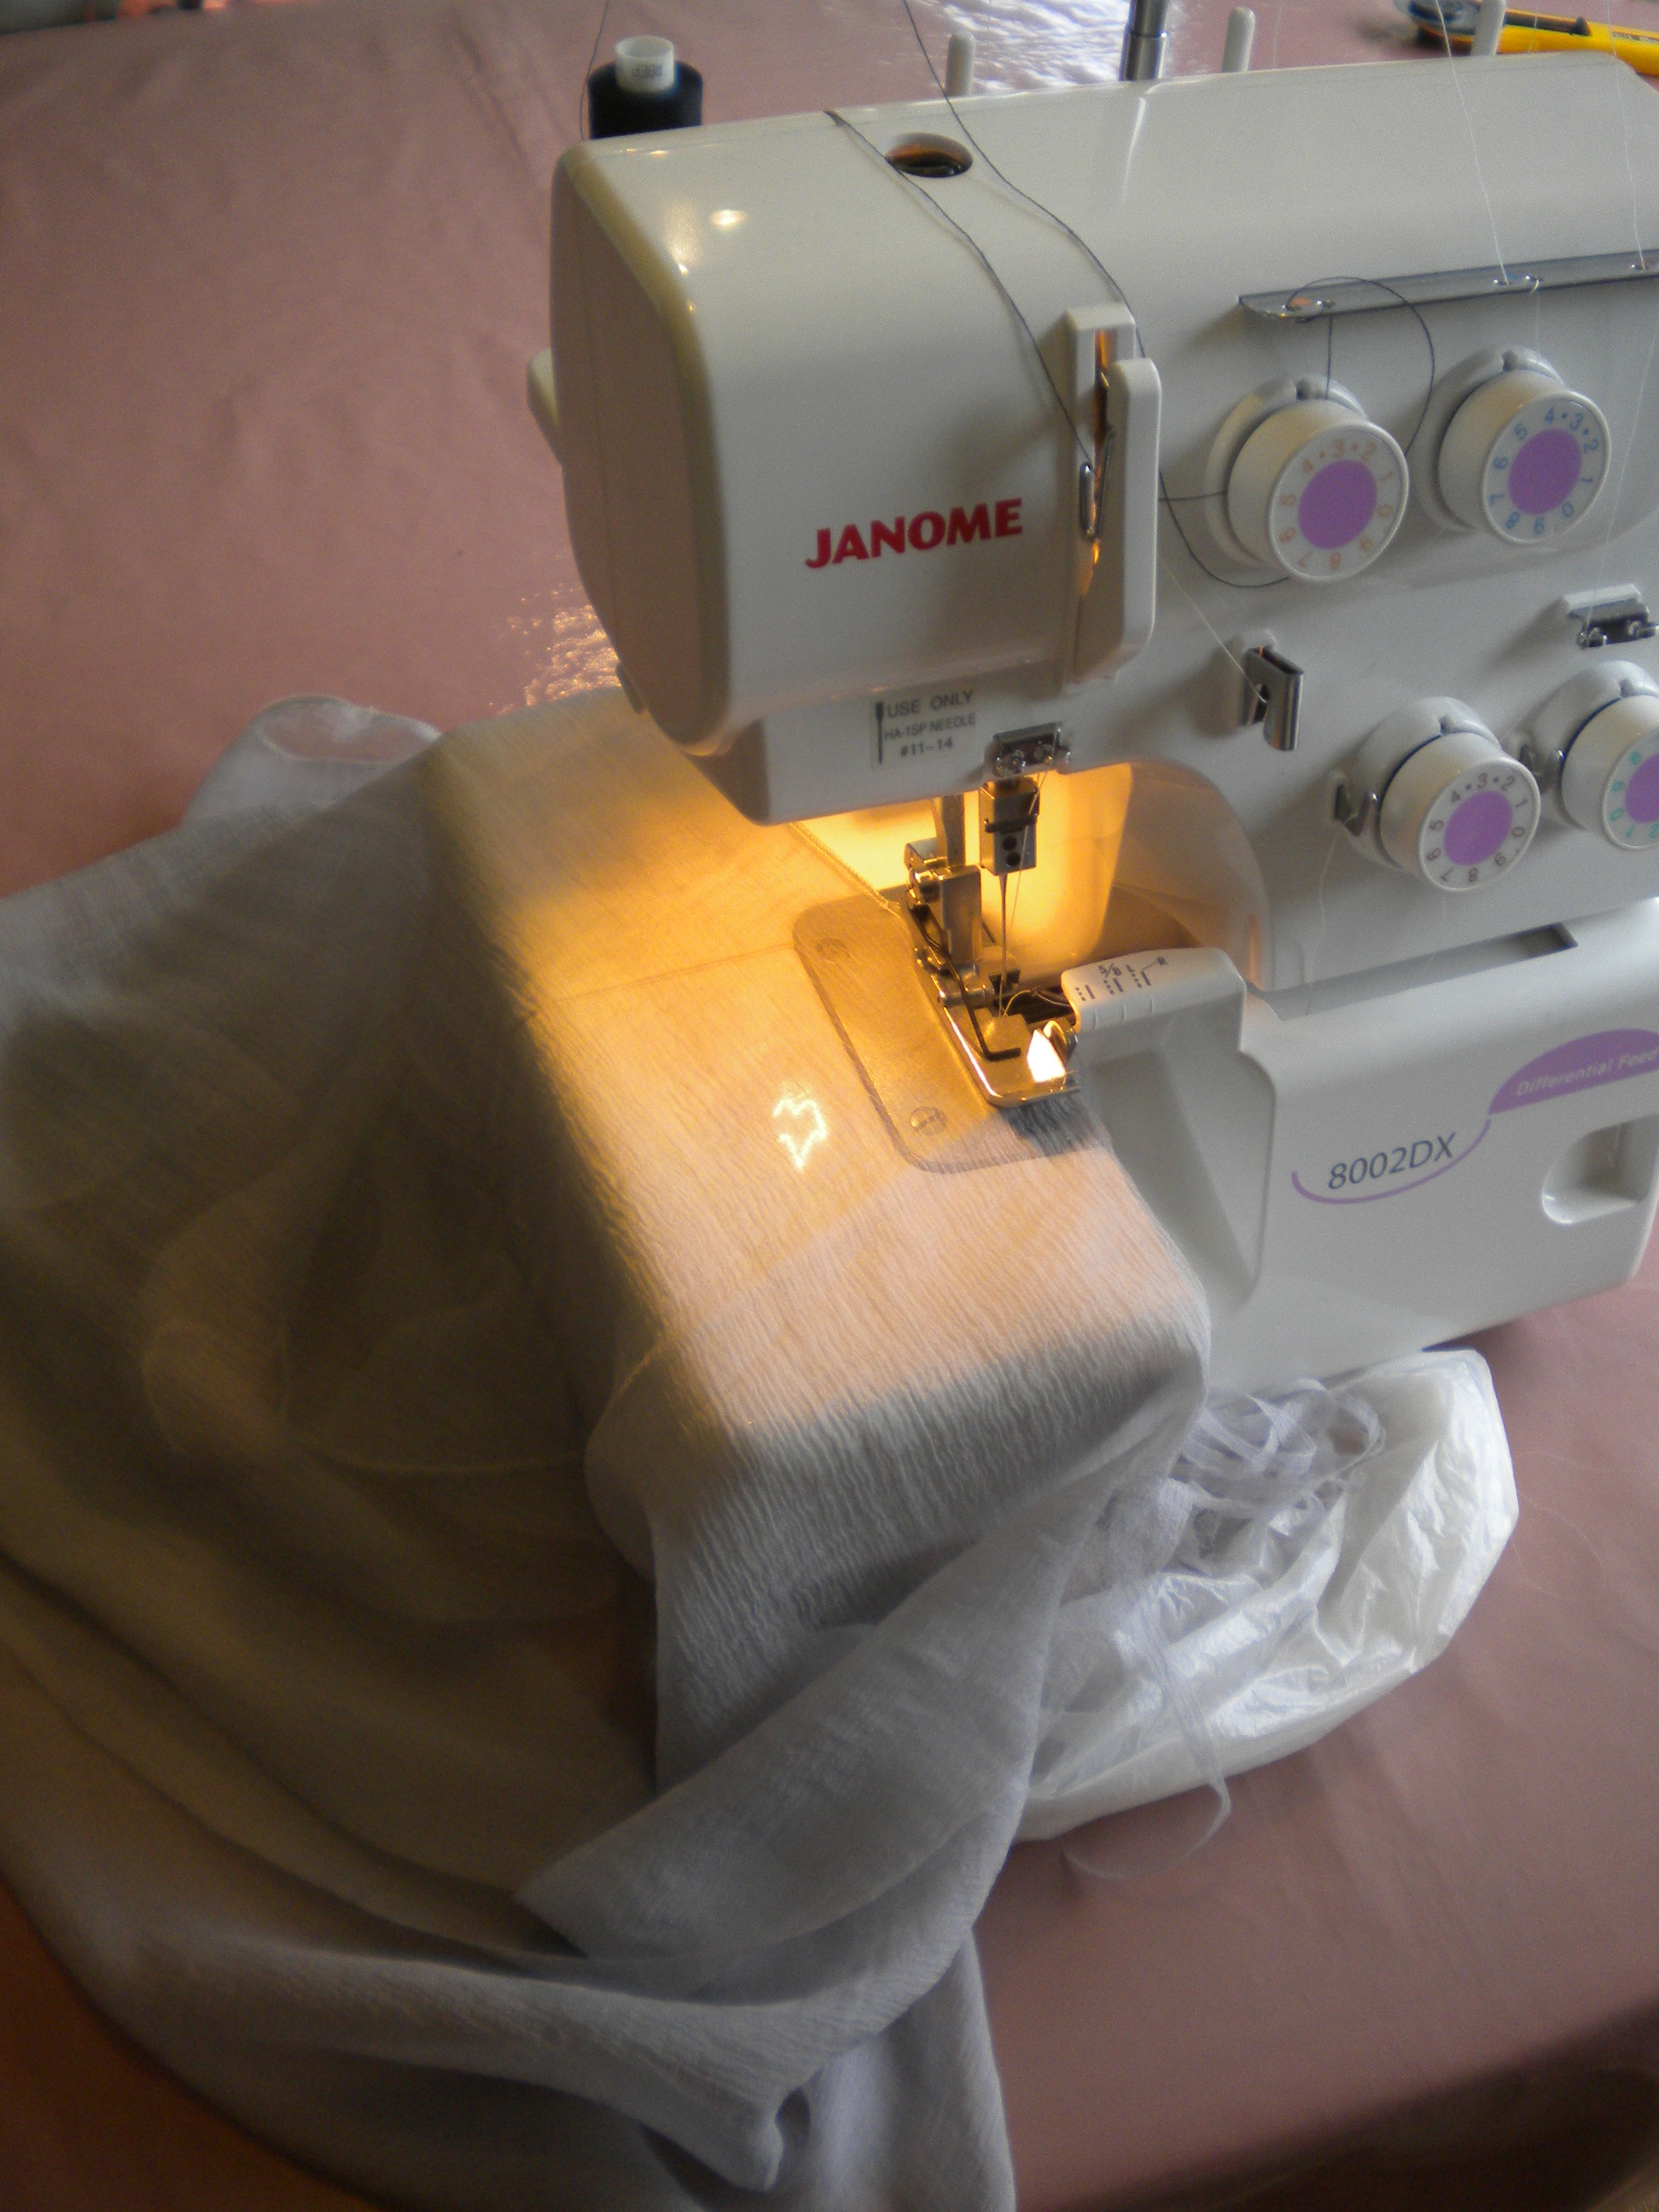
It can be done, as this photo proves, but not very often it would seem. 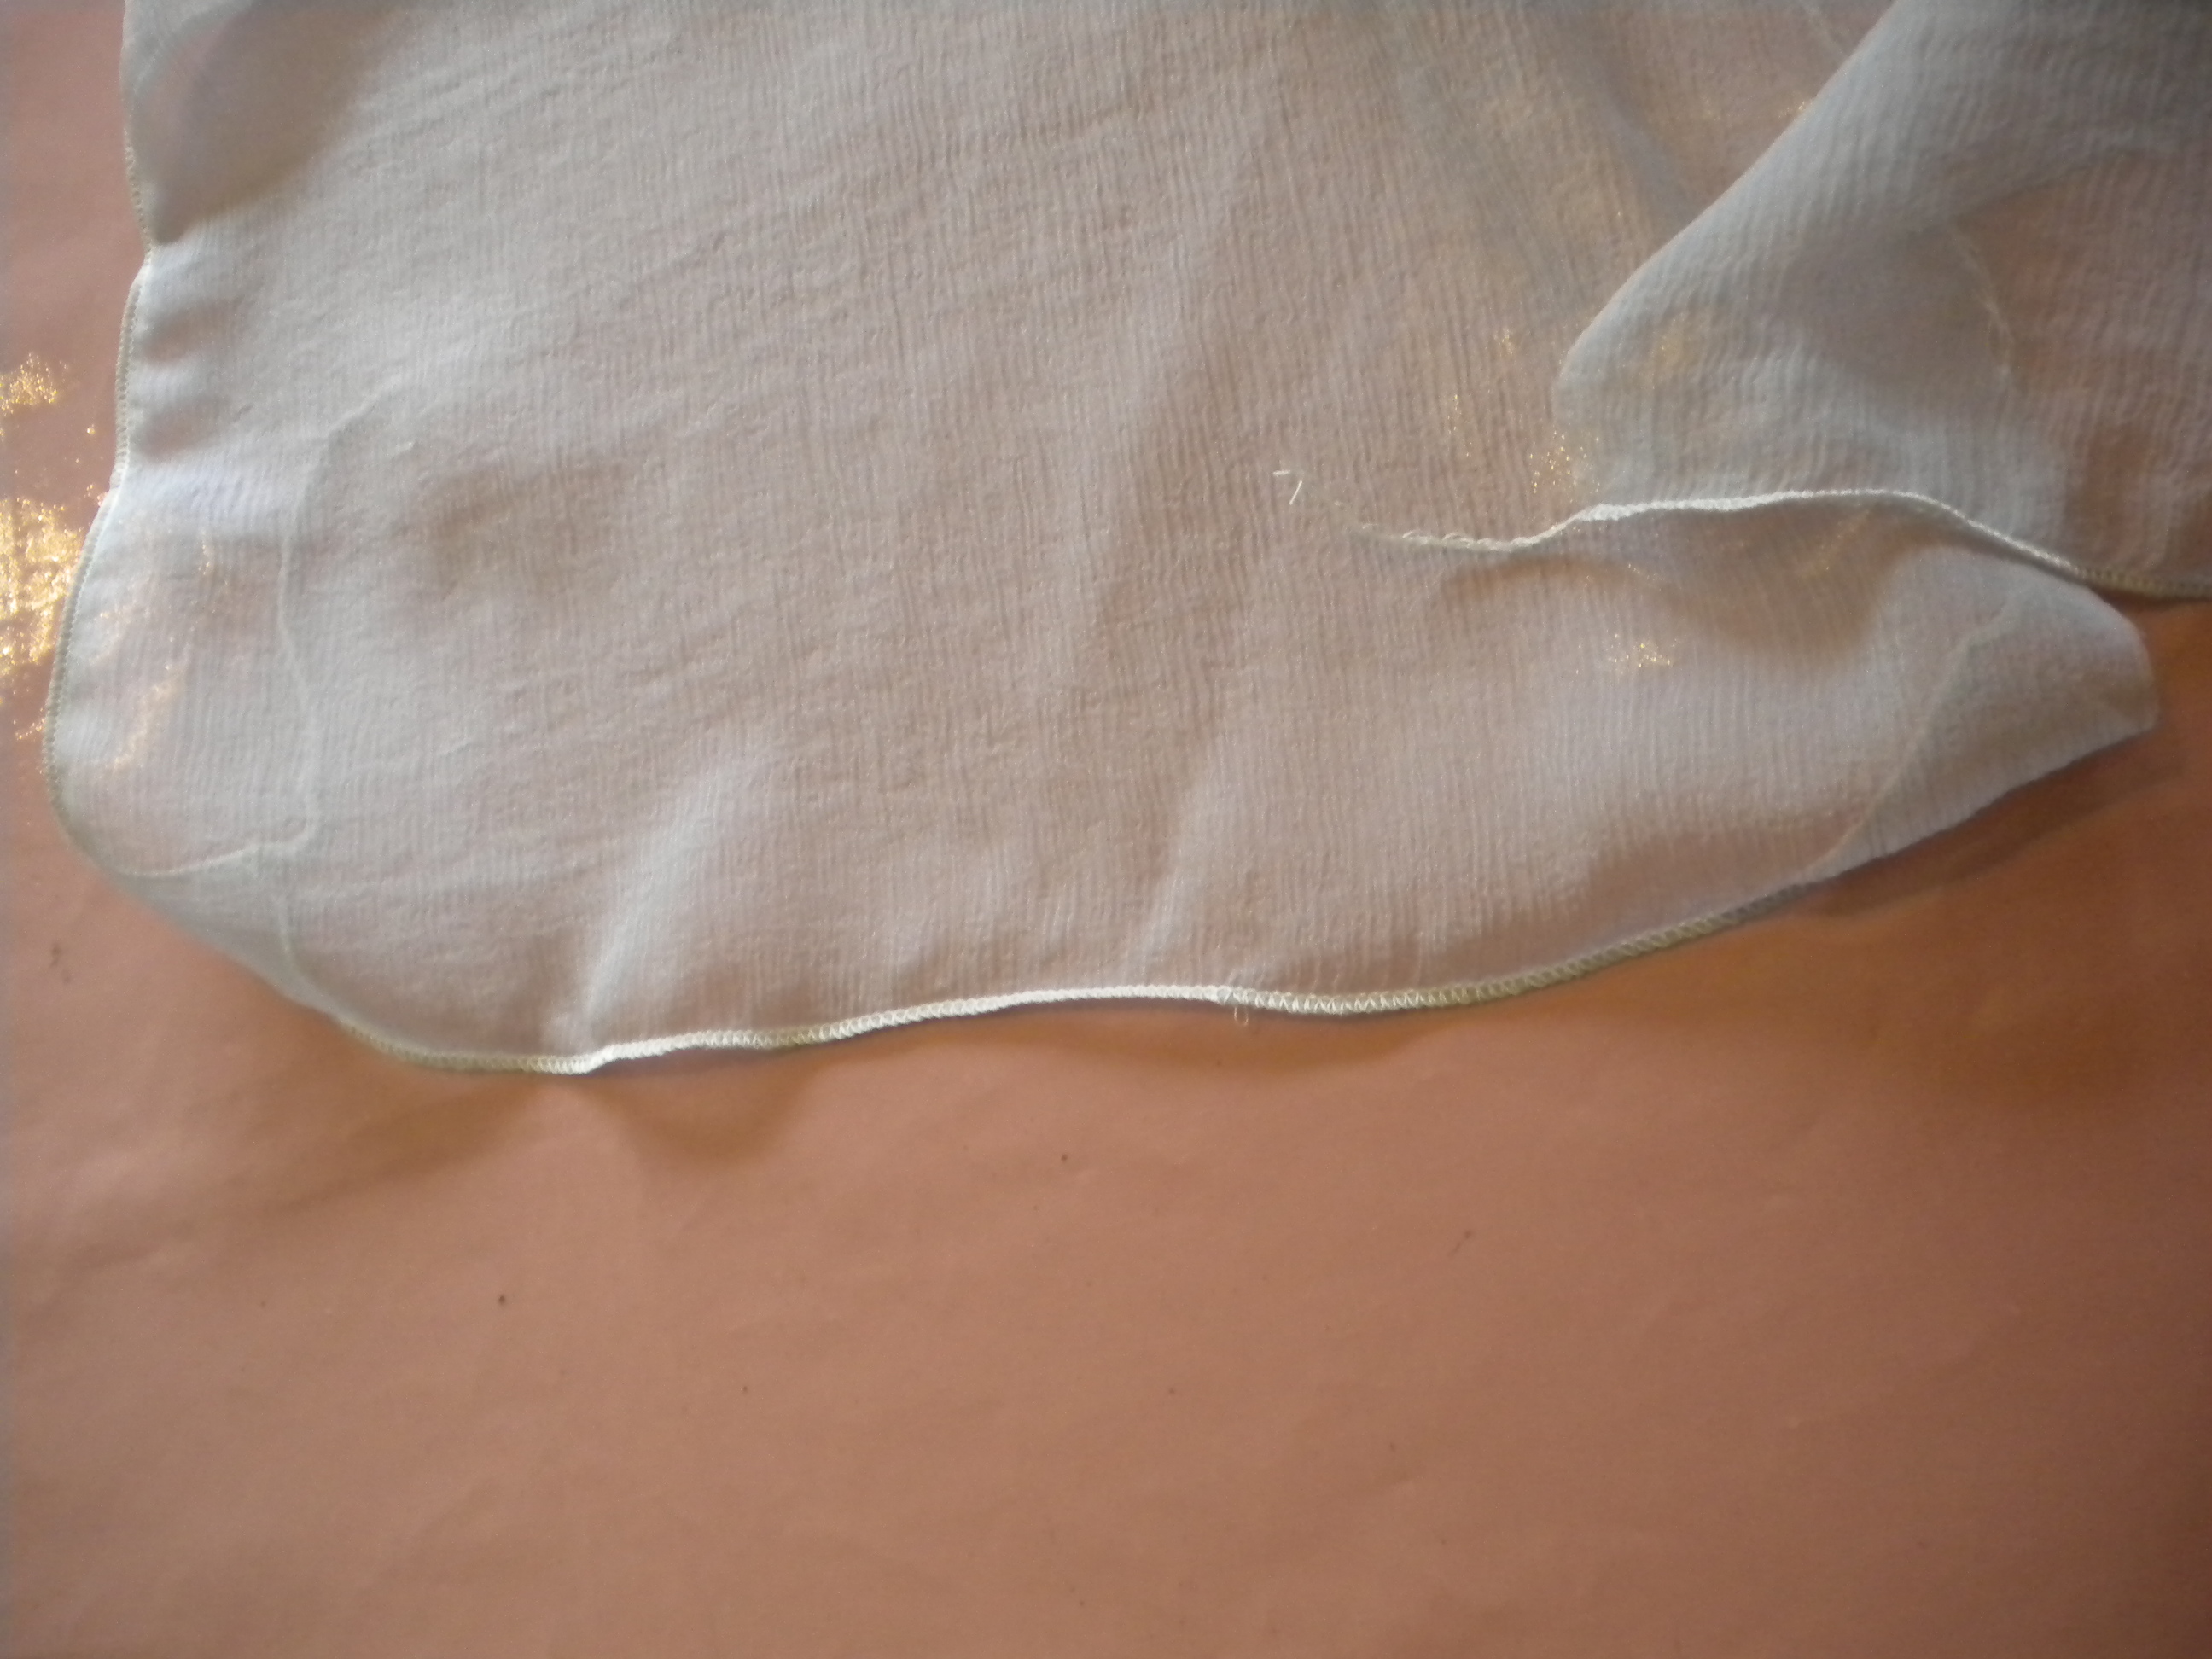
Its not very clear, but this is the story of the making of the silk scarves. Every so often the thread broke.
 By the time I had finished, in fact, well before that, I could thread the overlocker in my sleep.
Now I have had the thread break before, and was relieved to find a section in my Technical Overlocker Guide which explained what the problem was if your thread broke and you did not know why. I learnt a lesson, and have applied it ever since – make sure that all of the threads are lose and under the foot before you start. Obviously you need all of the tension suitably tightened back up again, and all of the threads through exactly the right loops as well, but after multiple checks for such basics, after between 20 and 30 cm, the thread broke again, and again. I’d already bought 4 reels of suitably neutral thread (one spare), but had to go out and buy more. I was wasting so much. I am pretty sure that I know my way around my overlocker now, and changing thread will never scare me again, but I still don’t really know why it kept breaking, especially as twice, it went all the way down a scarf side without breaking. I am blaming the fabric, and if any of my followers can confirm that, it would make me feel better!
So eventually I completed my first half a scarf! 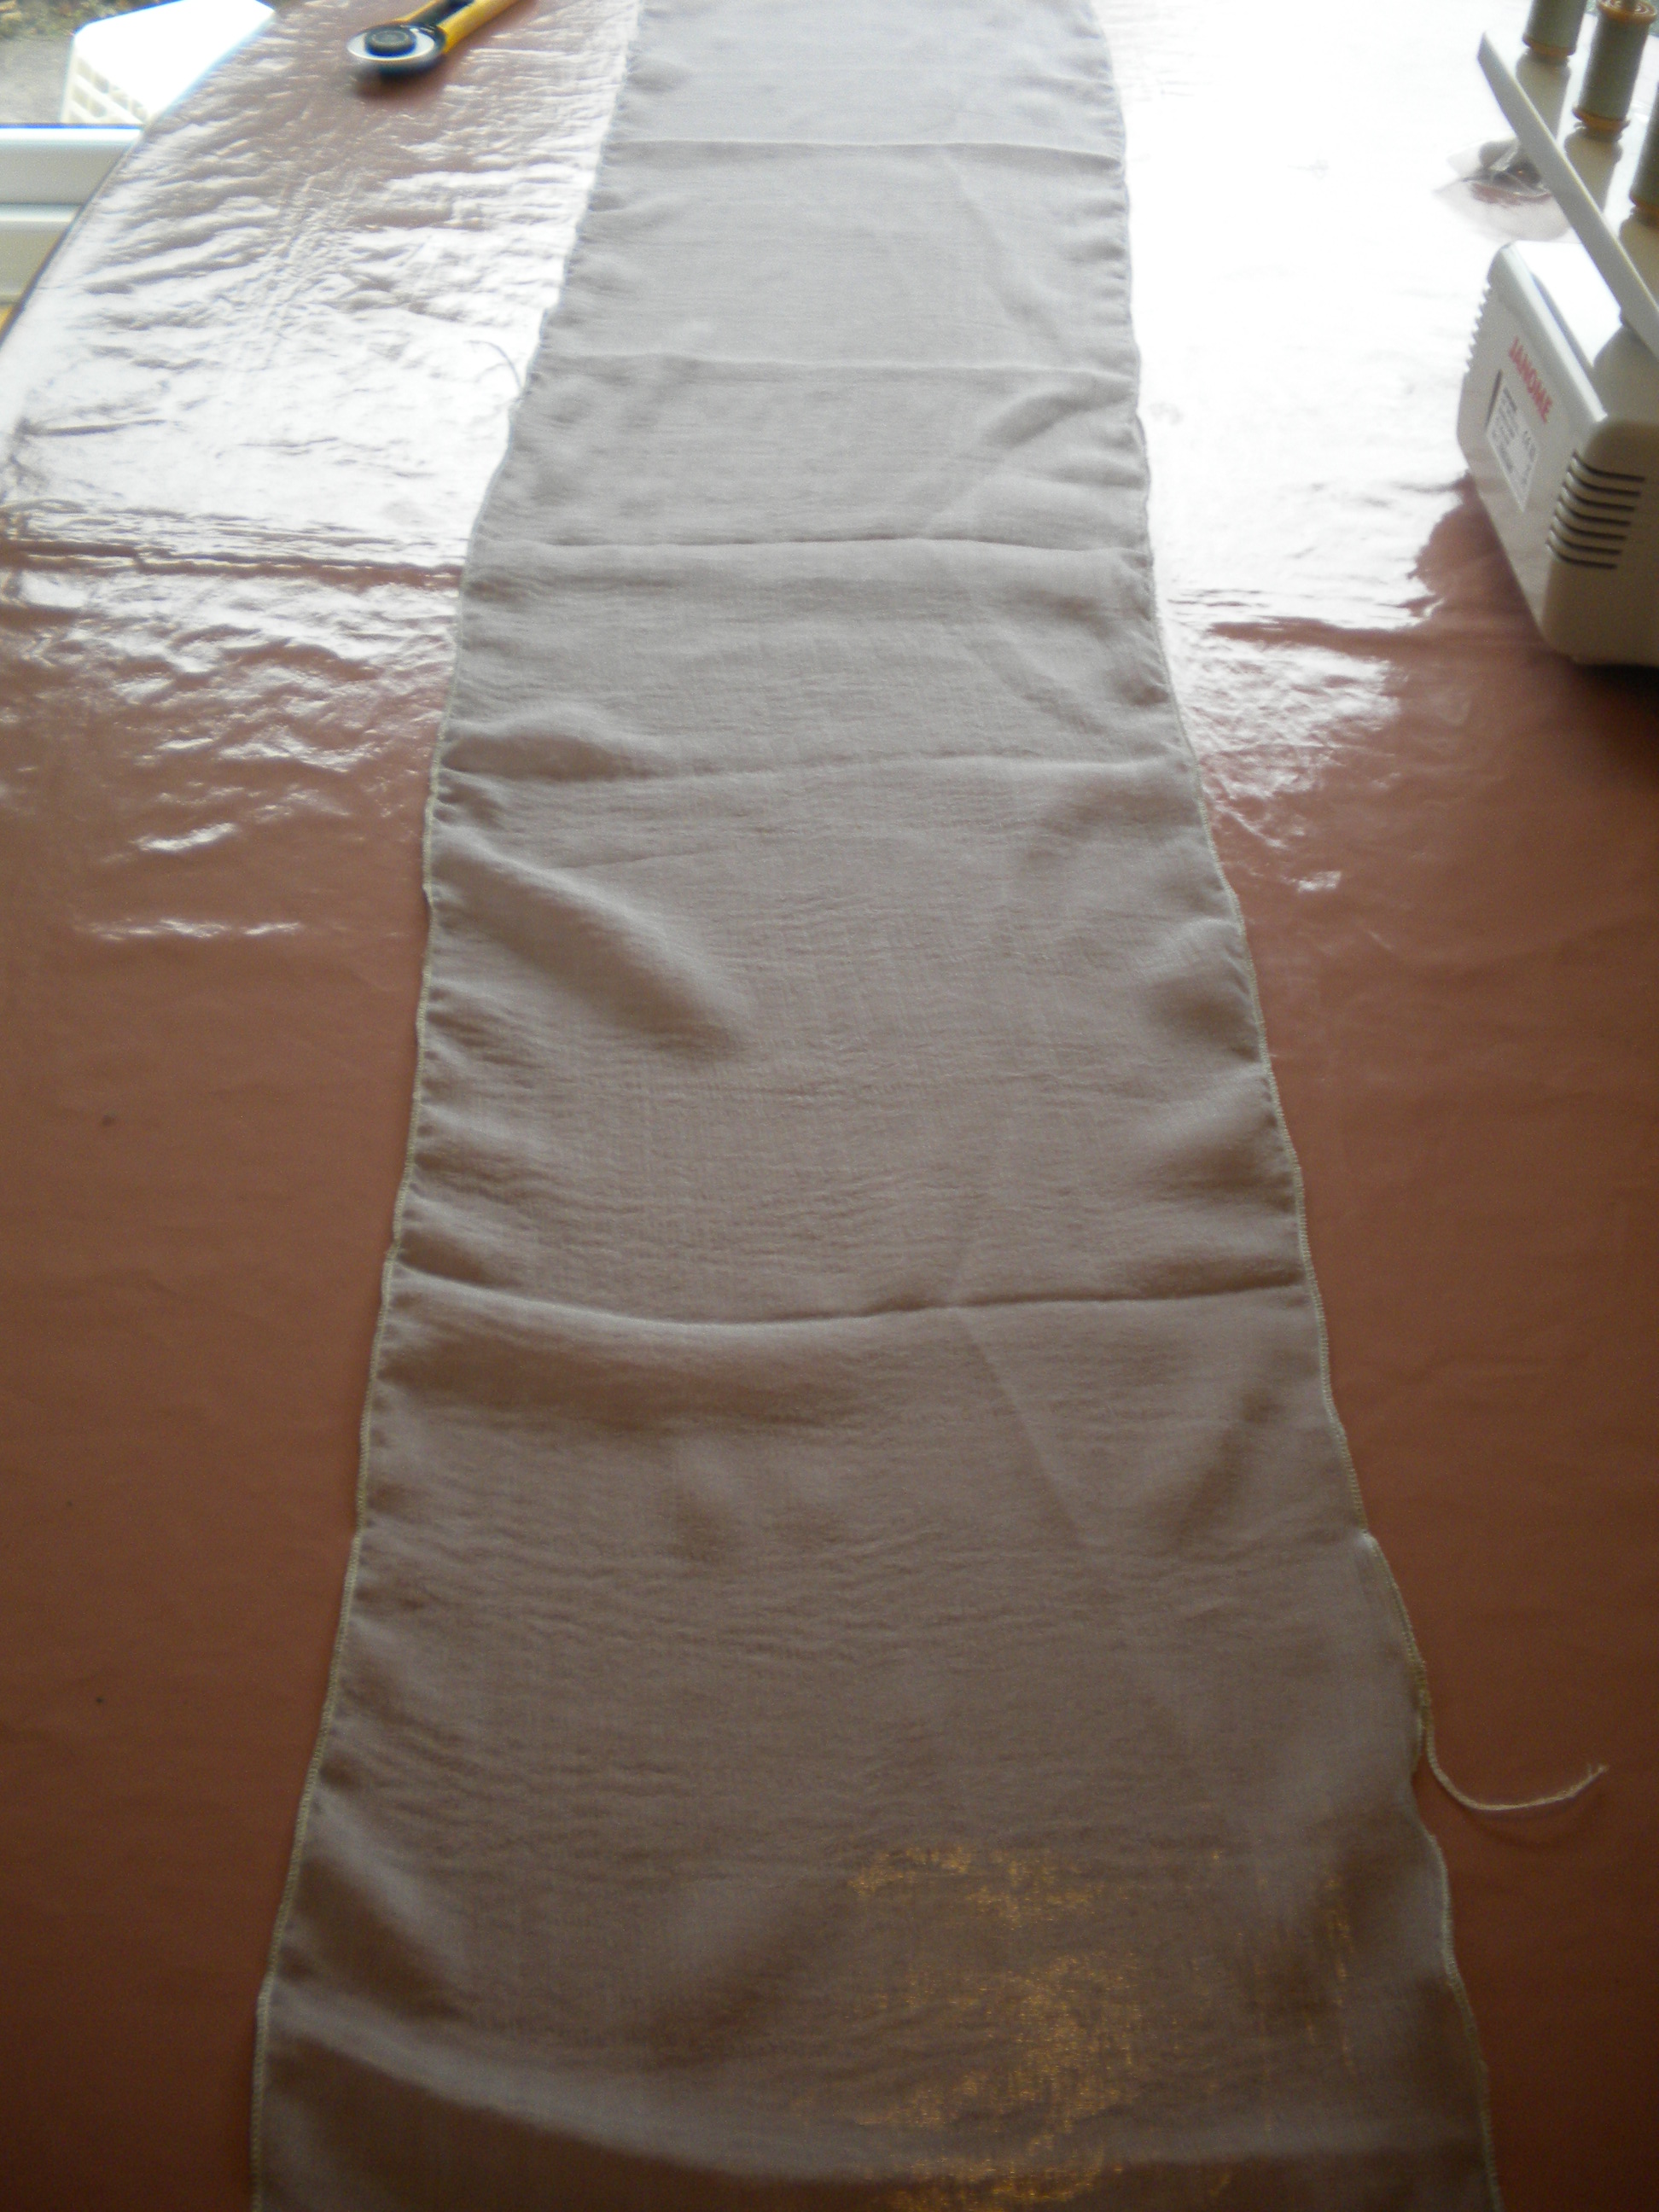
I then battled on with the rest, much frustrated by the thread problems, and thus creating a slightly untidy finish to the product. Sorry friends.
Stitching the two sections together was so simple in comparison. To divert a little from the theme, I once made an organza ball gown for a student ball; it was the late ’70s, and there was loads of fabric and quite a lot of flouncy stuff! I tacked everything to tissue paper before I sewed. So that’s what I did this time as well. I laid each scarf out on the table, got them lined up approximately straight, and tacked them down the centre adding tissue paper. I was then able to whizz a straight stitch down the scarf on my sewing machine, and then gently rip back the tissue paper after sewing. No problems. But I can’t see how you could do the equivalent with an overlocker. Again, all feedback gratefully received!
As I have said already, in places the scarves look messy, as there are so many places where I have had to thread in the ends part way down a seam. I had already planned to add some bobble trimming, but I added more than I intended, and all by hand. Oh, and the two scarves were never intended to be exactly the same length. That part is ‘by design’ rather than anything that I can blame on the overlocker!
So now I have 4 trimmed, dusky pink and grey scarves. I briefly wore one, just to try to get an acceptable selfie of one round a real neck! They will be quite warm, and hopefully will go with a range of my friends’ wardrobe items. They will be packaged, similarly to the knickers last year, along with a link to this blog, so that if they so wish, my friends can follow the story of the making of the scarves. Albeit, that approach will, I acknowledge, draw attention to the messy finish. But if they have already noticed the messy finish, they will find out why!
That’s not the end of the story….. I bought some blue silk as well. It’s been about a month since I finished the pink ones. ….
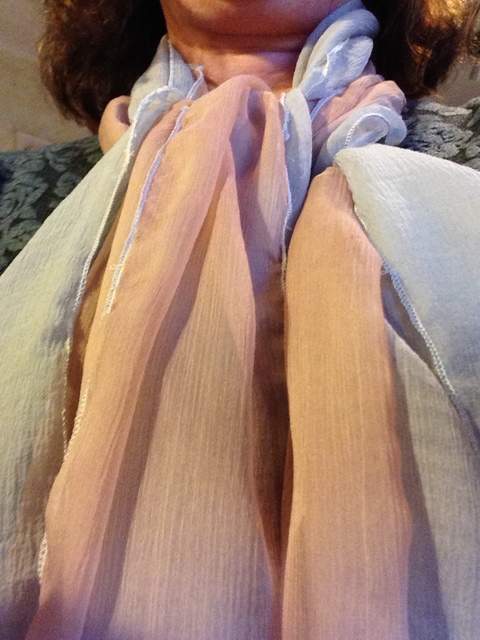
Here is the blue scarf.  Around my neck. It goes with the grey jumper quite well. Now there’s a thought.
I had been putting this off, despite there being enough silk for two more scarves, but only enough trimming for one. What was certain was that the silk wasn’t going anywhere near my overlocker. My objective was to create what as effectively a ‘silk sandwich’, between tissue paper and the trimming.
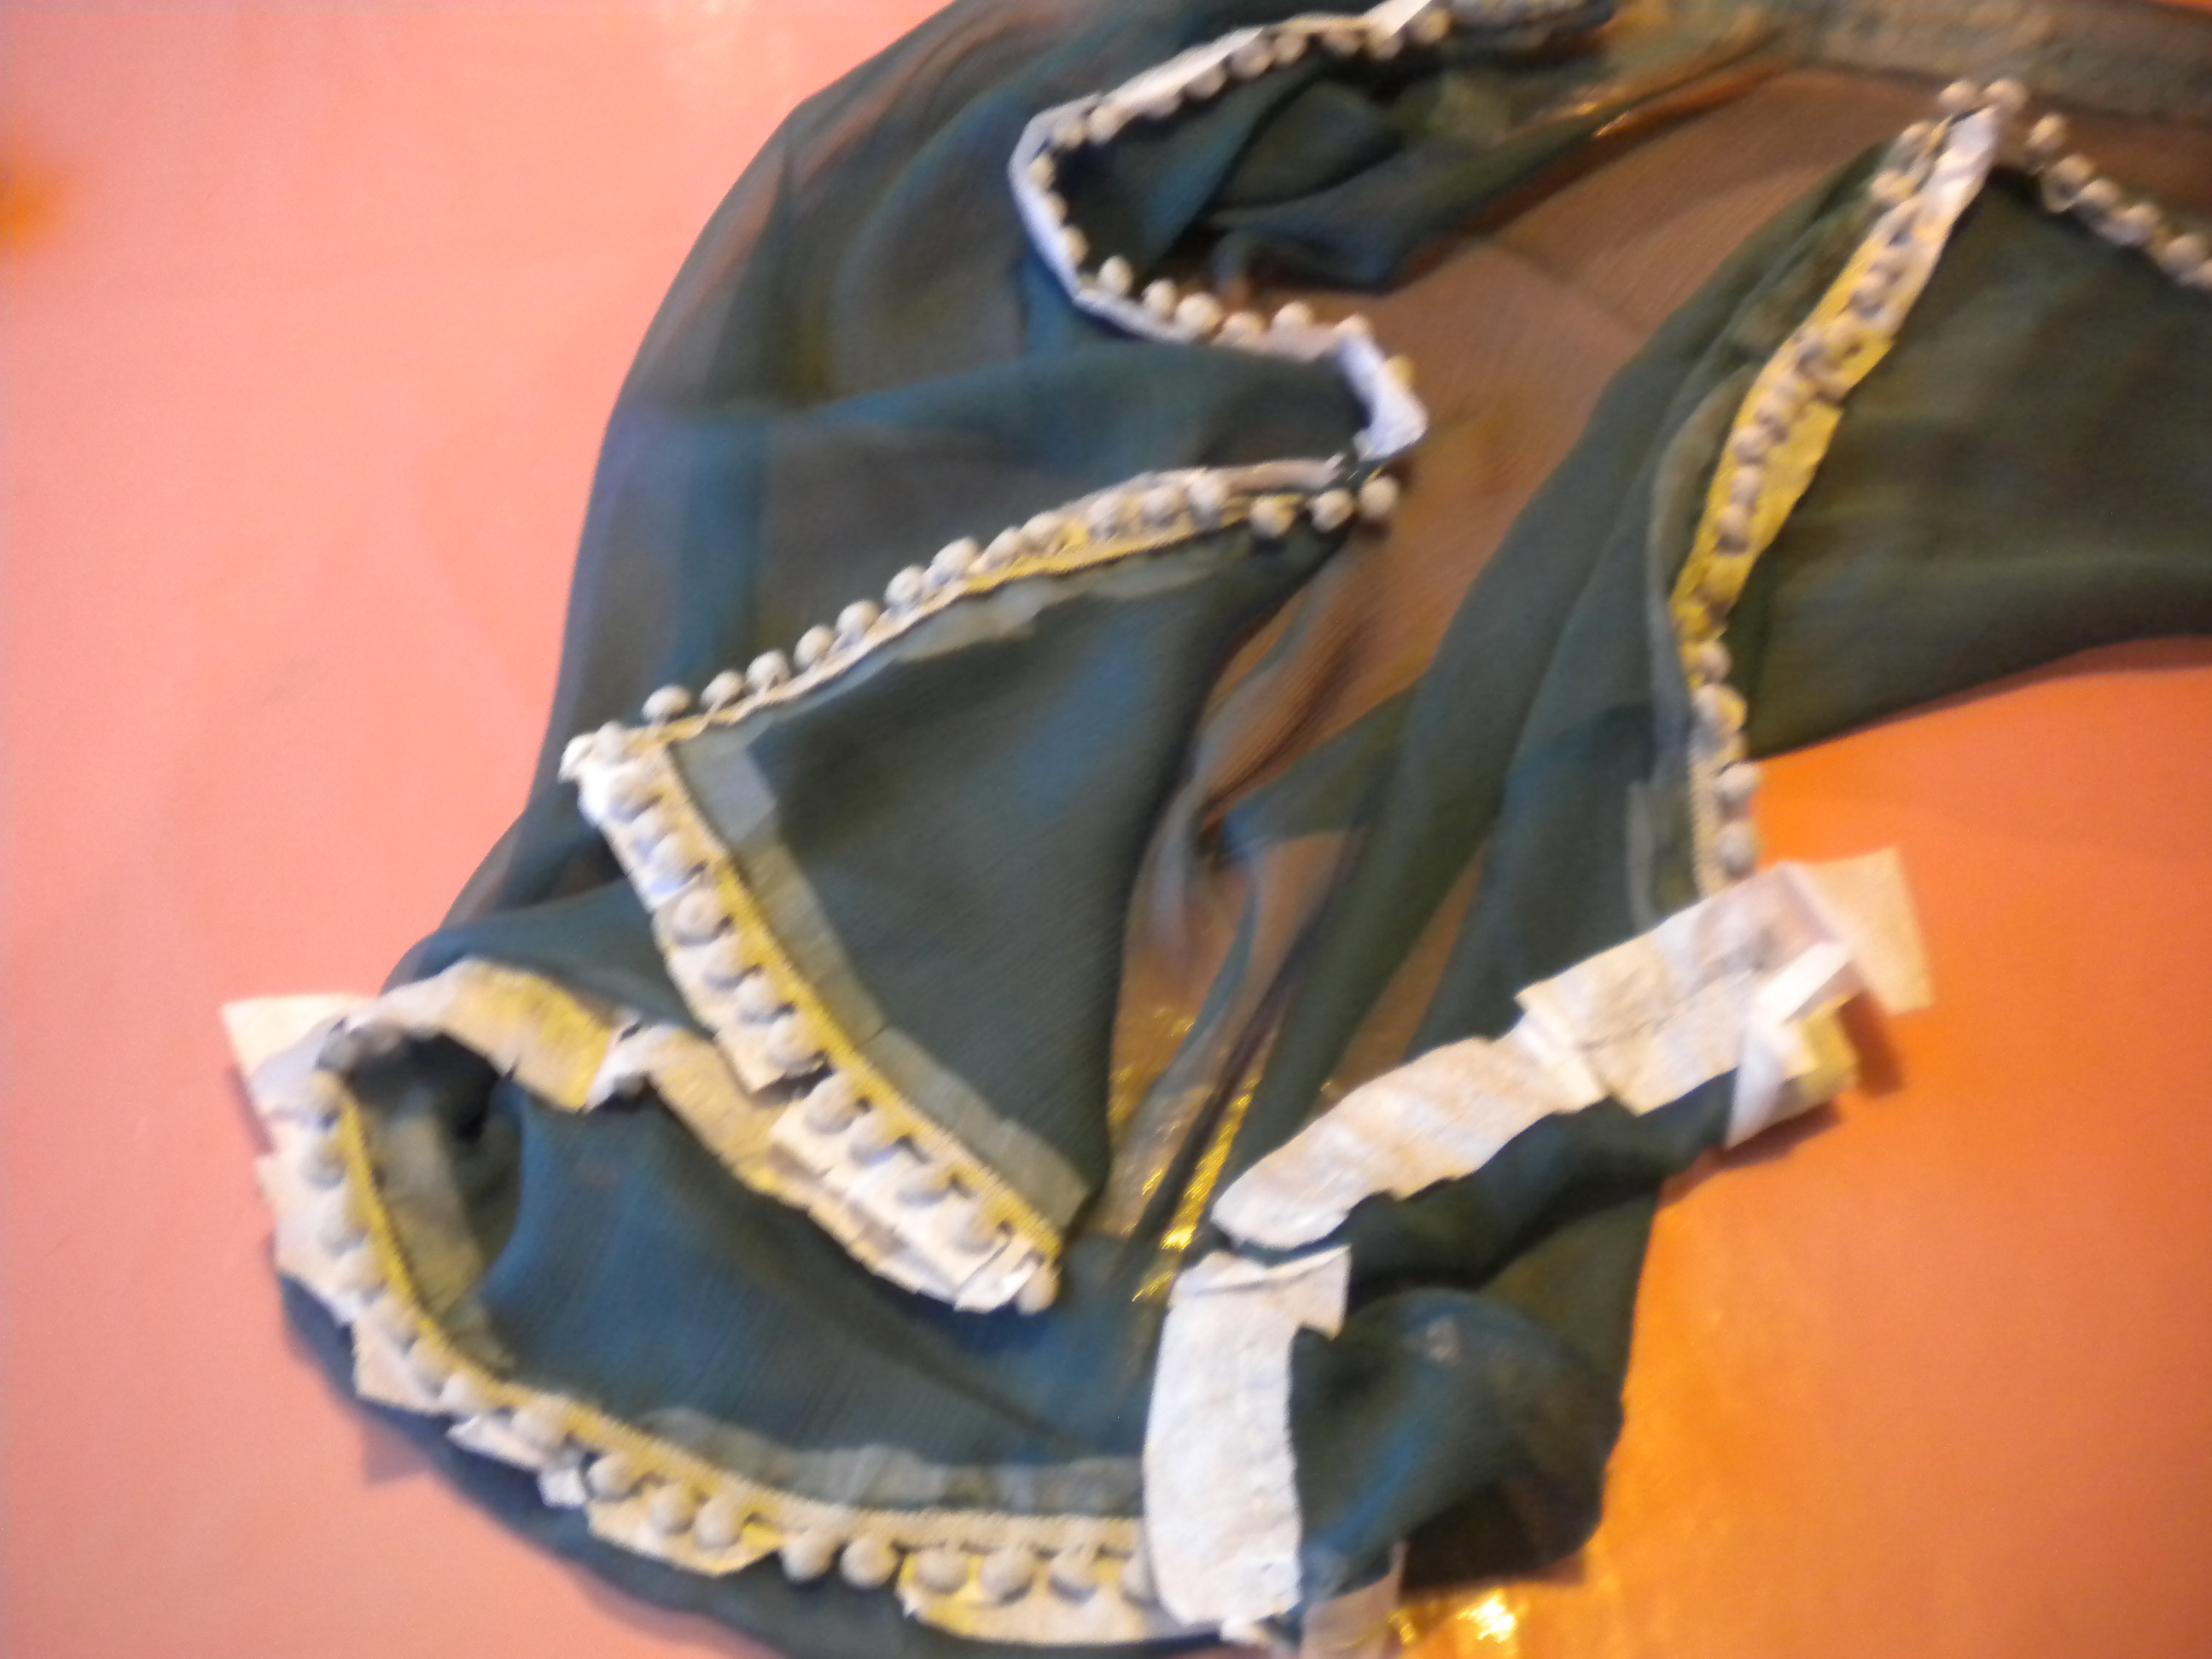
I started reasonably well.
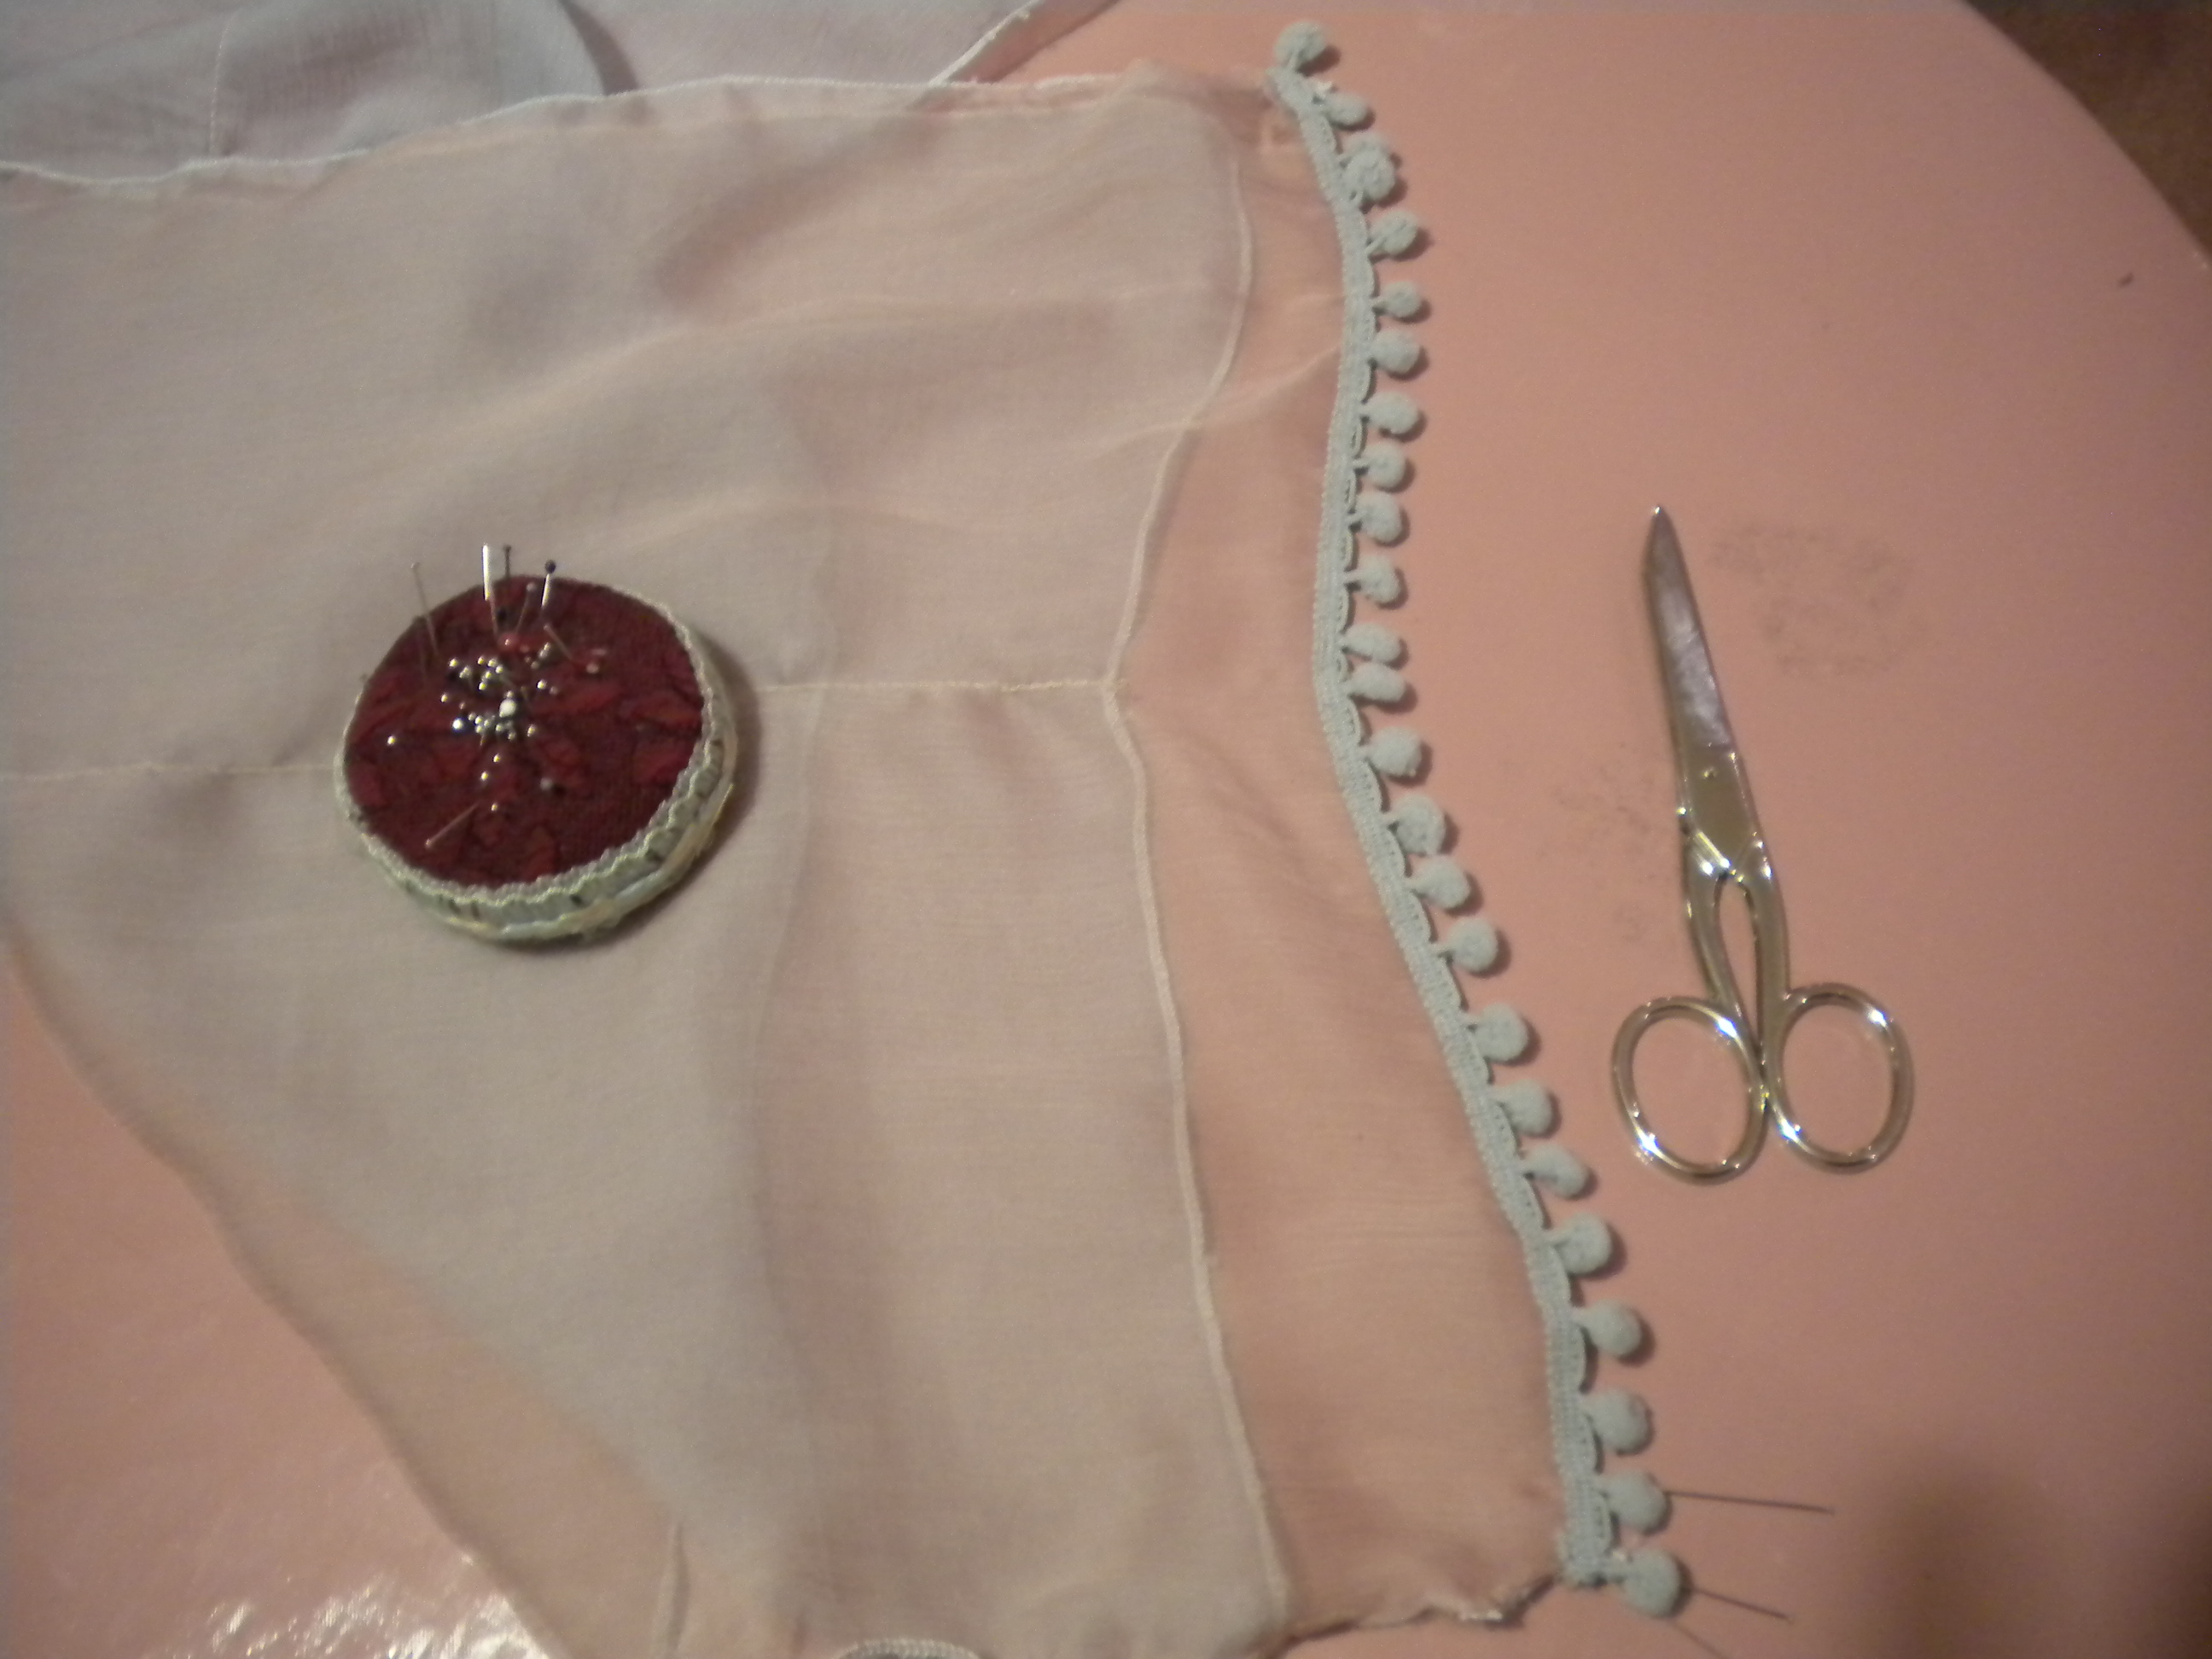
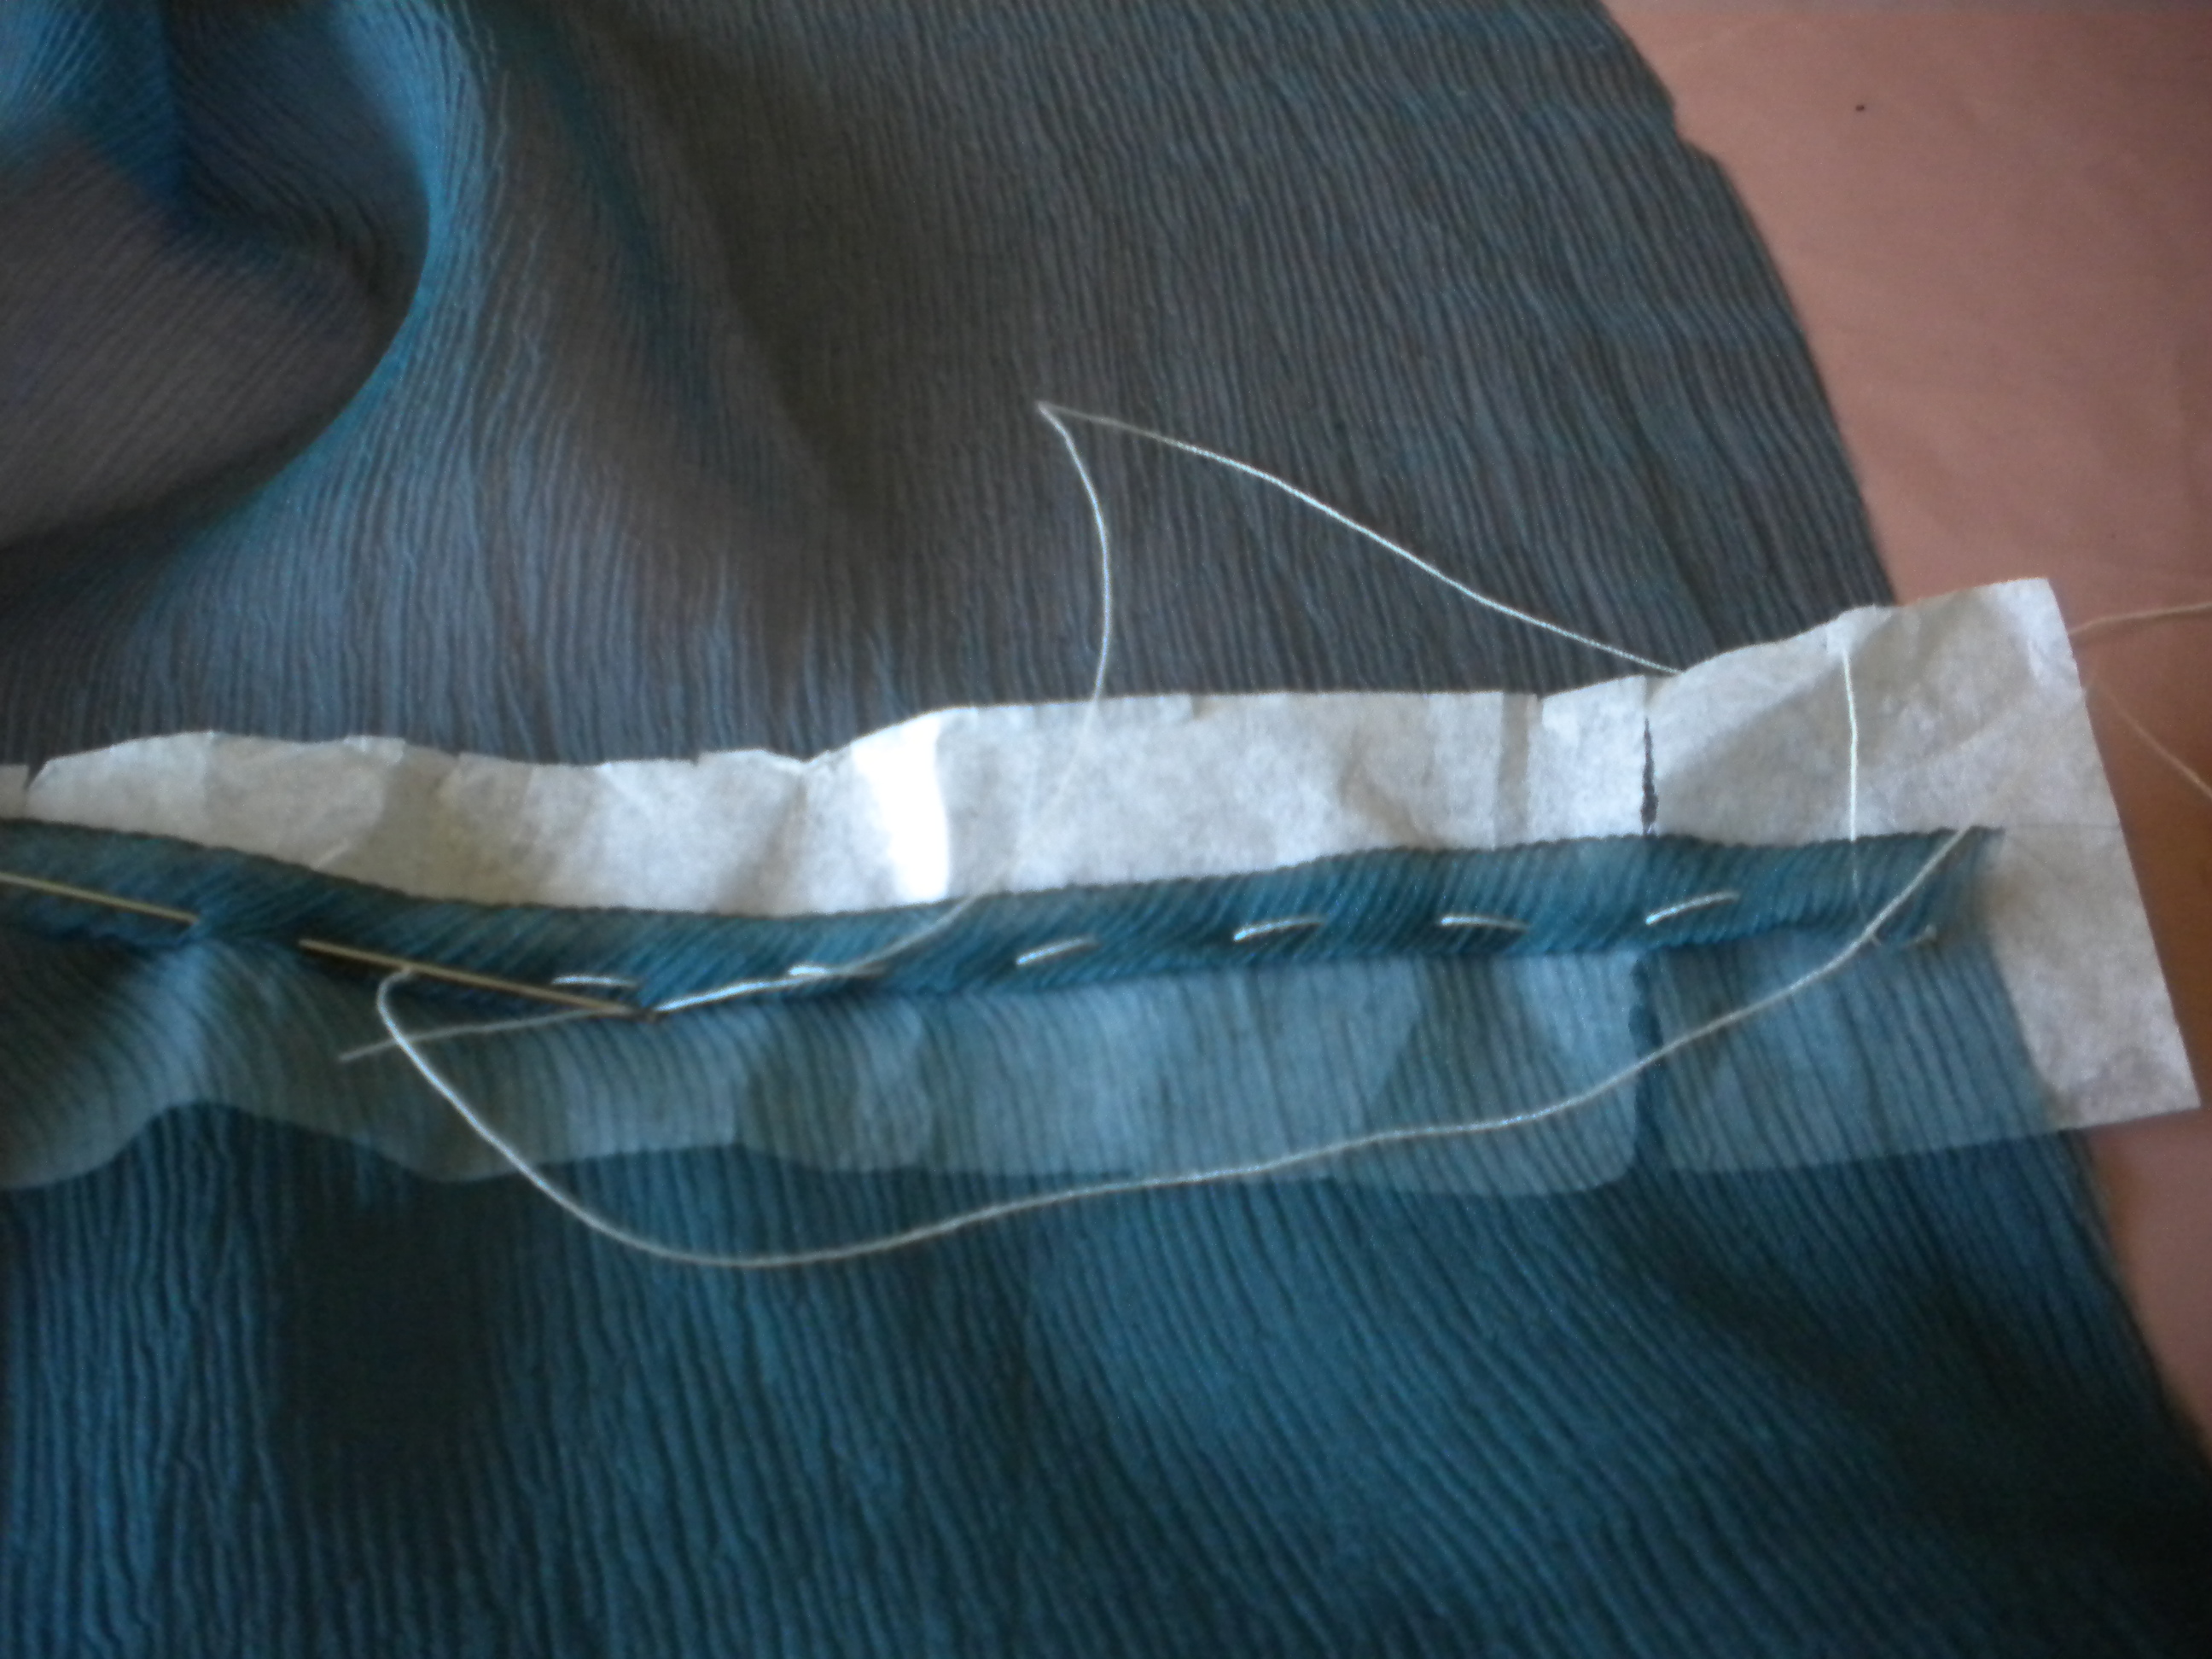 You can see that the plan was to roll a not- so-narrow hem, manually, and tack the hem to the tissue paper. Ideally this process requires about 4 hands: to roll the silk and keep it in place, to hold the tissue paper in the right place, to pick up the needle and catch the silk before it unravels, and occassionally, to check that you haven’t caught any of the rest of the fabric in the stitch. The latter problem happened about 4 times, but the other problems happened every few stitches. I nearly gave up about half way down the first side, but sewing teaches me patience and perseverance, both in large bundles in this case. Then having stitched 128″ worth of tissue paper to silk, I started all over again stitching the trimming in place. This was a little easier, as long as I didn’t get the thread caught round bobbles or pins.
What to do at the corners? 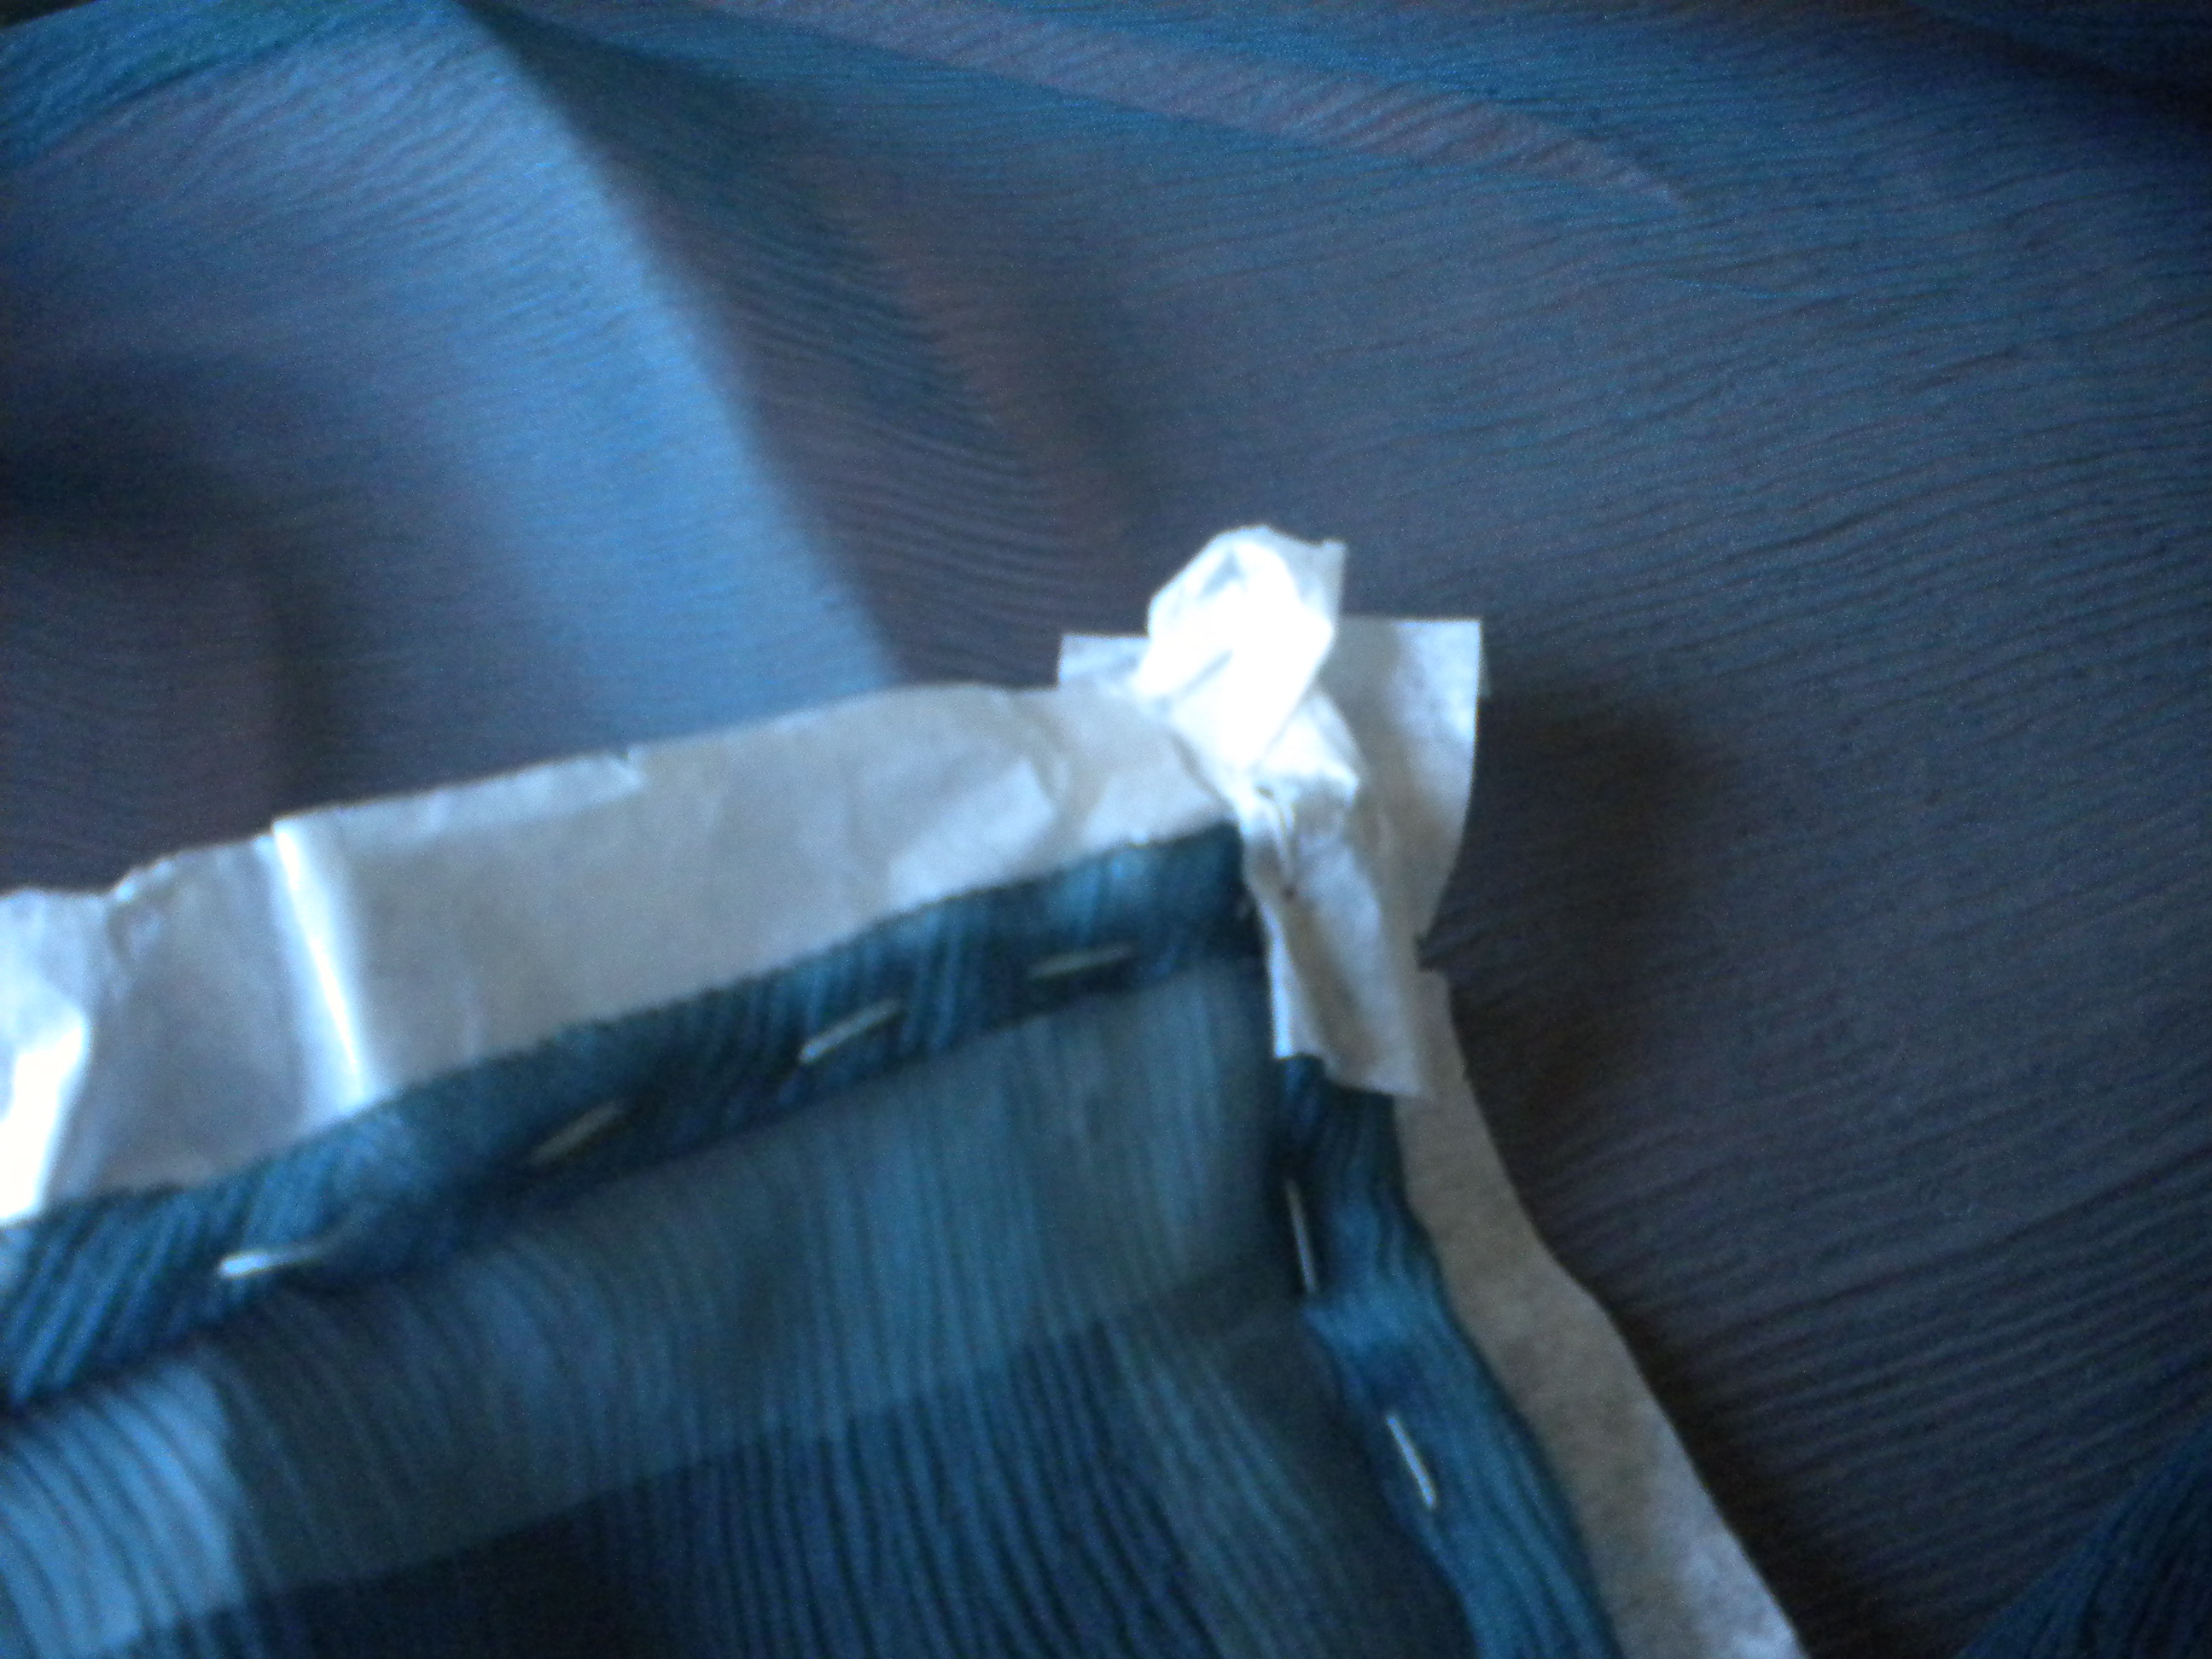 Just create a thick pile of tissue paper, thus giving myself all sorts of problems when it comes to removing it!
So, after about 1.5 hours of hand sewing, I am ready to machine. 
That really was the easy part. Really! It was so easy that I went round twice, once on the outer edge to ensure that I caught the edge of the rolled silk, and then close to the bobbles, all with a zipper foot and fine needle, of course, otherwise I would have been flattening the bobbles. In fact, the biggest problem was that some of the tissue ravelled, and I had to tear it away. Now where that had happened, I was sewing on naked silk through the feed, and, after all of that effort, the machine seemed to be happy about it!
Then this was followed by another 1,5 hours pulling out two lots of tacking stitches and removing all of the tissue paper, which was particularly difficult in the corners, and between the two rows of machine stitching. What a mess on the floor, but I got there. I wonder how much this would retail for in the shops, after about 4 hours effort? I shan’t be looking see how much it costs to buy a silk scarf with bobble trimming…..
Anyway, I may keep this one myself, partly because it was a triumph to complete, and partly because I know that it has a fault, which I will not divulge here, just in case I decide to give it as a present….
I’m not sure what I am going to do with the rest of the silk, but I won’t be making any more scarves. Maybe i’ll swap it at the next Meet Up, and hope that someone more skilled at handling the fabric can put it to good use.
One Week, One Pattern

Me Made May 2016

Me Made May 2015

Simplicity Competition

Sew Over it Patterns

