
Variation on a Sports Coat
Yet another Maker’s Atelier pattern, bought on a bit of a whim before she stopped selling paper patterns. How many coats does a woman need? I wear this coat a lot in the spring and autumn, so justified my purchase in the basis that it wouldnt do any harm to have a slightly heavier weight coat to compliment the spring and autumn wardrobe. Also, i hadnt done any sewing for myself for a while, and i was inspired by a coat worn by one of the gardeners on Gardener’s World. I hope that this coat doesnt get to being worn for gardening for many years!

For the first time ever, i bought the fabric based on weight. Since moving house, i rather miss the Birmingham fabric shops, but i visit Liverpool ocassionally, and rarely leave without a visit to Abakhan. And as i now know, Abakhan sell decent sized roll ends at reduced prices. I didnt measure; i just laid out the pattern pieces economically and cut, but i reckon i got over 5m for just under £30.
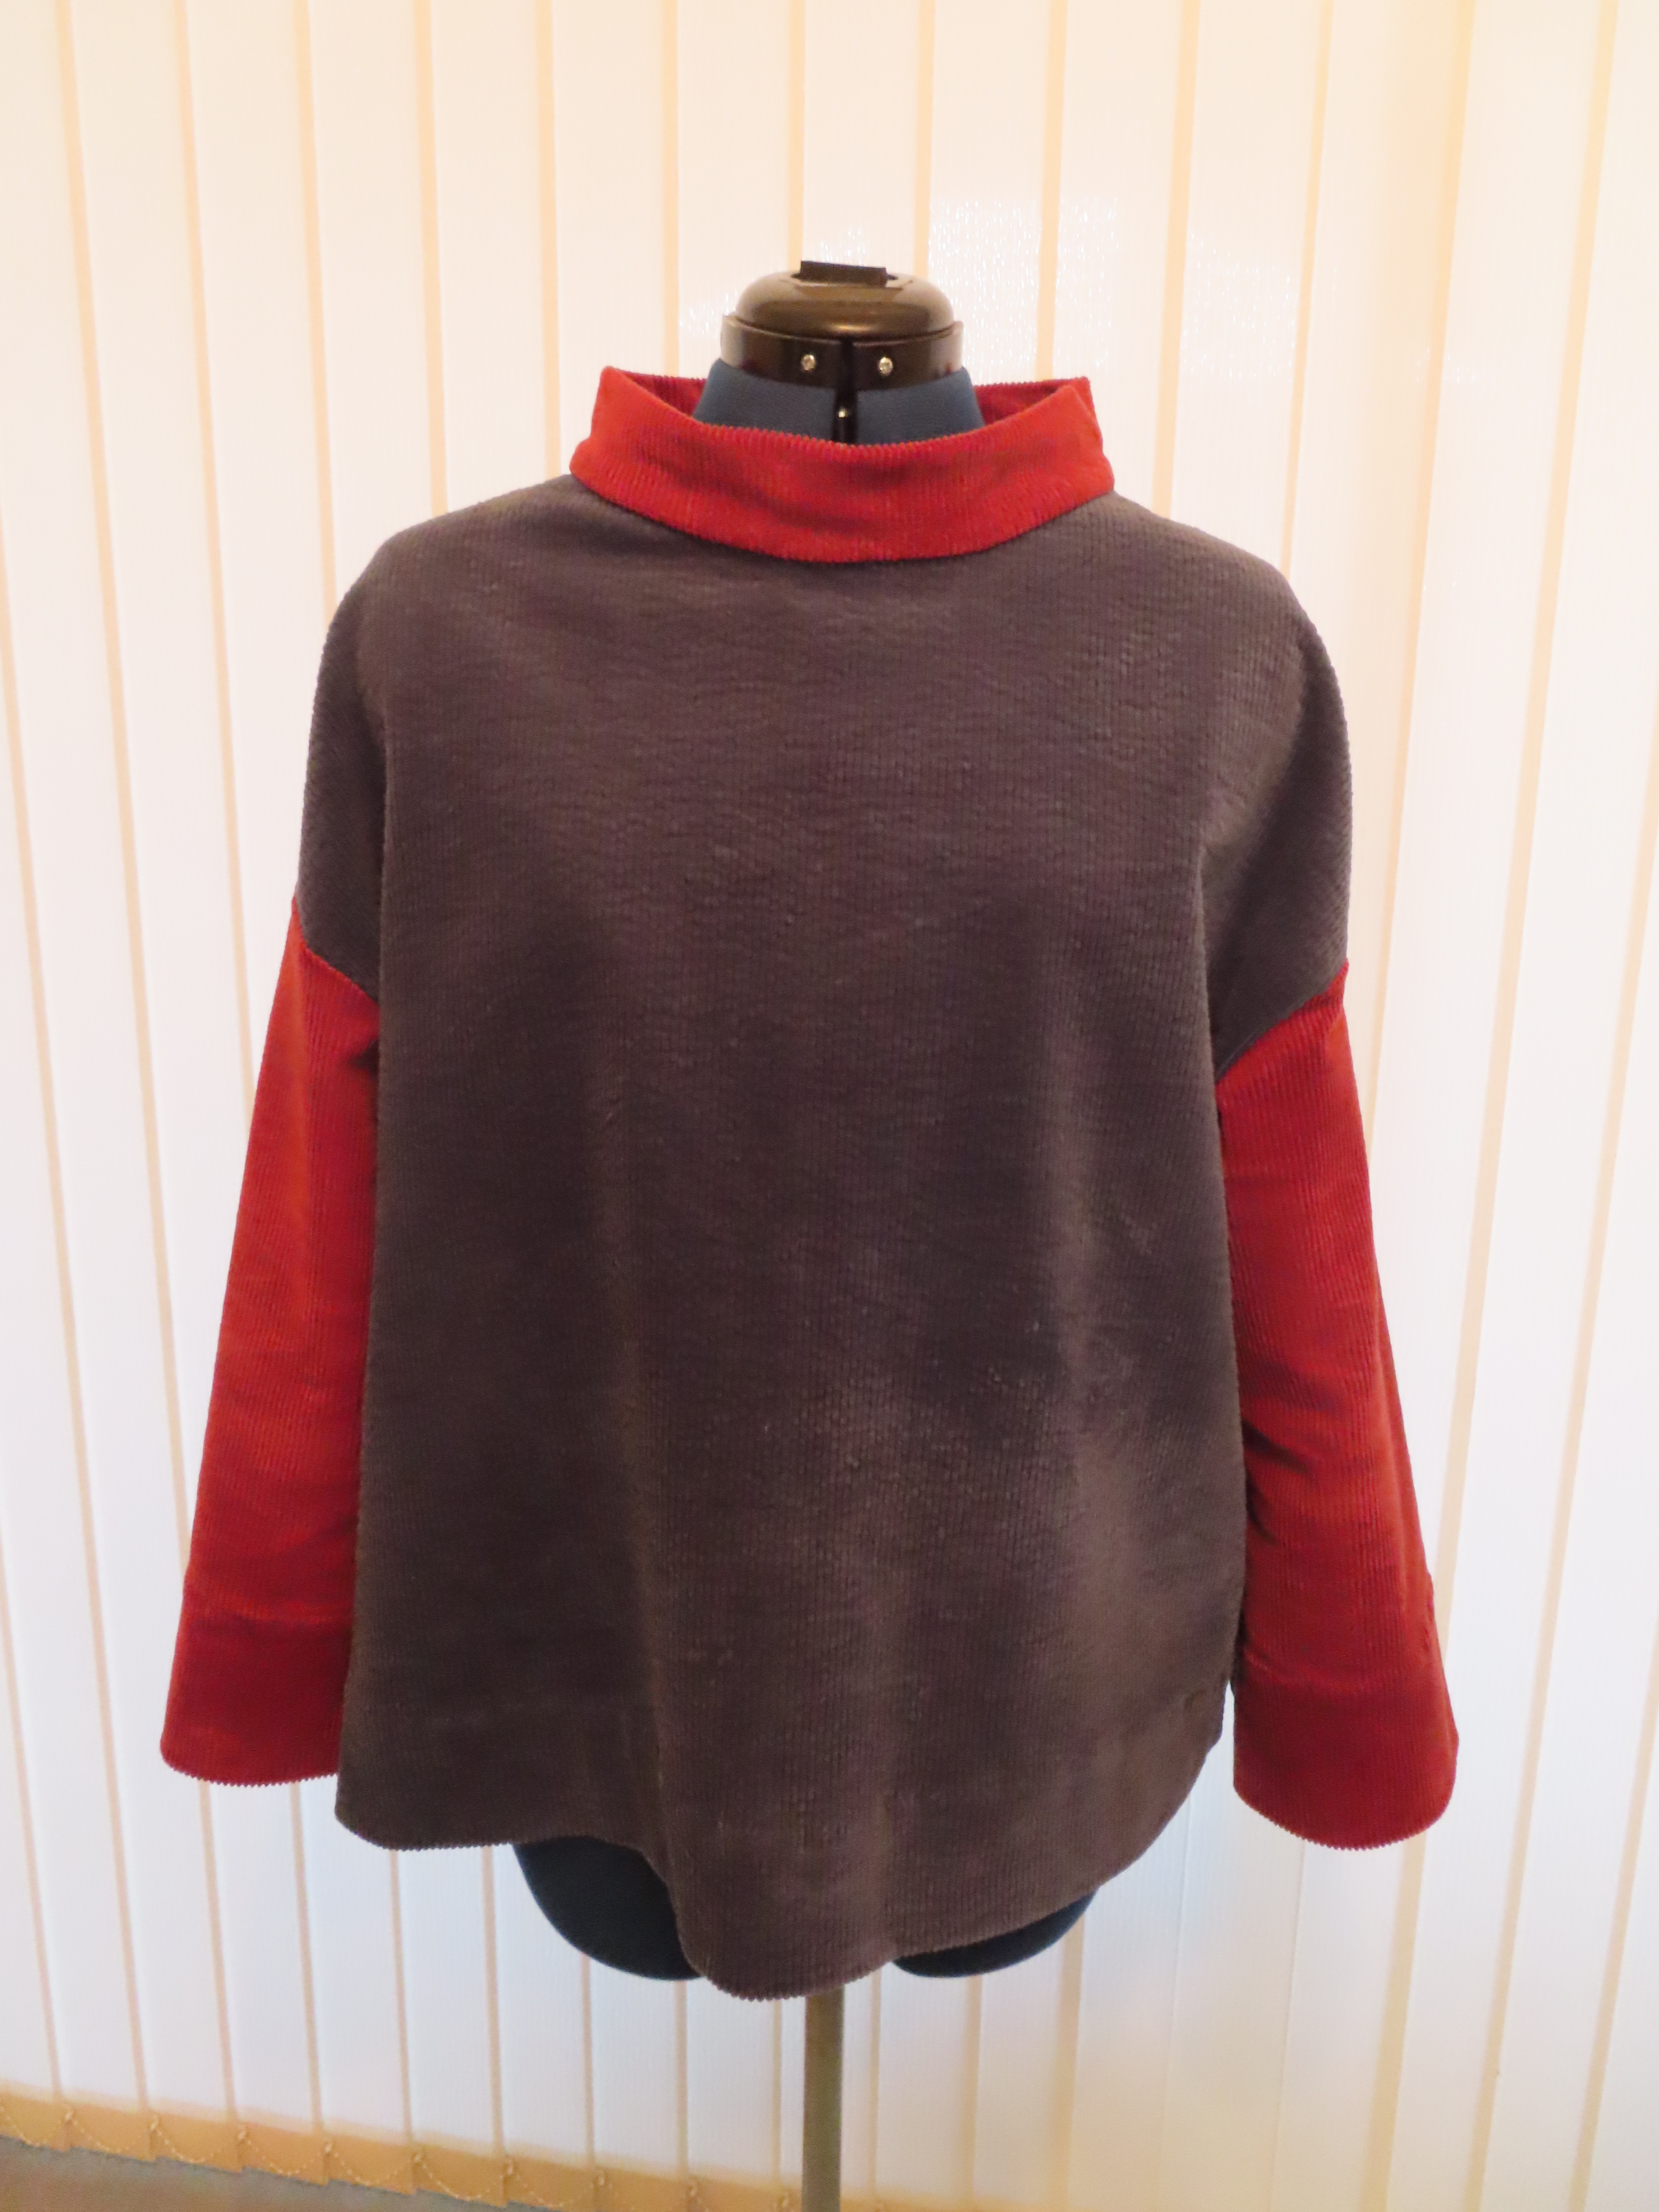
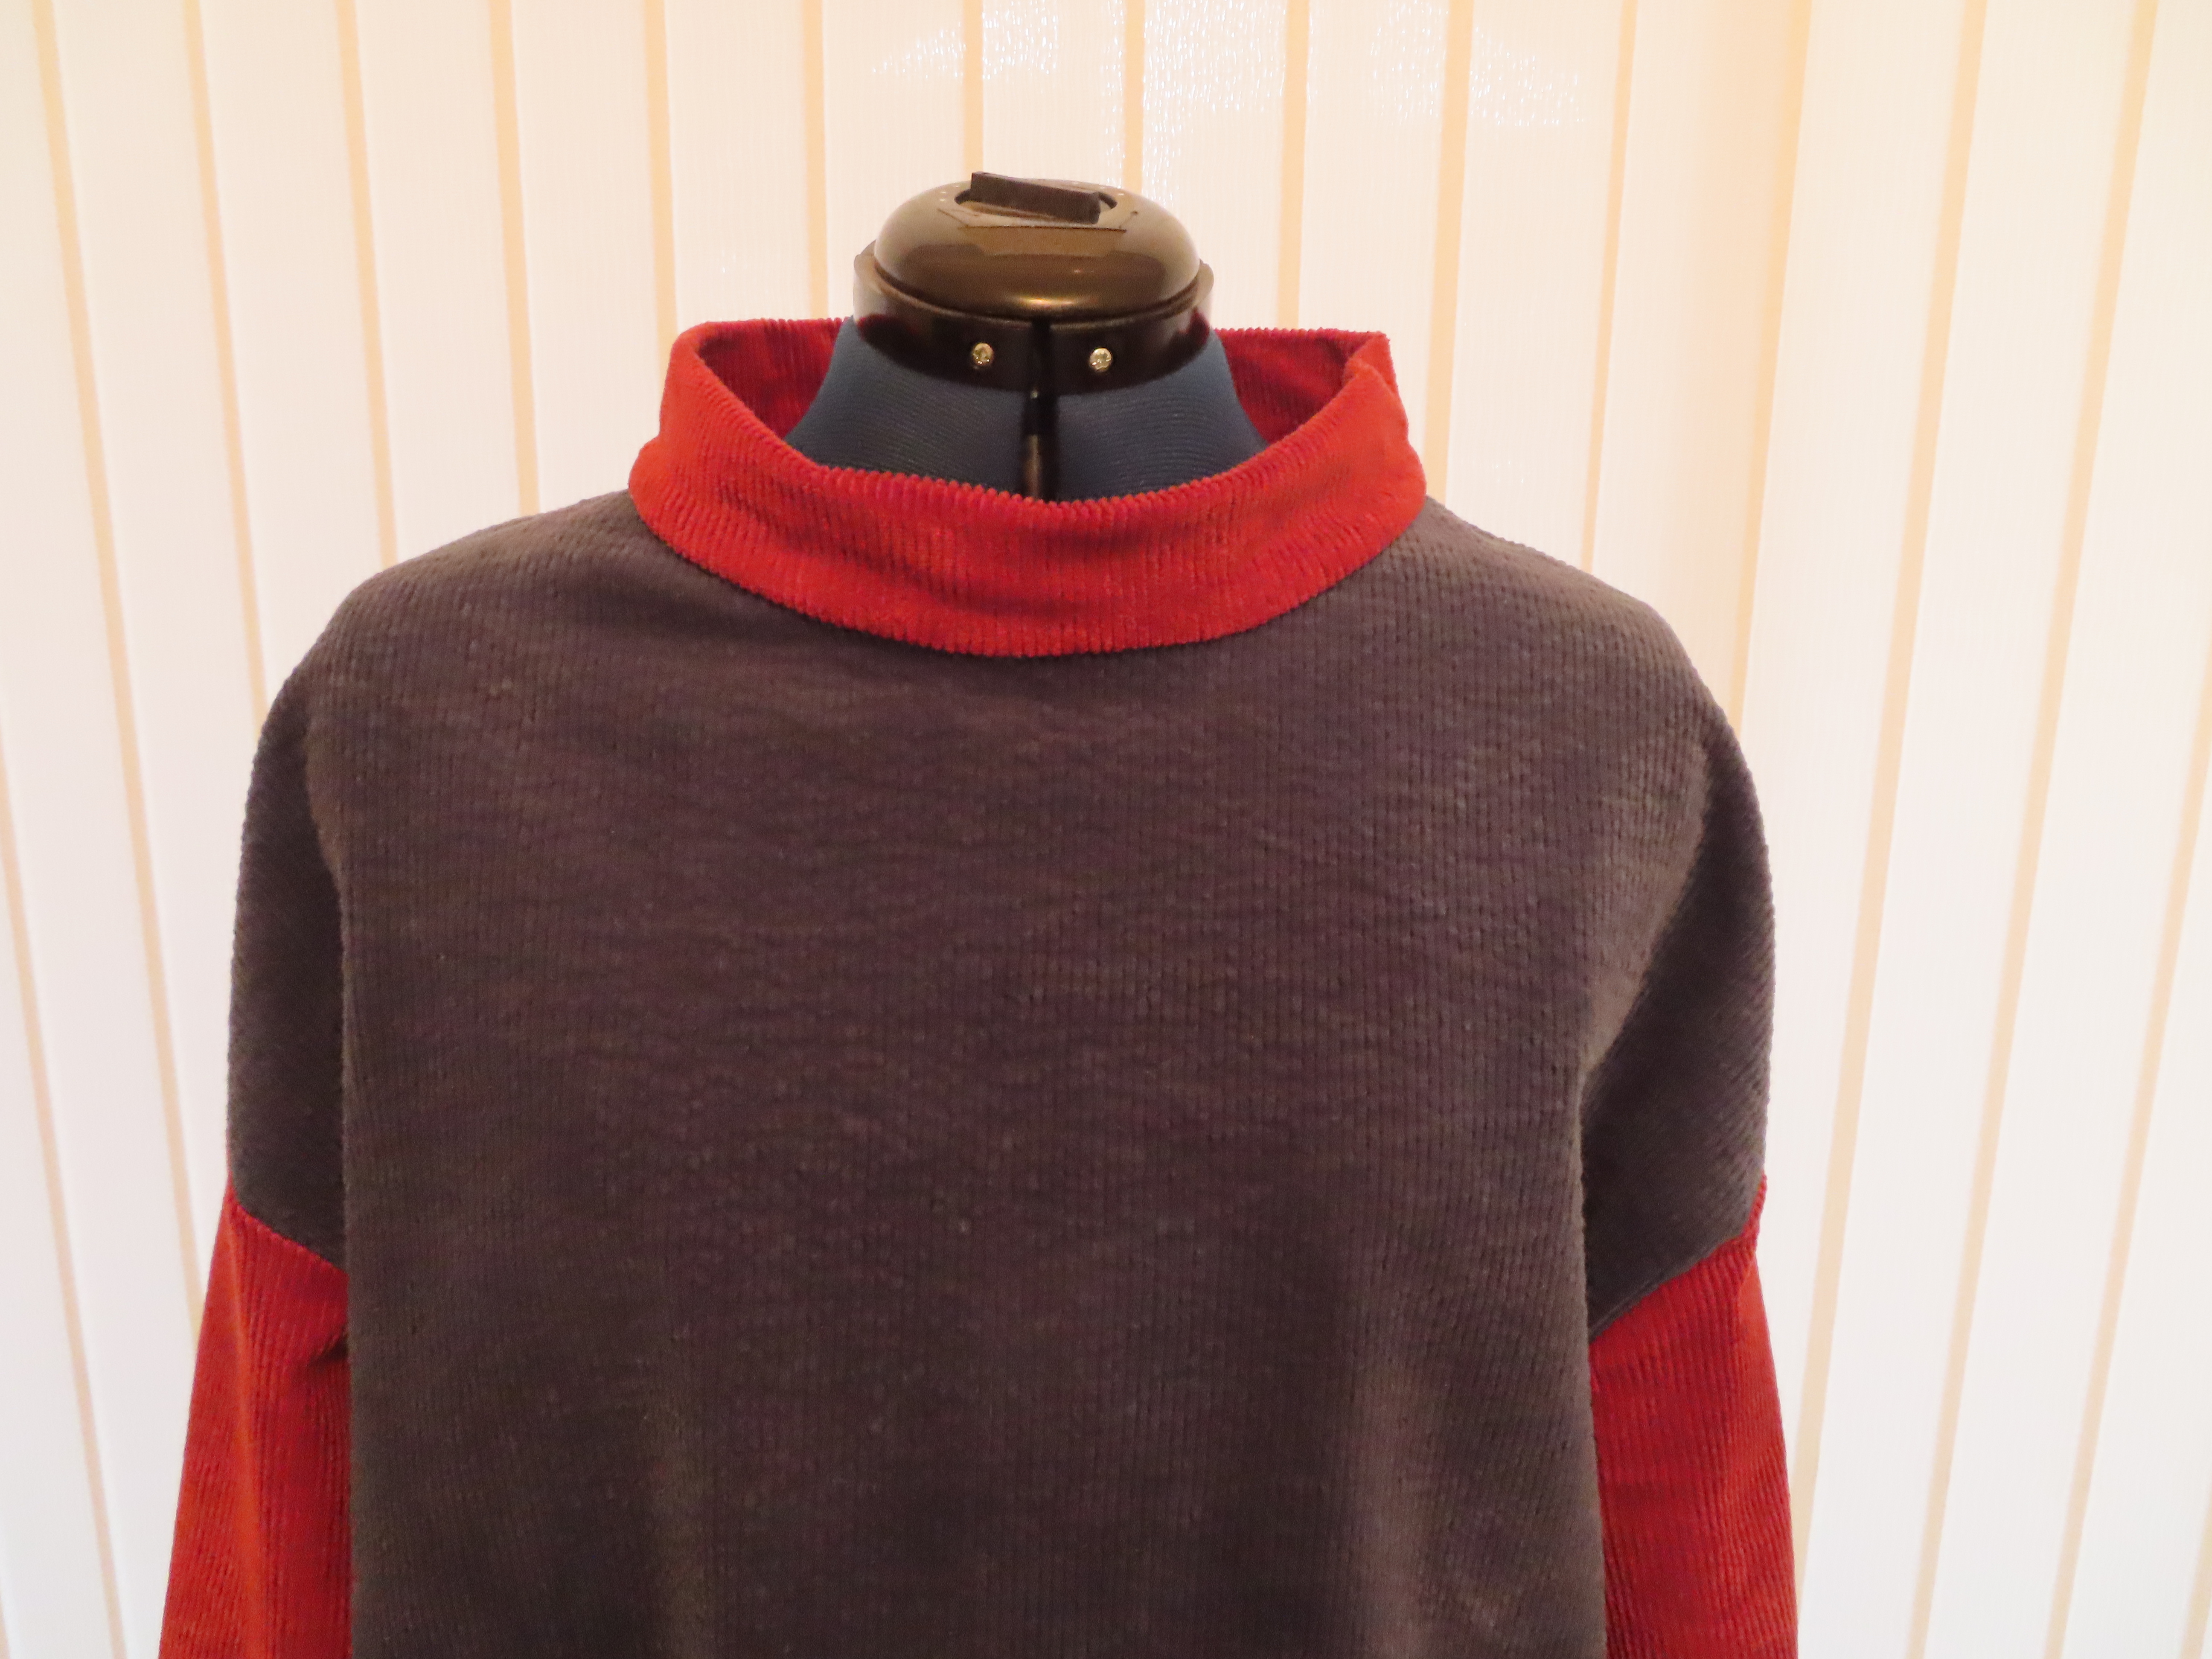
It was immediately my intention to make (at least) 2 garments. I wear my wool Maker’s Top quite regularly when volunteering indoors, but close to outside doors that open regularly, so another heavier weight Maker’s Top would prove useful. Actually, i really like it. It goes very well with jeans and i wore it almost as soon as it was finished.
Then i made the coat.
It was only after i has almost completed the coat that i spotted that the Maker’s Atelier, ‘Make more with this pattern‘ journal has a section about underlining the sports coat. However, i had already decided that although the coat would be lined ( medium / heavier weight coats should be lined), i wasnt going to underline it, because that would still mean that i had to finish the edges ‘smartly’, probably with Hong Kong seams, and i didnt want to do that. I dont think that i have ever used Hong Kong seams.
I made several changes to the pattern, requiring much thinking about what order to construct the garment.
- Shorten the hem sufficient to comfortably drive
- Line it
- Replace side pockets with contrasting patch pockets (Using previously learnt lesson to line the pockets)
- Fasten with self covered buttons the matched the pockets and collar.
Some testing was also required in order to ensure that button holes with 22mm buttons would work with this fabric and pattern. The tests proved successful.

To summarise, i made up a basic coat in the lining fabric, and then i did the same with the coat fabric (having added the pockets first), and then i did much cautious pinning and tacking to join the two together, which meant that adding the collar was one of the final stages before hemming and fastening. Wording on a pattern that promises that ‘this is the tricky bit…’ is usually true! This description was about joining the pointed part of the collar at the front of the coat. Luckily, and quite by accident, the blue fabric has a bit of stretch in it. This was a bit of a relief, as the collar needs a bit of stretch, and in this case, a bit of hand stitching at that ‘tricky part’ and all along the inside seam. Not too tricky, when you’ve been thinking your way carefully through the whole process.

With only the side pocket markings as a guide, i spent quite a while deciding whether or not the pockets were level, and if not, would trying to re-position them make them any more level, and would anyone notice when i am wearing it? Answers to both questions, ‘probably not!’.

So here is the latest addition to my coat collection, and to my ‘warm tops to wear instead of a coat when volunteering’ collection. Actually, they are quite useful in the sewing room too, as they can save me having to switch on the heating on mild winter days. Win, win!
One comment on “Variation on a Sports Coat”
Leave a comment
One Week, One Pattern

Me Made May 2016

Me Made May 2015

Simplicity Competition

Sew Over it Patterns


Looks great, Ann! Marie