
Ultimate Trousers
This entry is dedicated to Caroline @allspiceabounds, and all others who toil to make trousers. Here’s her web link
My post is going to be so remarkably similar that I wonder why trouser patterns are not a different shape, particularly as Caroline looks to me to be a totally different shape to myself, and yet we have made pretty much the same alterations, albeit, to different patterns.
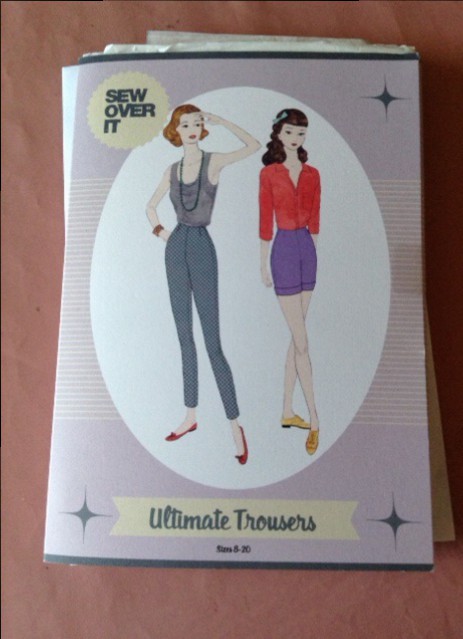
So this year I had a go at Sew Over It’s Ultimate Trousers. I had read so many good things about the pattern, and observe that it is a relatively straightforward pattern, and hence ‘easy’ to alter. I say ‘this year’ because last year I did pretty much the same thing, but had a go at Butterick 5931, supposedly ‘fast and easy’ trousers.
 They have a mock fly front and a waistband, actually making alterations harder. I was creating hinges and pivoting delicate tissue paper all over the place, and did eventually get a good fit round the waist and hips, BUT… they were too short! I concentrated my muslin making on just the awkward to fit parts, and assumed that the length would be no issue. I am very much ‘average’ height. With carefully selected shoes, I do still wear them, especially after I had taken chunks of fabric out of the side seams, even though I did the straight legged version.
A few lessons learnt then last year, and I was hopeful that the Ultimate Trousers would be easier, and a totally re-usable pattern. I had many metres are cheap polycotton on hand for muslins.
- Muslin number 1 was based on my measurements against the pattern measurements, and sewn up quickly with no seam or stitching finishing just so that I could judge the fit. I tacked the zip in place.
- Muslin number 2 clearly needed a crotch adjustment, and much studying of ‘How to use, adapt and design Sewing Patterns’ by Lee Hollahan, I decided that the requirement was simply to lengthen the crotch, which is actually quite easy to do. I also added a little bit to the upper side seam allowances to create more room for my bum. The first muslin was also a bit too short and needed about an inch adding to the leg length – and I am still average height. I was surprised, but I learnt my lesson last time and had cut a full length muslin! Also, having just purchased an invisible zip foot, this muslin included my first ever invisible zip.
- Muslin number 3 had all of the above adjustments, and therefore my second invisible zip insertion, and after a short while wearing muslin number 2, I decided to raise the top of the back about an inch. I finished this one ‘properly’, in that I added the facing, understitched it and added a hook and eye. And then I wore them for an evening around the house. Having raised the centre back, I then needed to take just under 2cm off the centre back seam.
At which point my adjustments look remarkably similar to Caroline’s! And I thought that I was probably ready to sew for real.
I had bought some grey gaberdine whilst on holiday with the intention of using that for this pattern. But that’s another story which will no doubt follow at some point. In the meantime I found some stretch denim, supposedly ex-designer, at Fancy Silk Store and decided that for this first ‘make’ the addition of stretch to the party might be a good idea. I also decide that the addition of pockets might be a good idea.
I drafted the pockets simply by tracing round the pockets on an existing pair of trousers and taking measurements of its placing on the back of my existing trousers. This seams to have worked well. Of course, the pockets were one of the first things that I had to do, to the extent that I stitched them in place before I had done the back darts. Whoops. So they had to be un-stitched, and stitched back in place, with a big note to self added to the pattern instructions. Of course this was the fourth time that I had made the pattern in about 5 days, so I thought I knew what I was doing – as is too often the case. I have a nice sharp un-picker which is well used!
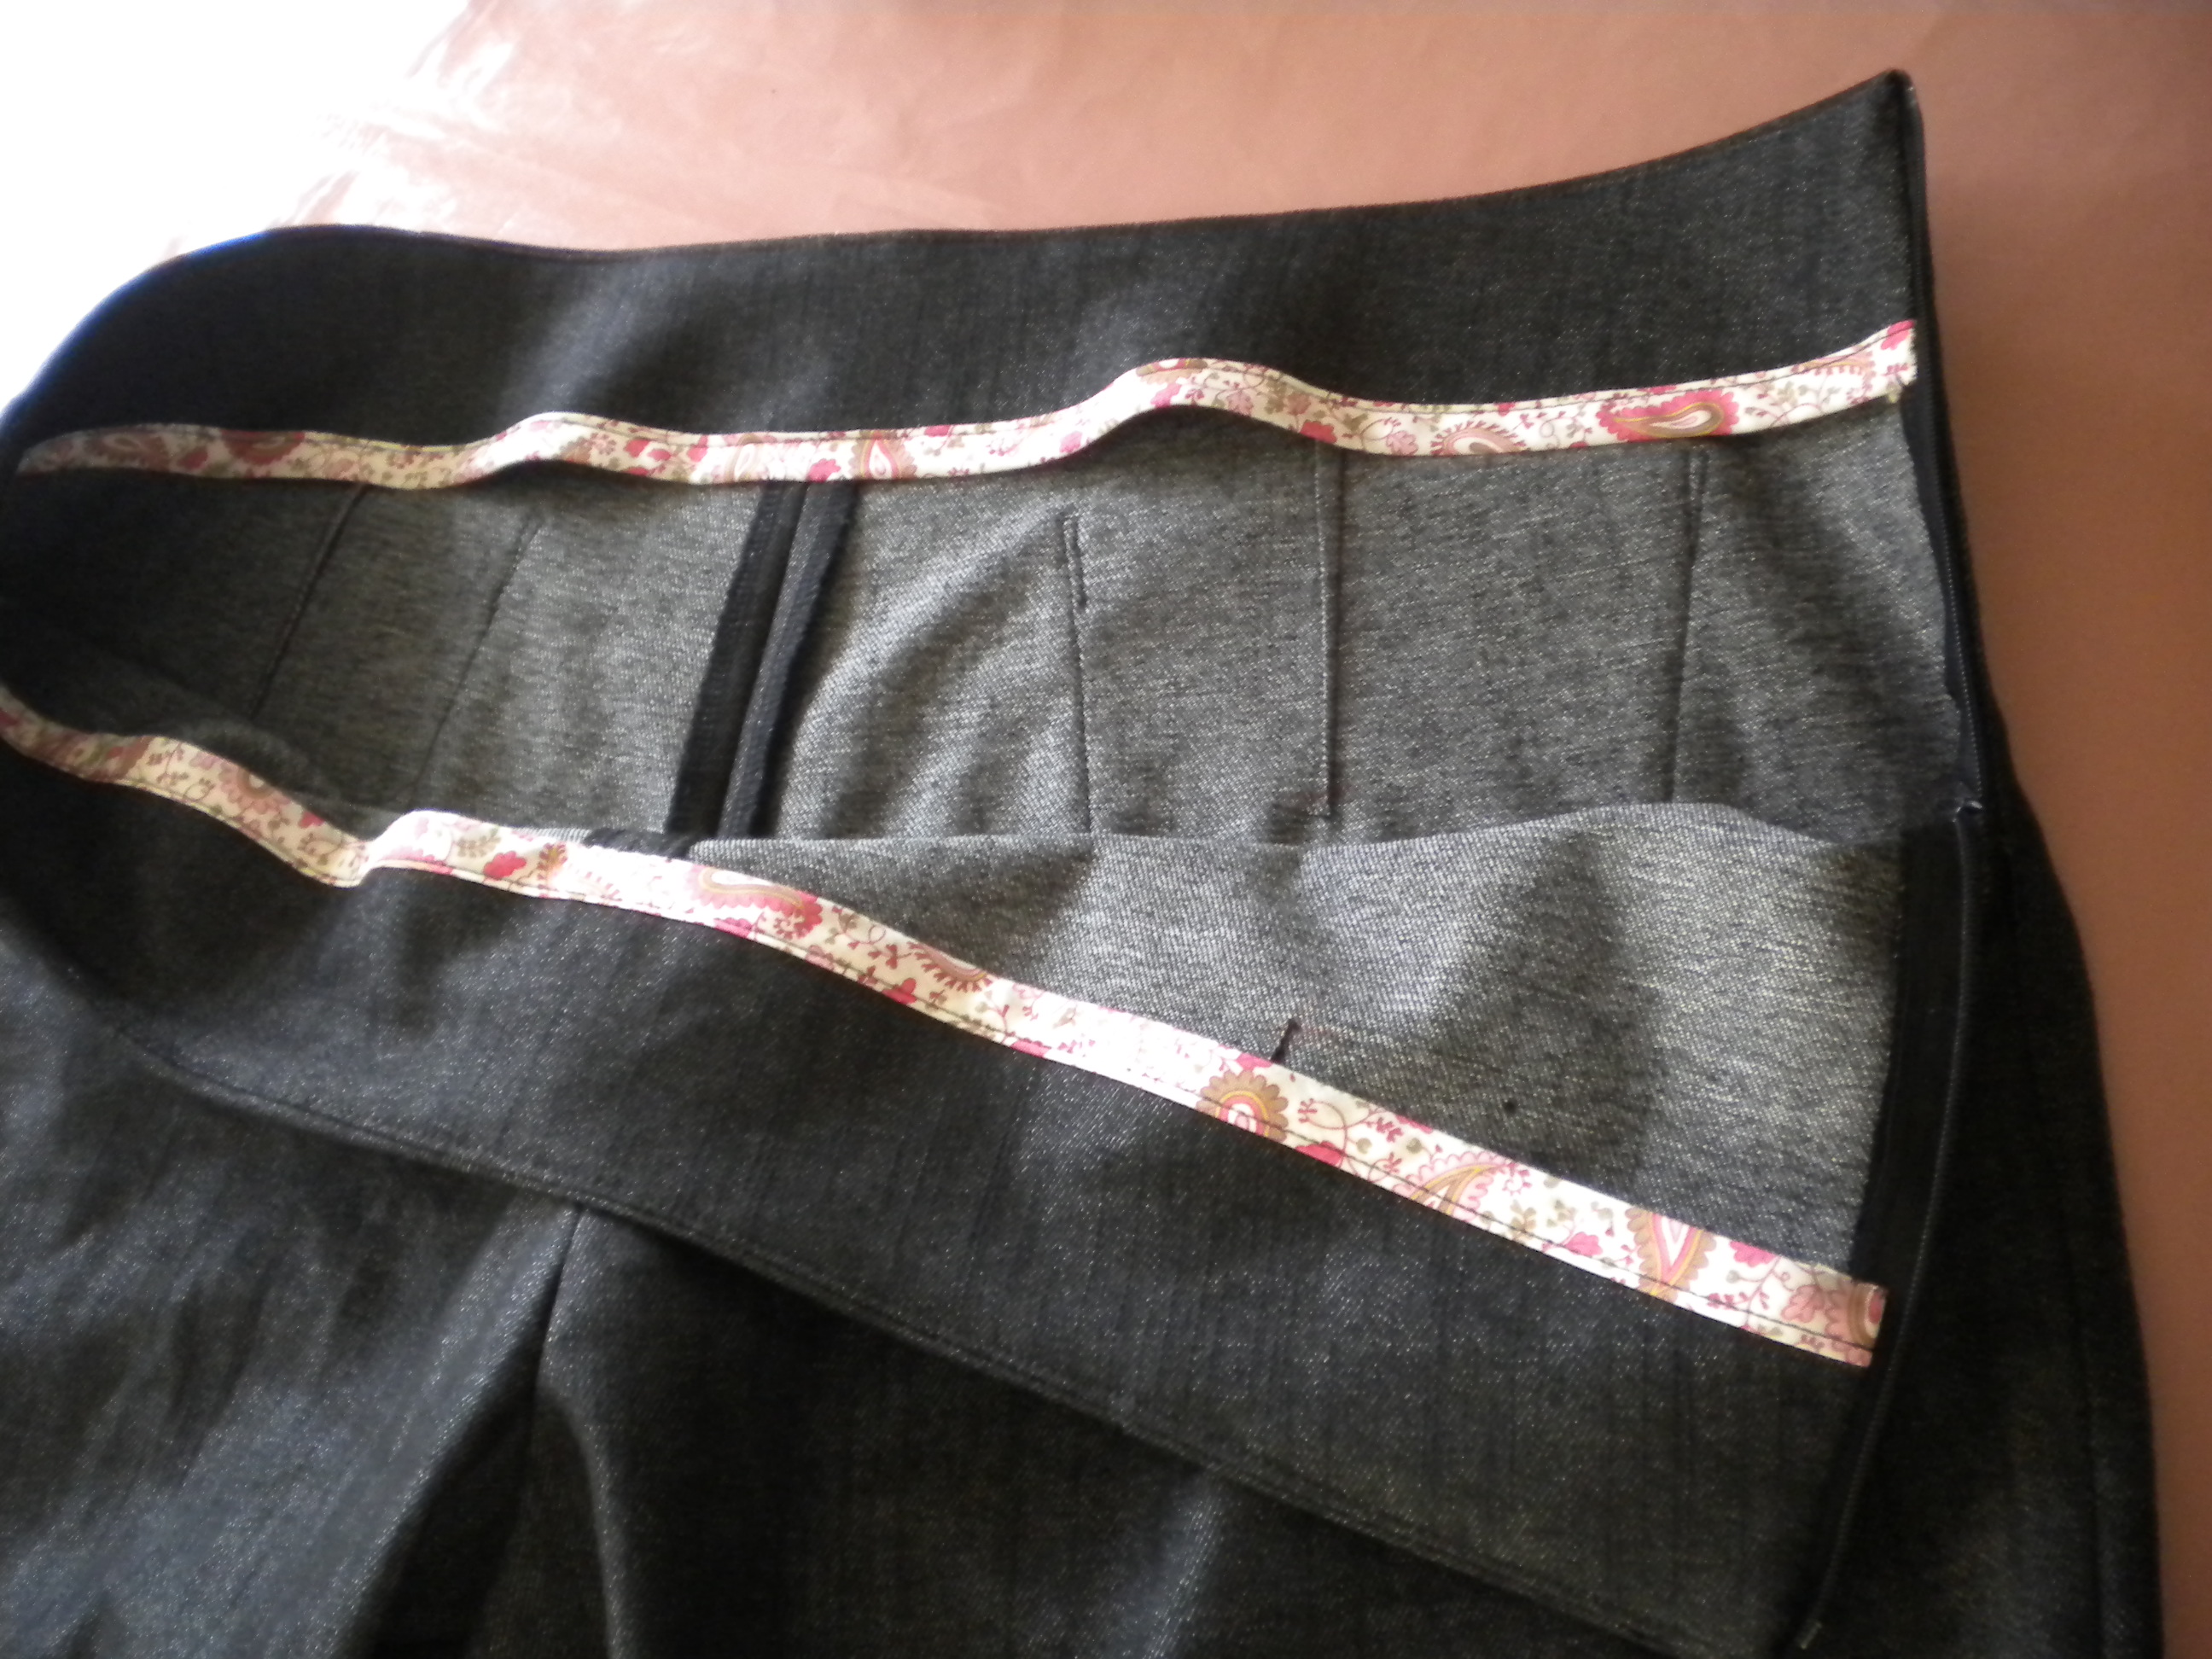
I also bought a jeans needle to make these, but still decided to try to avoid bulky thicknesses if I could. Therefore I finished both the inside of the pockets tops and the facing with decorative bias binding which I had had in stock for some months. I don’t think I envisaged using it for the inside of trousers when I bought it, but it looks lovely. Having said that, I pre-washed the fabric in the washing machine, so I didn’t see how much colour leaked out. Its possible the binding will be a lovely shade of grey after the trousers are washed.
And here is the finished invisible zip. All rather invisible and well joined to the side seam. I followed Tilly’s instructions in ‘Love at First Stitch’. She’s very good at explaining techniques.
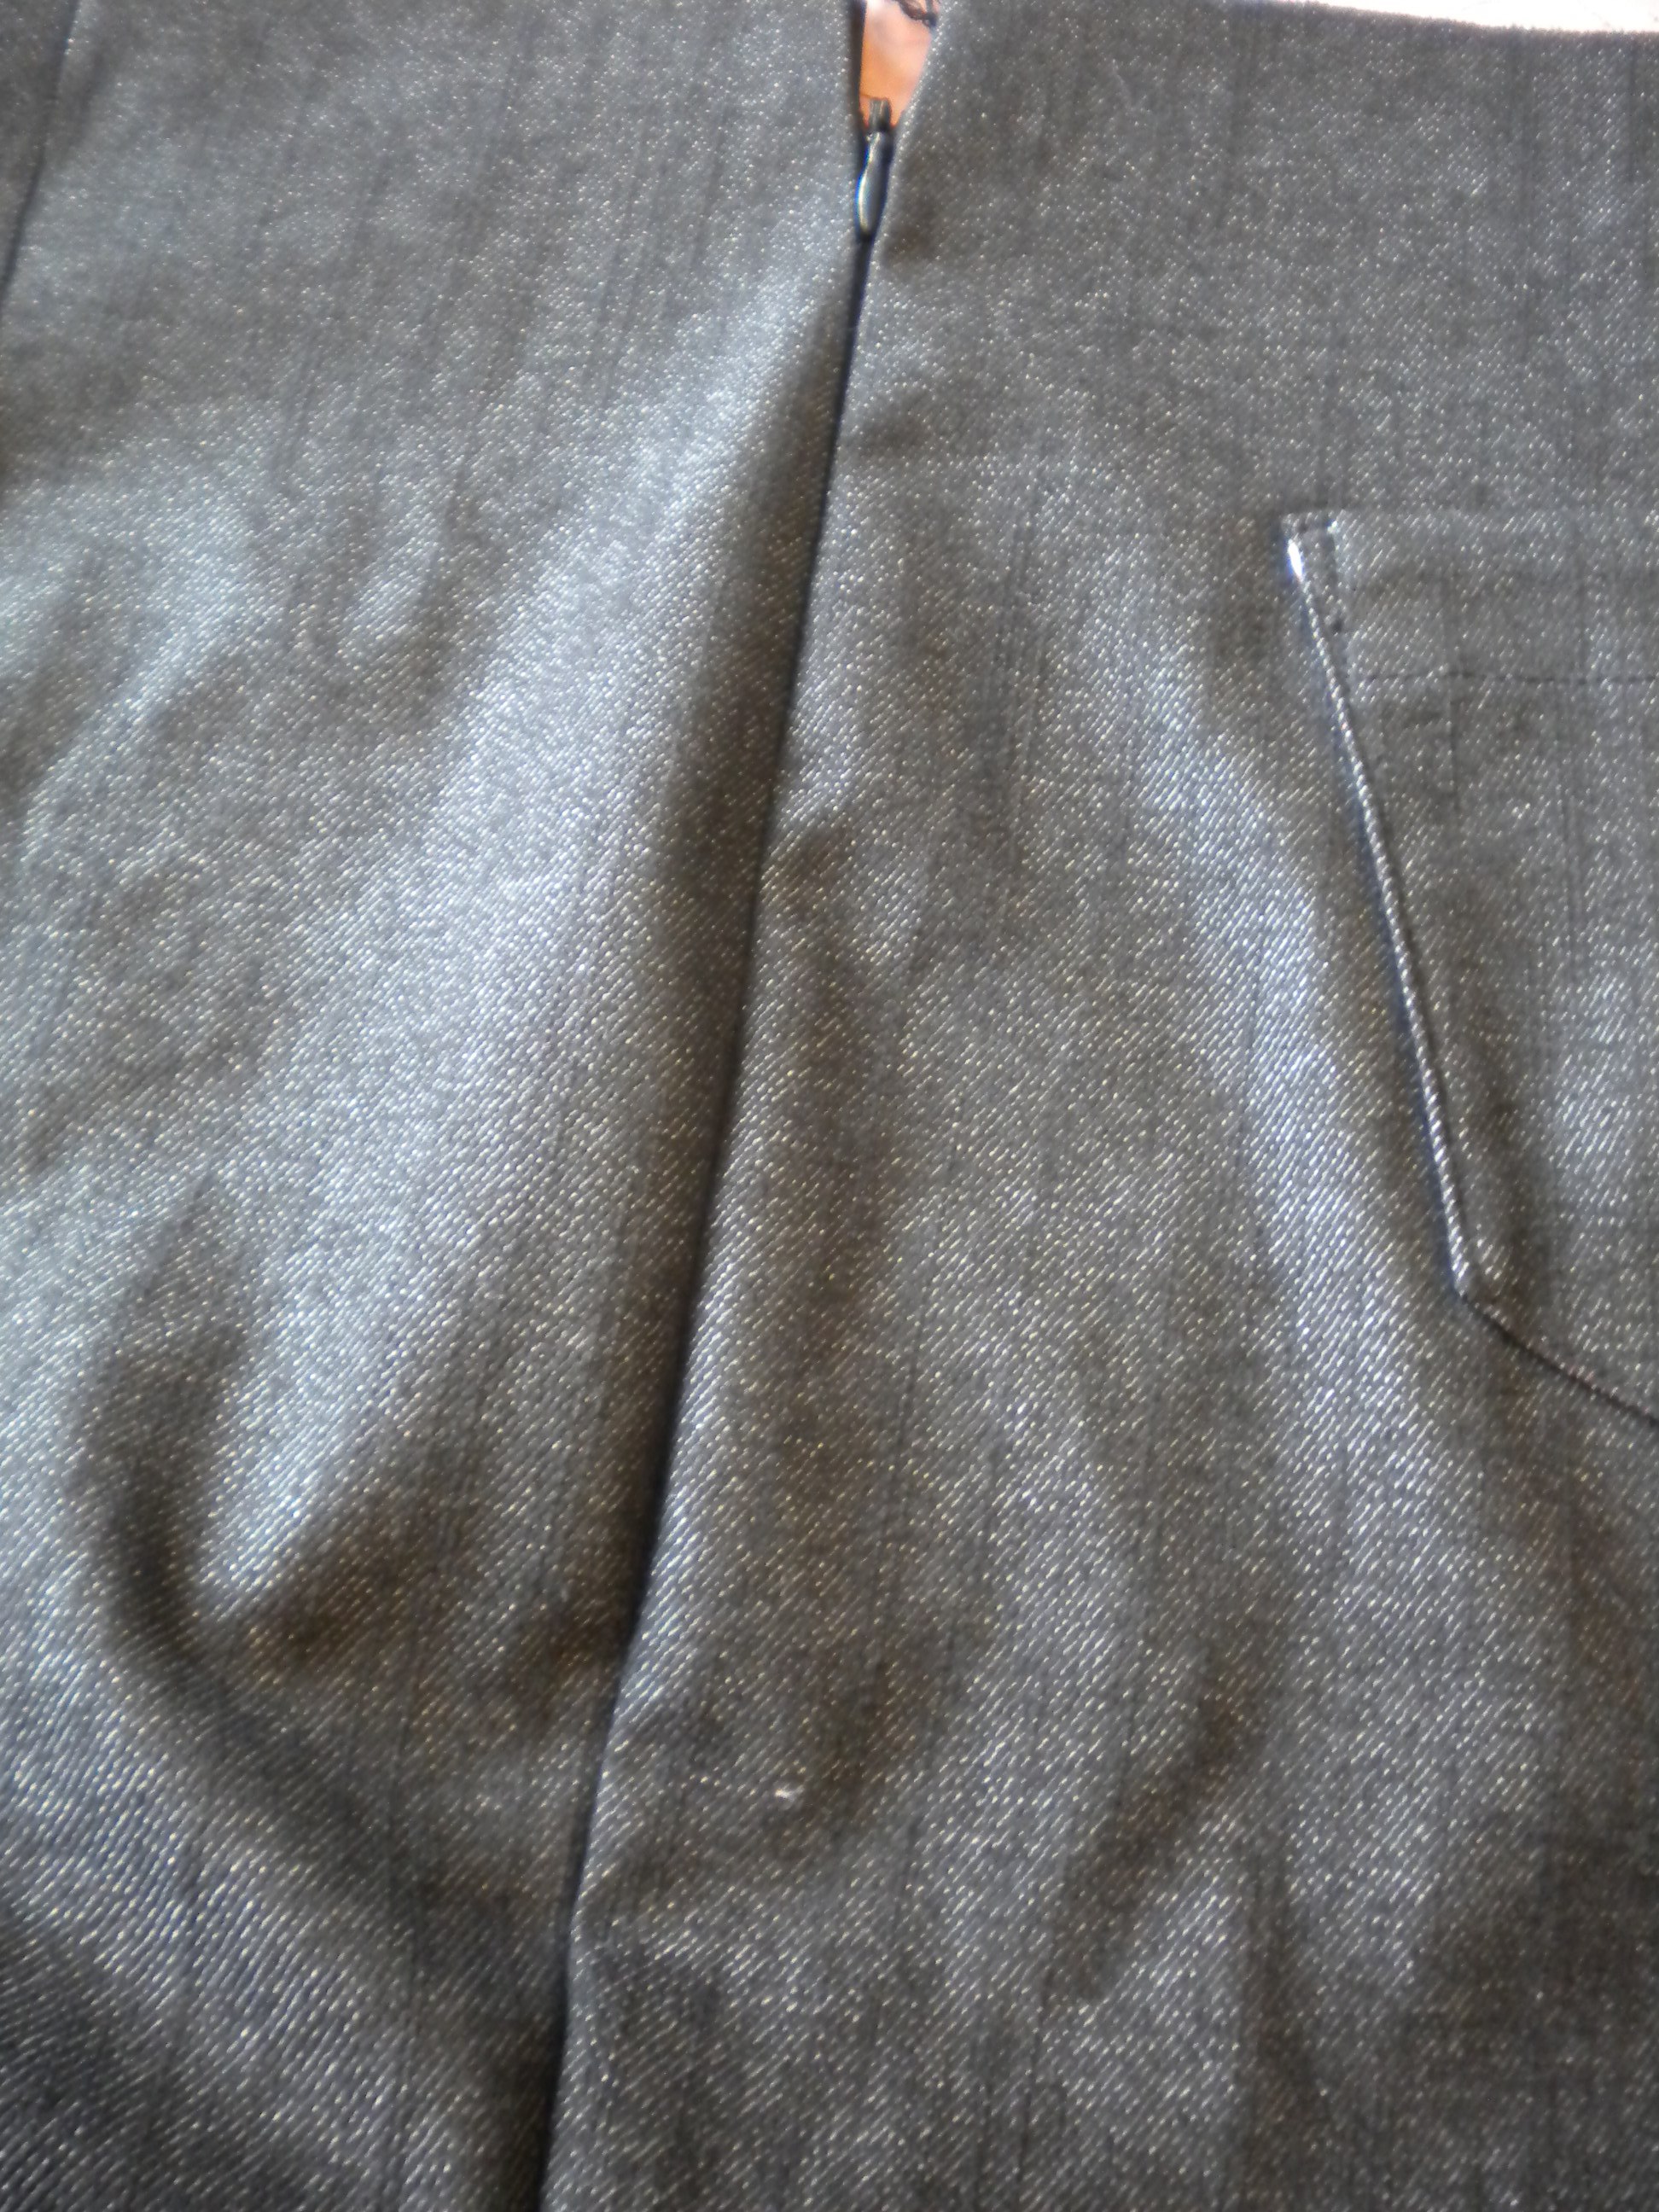
The pocket is also in shot. I finished the top of the zip with a tightly fastening hook and eye.
It’s rare I appear in my blog, but a pair of black trousers hung on the back of a door from a coat hanger are a bit boring to look at, so I got out the phone, stood by the mirror, shot a selfie and cropped. This is the result. My apologies. The whole thing doesn’t look a bit like it says on ‘the tin / pattern envelope!!’.
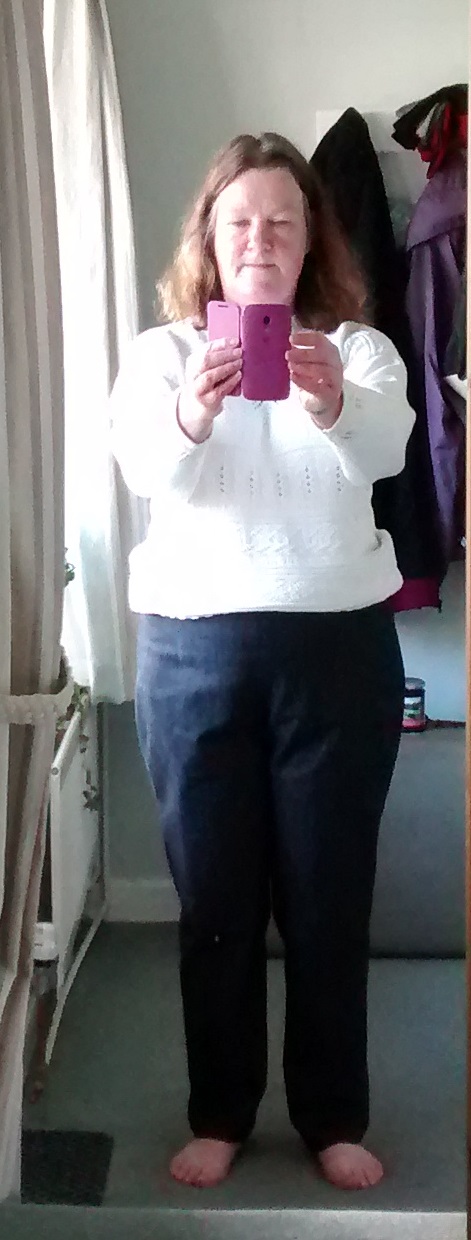
This was taken before I decided to cut out some of the fabric between the crotch and knee. One is of course cautious about removing fabric from a ‘finished garment’, and I think there may be scope to remove more from future versions. In fact I had a bit of a fight with the overlocker when re-finishing the new seams, but I won, as I always do.
Conclusion
As with last time, I am happy with the adjustments round the waist and hips, although with a relatively low slung ‘waist’, I do sometimes feel that they might be about to fall down. But they don’t. I will get used to them. In fact, they are far more comfortable than other trousers that I own.
The length is great, and there is a bit of room in the hem, just in case I decide that the length is not great after some wear. It is! You can see in the picture.
But I have some questions about future versions.
- Should I be taking more fabric out of the side seams in the upper legs, or if I do that, will I no longer be able to sit down comfortably, especially if the fabric has no stretch? There are too many questions in that sentence. Maybe I leave the fabric width, but sew a much bigger seam allowance, and then gradually let them out if necessary.
- Can I make an adjustment to raise the top of the trousers an inch or so nearer to my waist? The answer is definitely ‘yes’. I compared the cut with free pattern Simplicity 1699 which came with this month’s Sew magazine, and it was interesting that the adjusted centre back matched up, and the rest of the trouser tops were about an inch higher all round in the Simplicity pattern, so maybe a bit of hacking is in order. Having said that, the Ultimate Trousers are a much more flattering cut elsewhere.
I only finished the trousers this week. I need to wear them a bit and see how they feel and look, and then work out what more adjustments are needed on future versions, but as a pattern to form the base for a good pair of trousers, I think that the Ultimate Trousers is very useful.
And if you read my blog regularly, and I have been quite prolific at making and blogging recently, you will know that I am going to Australia – next week – to see the tennis. My sewing things have been cleared away, the machine is packed up and ready to go for its service; I have even hoovered the carpet under the sewing table. And when I get back I need to find my next IT contract. Its been a good few weeks, but I’m guessing that it will be at least 5 weeks before I blog again, and maybe longer.
Thank you for reading.
Ann
4 comments on “Ultimate Trousers”
Leave a comment
One Week, One Pattern

Me Made May 2016

Me Made May 2015

Simplicity Competition

Sew Over it Patterns


Ann, it’s remarkable what similar experiences we’ve had lately! You read my mind on many of your comments and questions, and unfortunately I can’t offer any answers. I’m still figuring this all out!
As for the length, I’m on the taller side, so I always add a few inches at the hemline of whatever pattern I’m making, whether it’s pants, a skirt, etc., and adjust the hem as the last step once I can try on the nearly-finished garment. Even if I wind up using the original pattern length, it’s nice to know I have some wiggle room!
Your question about stretch and being able to sit down is something I’ve been thinking about a lot. I suspect there is going to have to be some ease there for comfort, but what is the “right” amount that won’t make it look like I’m wearing pants that are 3 sizes too big on me? Hmmmm.
I’ll be curious to read more about your pant-sewing adventures. My project for this weekend is drafting my own pants from scratch, which will either be glorious or disastrous – too soon to tell, LOL!
Carolyn – good to hear from you. I enjoy following your blog. I wore the new trousers just before I went away, and they are far too big! I felt that they were falling down, and ended up going into a shop and buying some new black trousers, which are a lovely fit. Oh dear! At some point when I have the inclination, I am going to unpick them and take up to 4″ out of the side seams. This may mean that I need to move the pockets as well, as they were measured from the seams. This is all a great pity, as I felt that the trousers were well made. It also has implications for the wonderfully adjusted re-usable pattern that I thought I had created, which needs adjusting all over again. It also makes me question to value of the 3 mock up versions that I made, albeit, in none stretchy fabric, although I did get the initial adjustments from that process. It is said that it is not possible to make a good fitting pair of trousers without help, and I think that might be true.
In the meantime I am going to make a simple T-shirt and cardi from a free pattern in this month’s magazine, and I have ordered yet another Marcy Tilton pattern…… Then I might go back to the trousers!
Good luck with your self drafted pattern. I am not that clever!
Ann
Thanks for sharing this! I find trousers take more adjustments than most other clothing I sew. It’s so nice to make clothes that we feel comfortable in! Have a great time down under!
Thank you for your interest. I wore them just before going away and they are far too big. I intend to unpick them and take up to 4″ off the waistline……