
A hat for Peter’s wedding


It’s pure coincidence that I decided to book a millinery course at the Inkberrow Design Centre the week before attending a wedding. But it did give me a purpose and inspiration for creating a felt button to wear on the day. I’d heard of Inkberrow Design Centre and knew it was reasonably local, (Redditch, a short walk from the railway station – really quite convenient), but I had never investigated what it offered before.

The millinery room – Mark, Fiona and Donna
It runs the Saturday millinery course once a month, with each month being dedicated to a different, but achievable ‘hat make’. I did not know that I had booked ‘felt button making’ until I decided to investigate the place further by making to pre-visit, mainly to find out whether I could purchase supplies that would match my outfit(s) in the craft shop. I can’t, but after a warm welcome from Director, Brenda, I was directed toward Baxter, Hart and Abraham, who duly advised what I should be buying and posted it to arrive the very next day.
Unfortunately none of us took photos during the early stages of the process, so I cannot show you the cones steaming, or the very satisfying process of pulling the felt around the block to get the button shape. Photos started as we started to remove our hats from the blocks:
 The steamed and shaped felt has to be dried, which is why there is a hair dryer in the picture, and then we left the hats on the radiators over lunch. I came back to find that mine had stiffened already, having unknowingly purchased felt pre-treated with stiffener, which was a great bonus, as the stiffener is toxic, and if done by hand, has to be done in a well-aired room.
We hand stitched hat wire, and then petersham ribbon to complete the technical parts of the process.
 Petersham stitch is new to me, and is a bit of a pain, but I eventually completed my sewing and could start to work on the trimmings…. which, apart from pulling the felt to shape the hat, which gave me surprising pleasure (!), is where the real fun lies.
These two examples in the workshop provided some inspiration and helped us to decide on which size to make.
 I had already made a couple of felt flowers using a range of shades of blue and grey, being slightly uncertain which blue dress I was going to wear. So ideas began to come together along with some shapes created by Mark, our tutor.
-
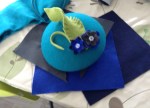
- An idea
-
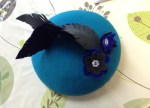
- Created in my colours
-
- And photograped so i could finish it the next day
I used craft felt for the trimmings. I had two main challenges:
- To work out how to hold the large leaf shapes in place, but allow for some freedom of movement at the ends
- To add some teal colour to the trimmings, as it is good practice to carry the main hat colour into the trimmings somewhere
This meant I needed to go shopping again the following day, and here are my additional purchases.
 Plus some wire cutters! We had brief instructions about wiring trimmings during the course, so I followed them when I got home, after some time pondering where I could buy hat wire on a Sunday. (Answer: HobbyCraft – 1 mm jewellery wire is suitable.)
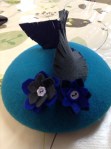
I found the flower templates online. Some of the trimming work is fiddly, including securing the wire to the felt, and then hiding your work, and parts of my flowers are quite small.
But, based on the original idea above, it all came together.
 There would appear to be two ways to wear the hat; either with elastic, or on a hairband, although the hairband approach came from an examination of M&S hats, rather than from the course. I have very fine hair, and running elastic through it wasn’t going to look good. Besides that, I already have a teal coloured hairband, so it was duly attached to the hat in the correct places.
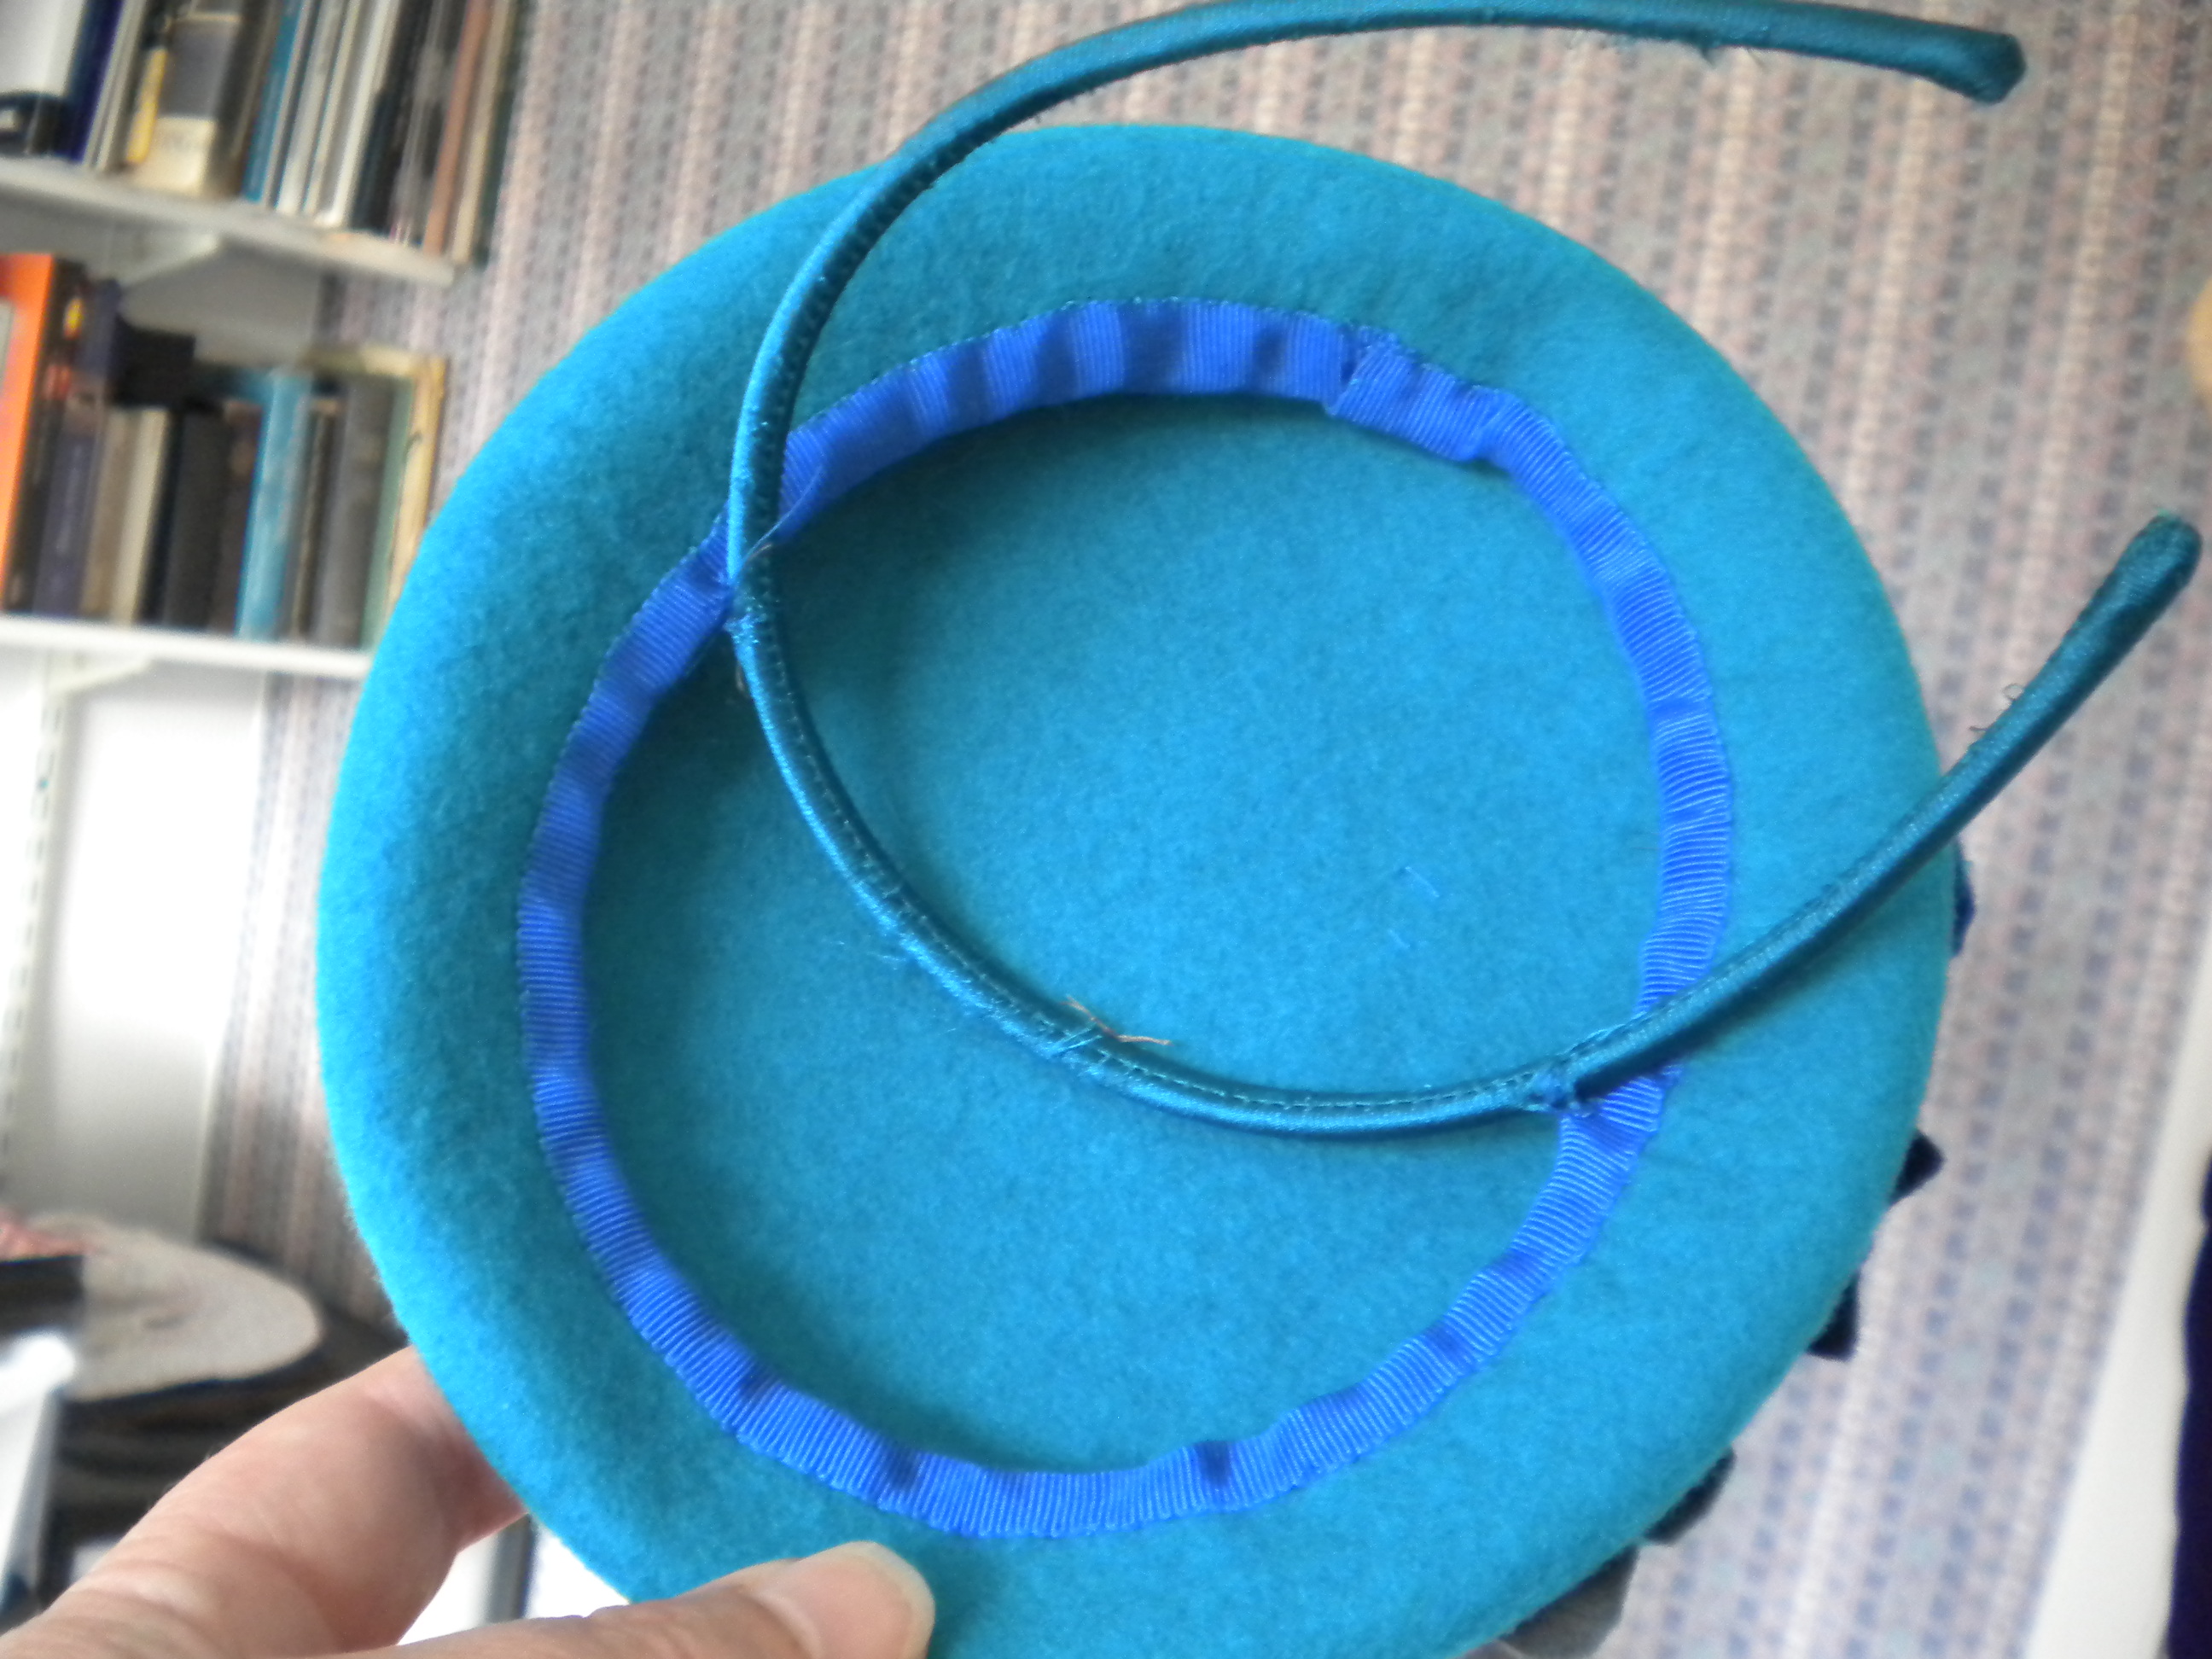 Apparently the hat, or combs etc, should be positioned over your parting, except if you have a centre parting like I do! In which case, it should be positioned an inch or so, off-centre.
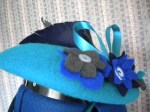
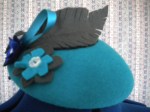
So here’s a 360 view of the hat to finish:
-
- Side
-

- Back
-

- The main features
-
- Front
One Week, One Pattern

Me Made May 2016

Me Made May 2015

Simplicity Competition

Sew Over it Patterns

