
Re-fashioning with embroidery
All very trendy!
But what else is there to do? After a year of being at home, mainly on my own, i think i am doing incredibly well dreaming up what to do each day……..
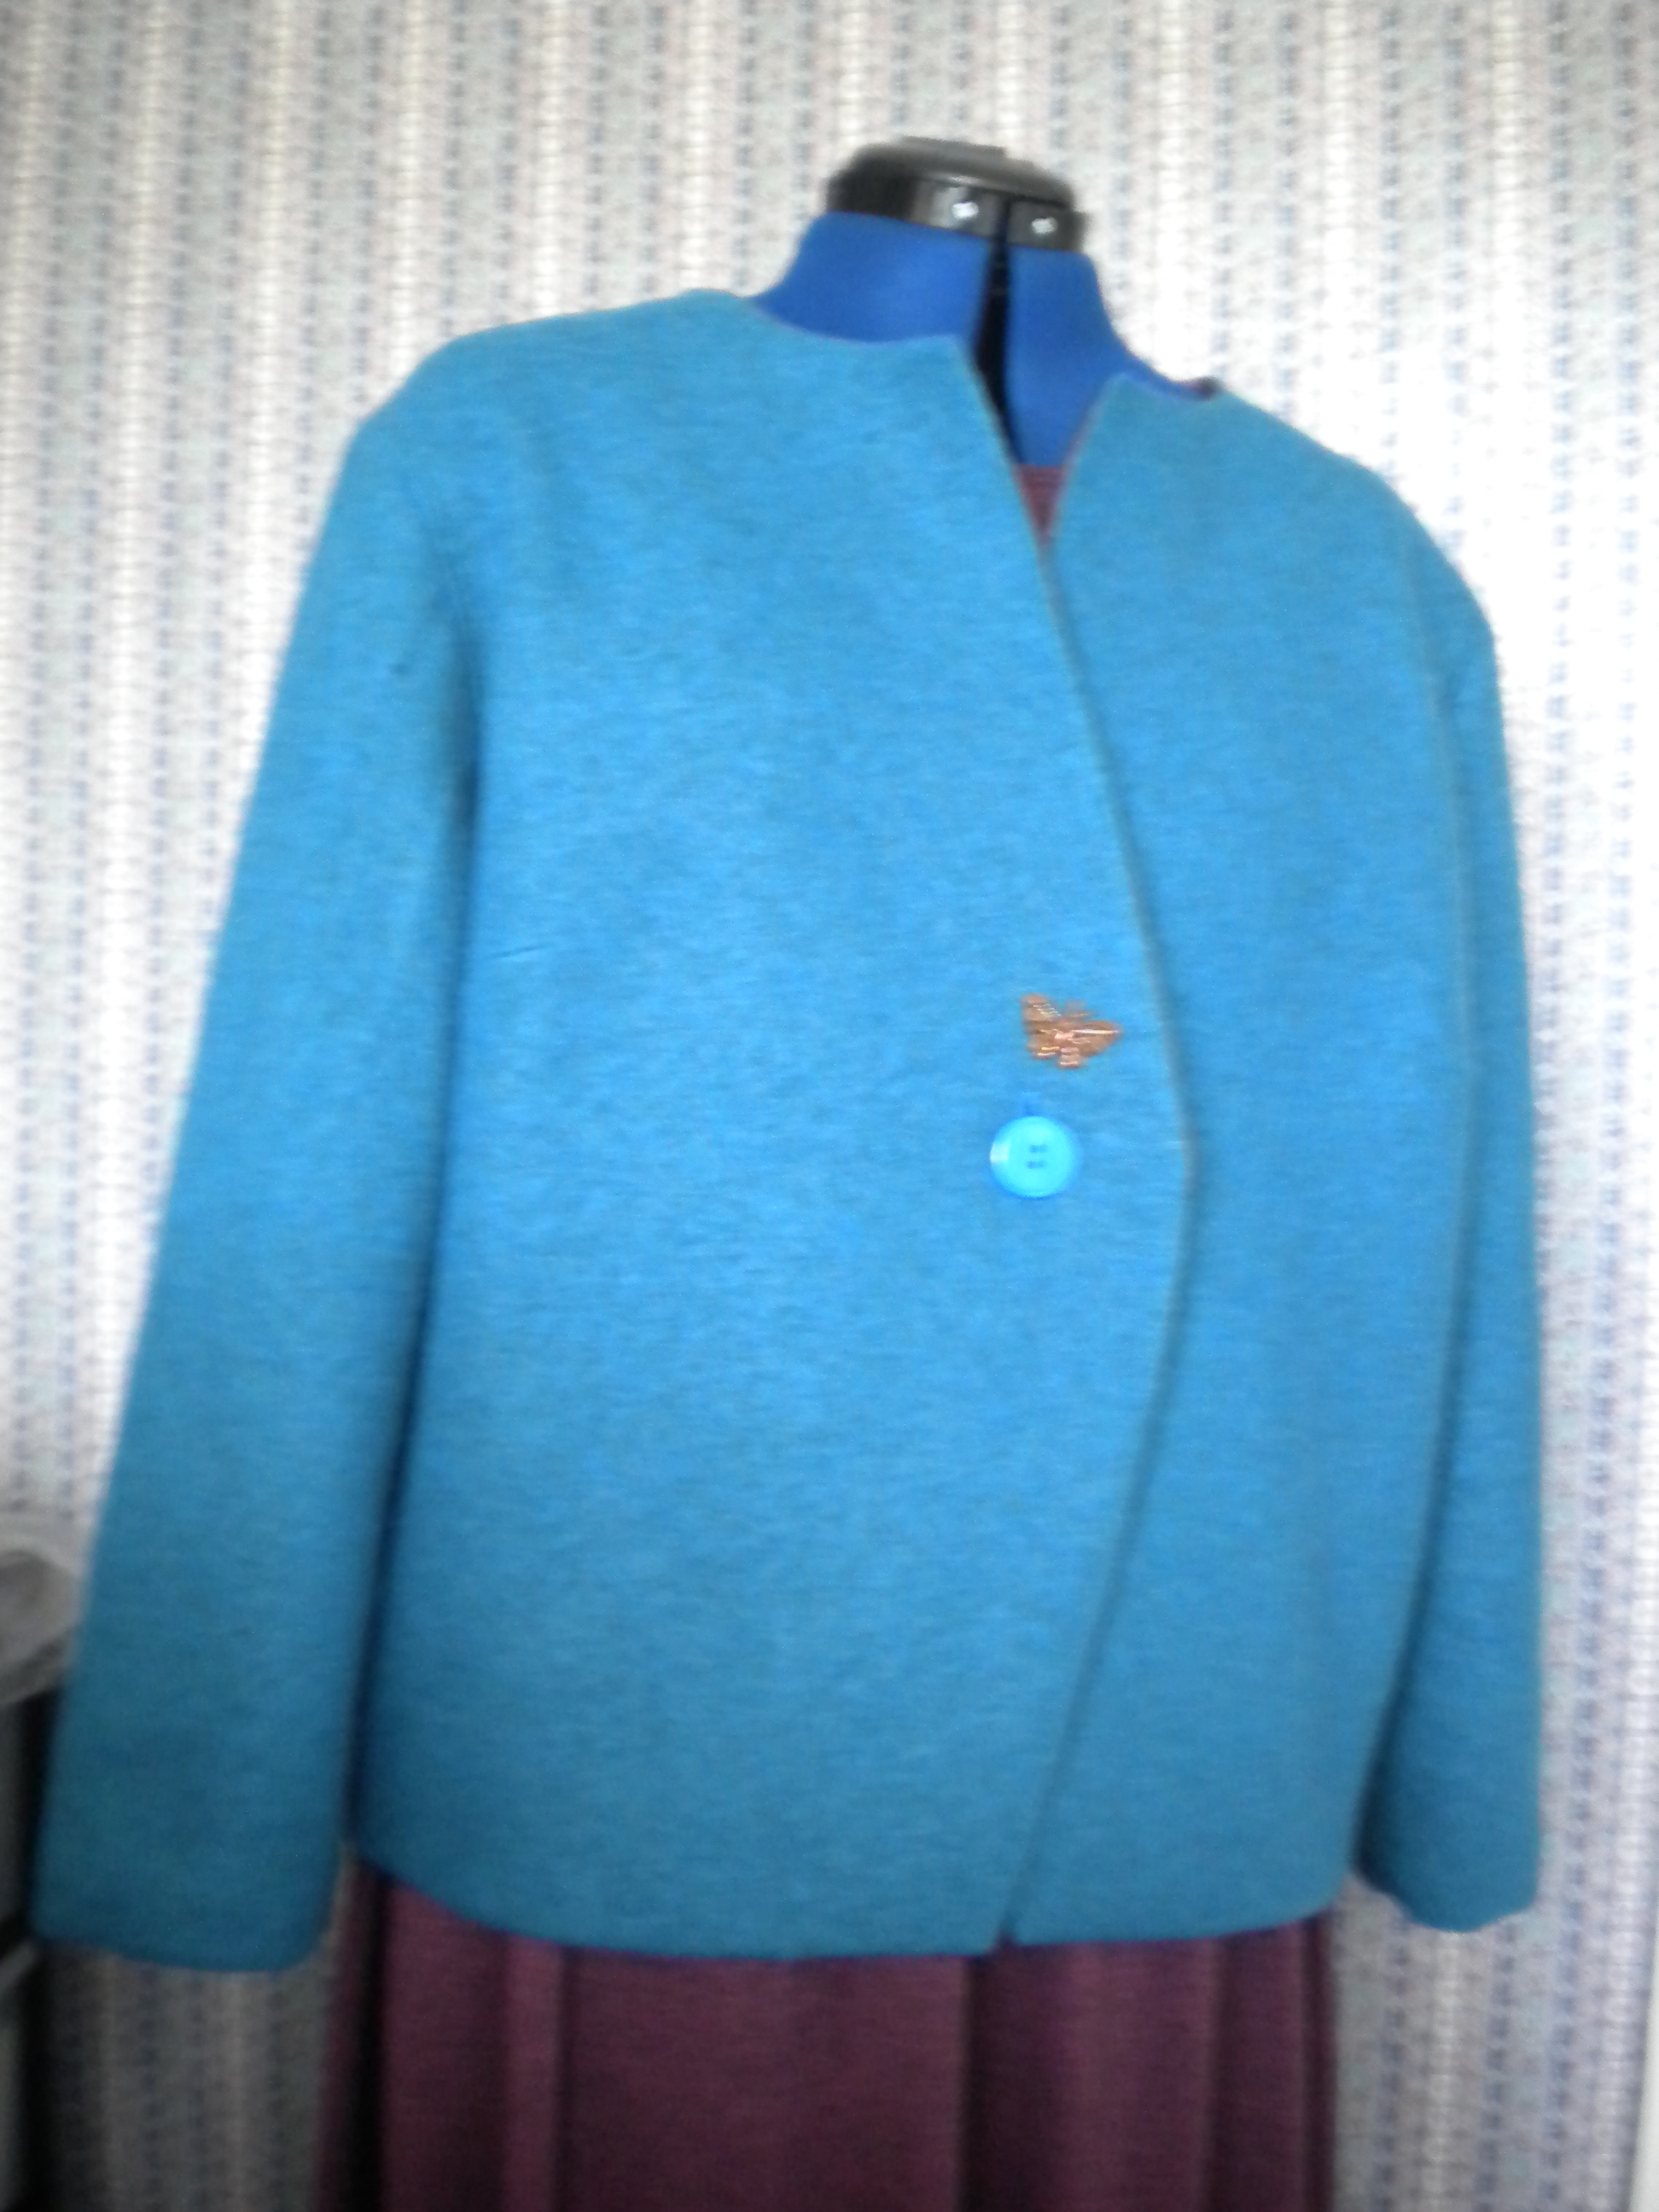
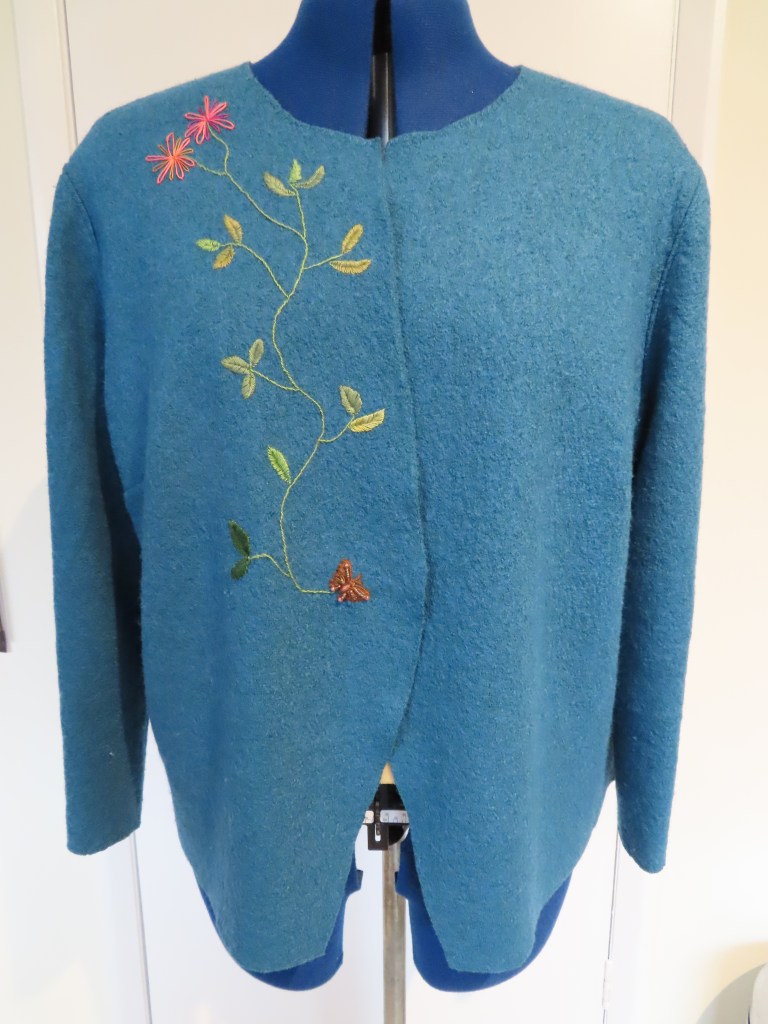
Many years ago I made a jacket by adapting a Burda pattern. Its the only Burda pattern that i have ever used. The pattern was for a waterfall cardigan. I bought some boiled wool from Barry’s and then lined it, creating a much more structured garment, with an ‘interesting’ front. The neck turned out to be too wide and the front neckline didn’t hang properly, and whilst the jacket got worn occasionally, it wasn’t very often. The idea was that there would be room inside the jacket to wear it over ‘fuller’ dresses. Re-reading the original post it is interesting to see that i had ideas about decorating it with exotic (Thai) trims at the time that it was first made, but felt that this might limit its usefulness.
Re-fashioning:
Stage one was to remove the lining. I had added width to the front and back, so i got rid of an inch at the back by adding a seam centre back. I cut off what was left of the trimmed inside seam allowance, and blanket stitched the sleeve ends and the neckline. My colour match is so precise that its not possible to see the blanket stitching. Other than to finish off the bottom of the seams and keep them in place, i didn’t bother with any more blanket stitching.
I had to deal with the buttonhole somehow, so the appliqued butterfly, which was on the original version, was relocated to cover the hole that i had stitched back together. All this is so much easier with a fabric that doesn’t fray!
At this stage, i briefly wore the garment of a while to see how it was going to hang at the front, and therefore, where to place the embroidery.
The embroidery:
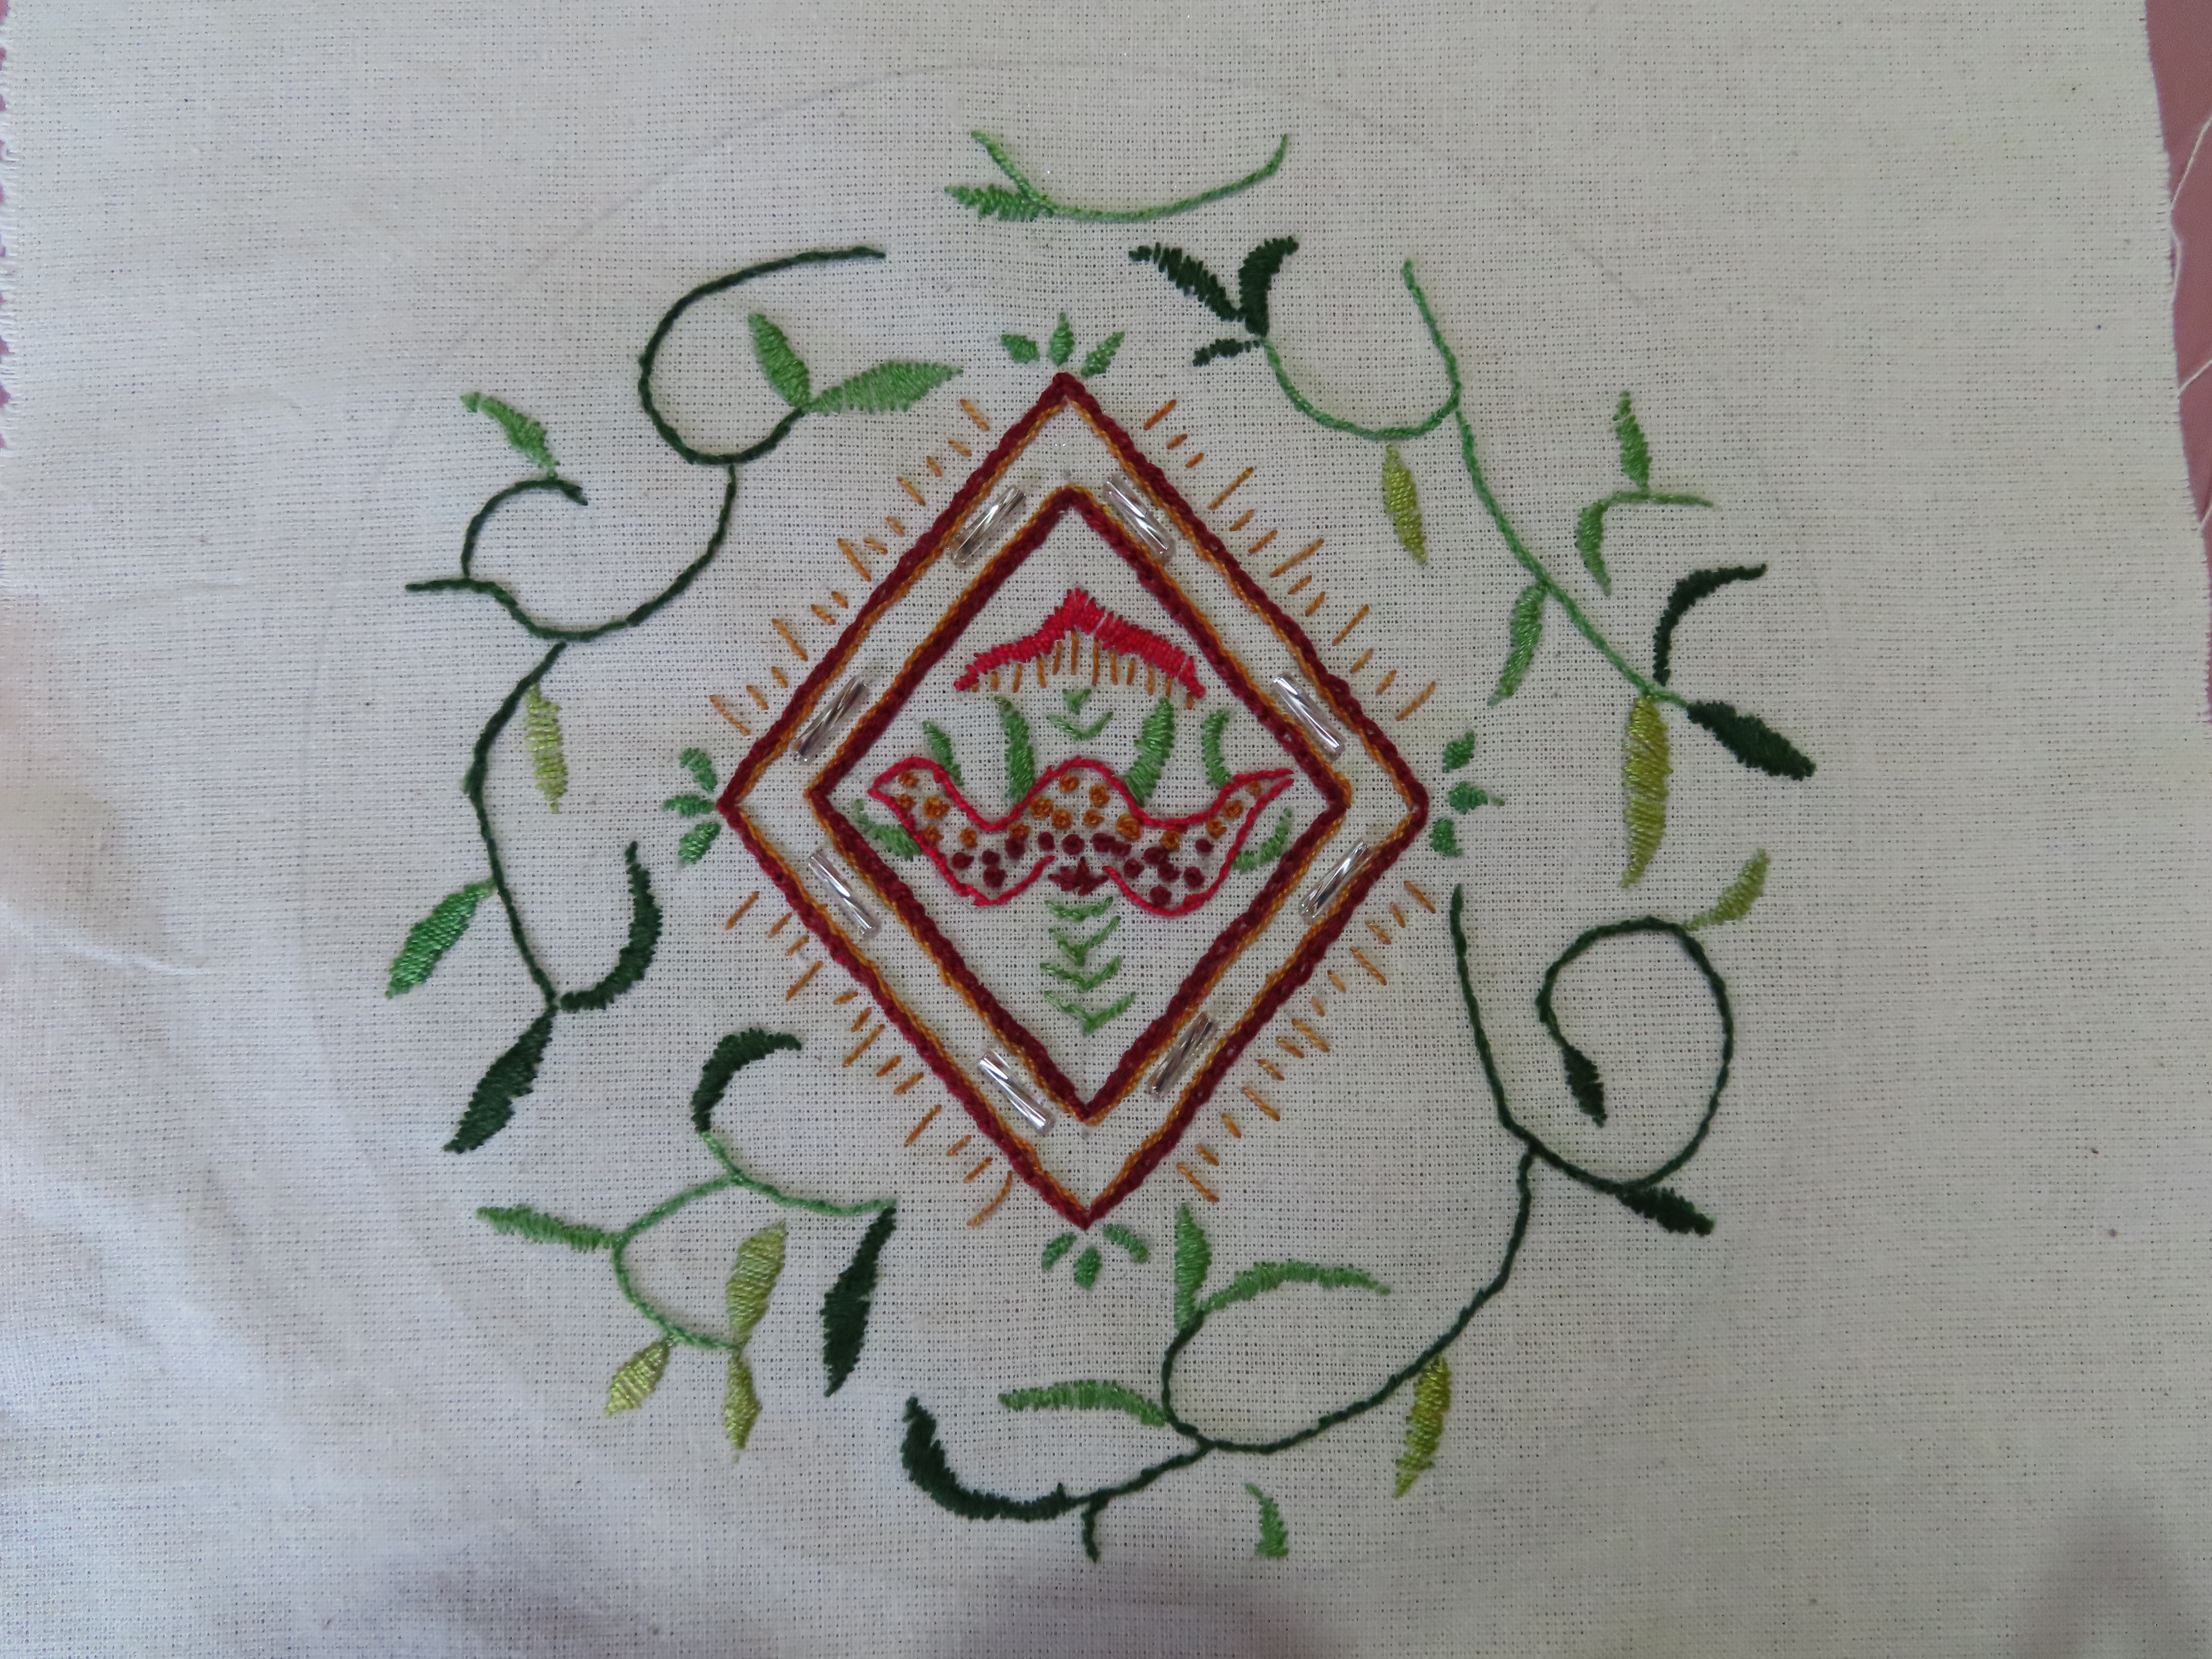
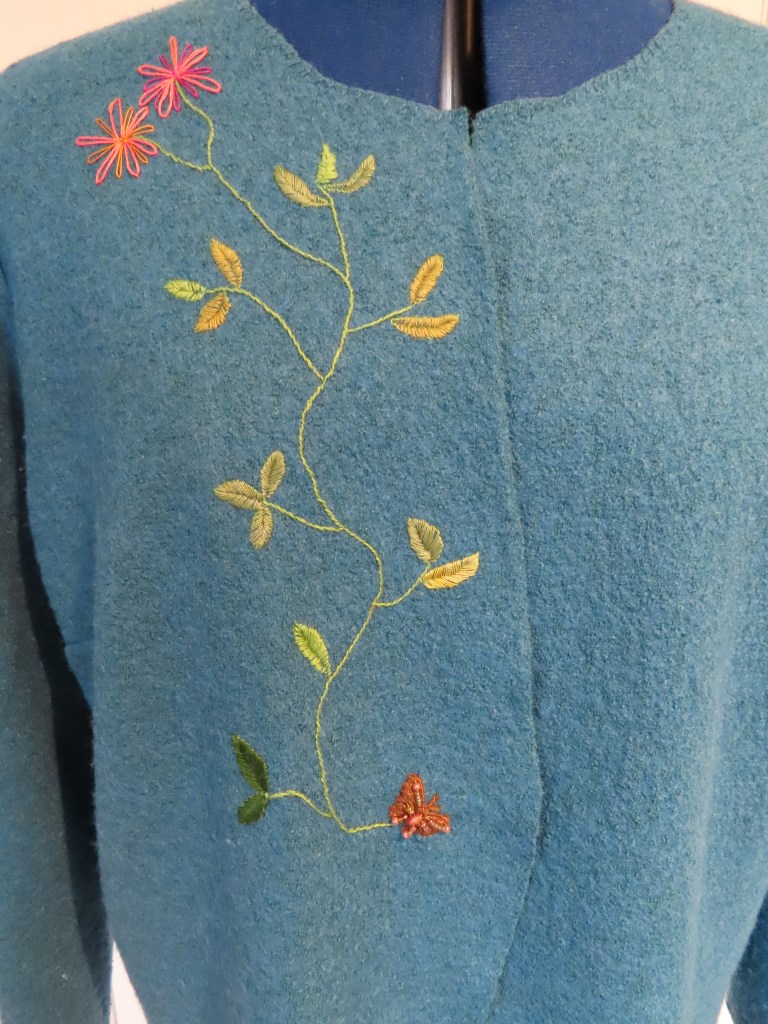
My previous blog post was about my recent adventures with embroidery. The adventures have continued. I created a little montage based on some work by May Morris, recognising her to have been one of the country’s leading and most influential embroiderers. The inspiration is from part of a cloak, stitched in 1895. In particular, i wanted to have a go at some leaf work. The montage uses satin stitch, and a mixture of shades of green. I’m very pleased that i used a mix of shades, but i dont think i’m very good at satin stitch. Luckily, in the meantime, i discovered fishbone stitch, which whilst using the same basic techniques as satin stitch, has a more leaf like result.
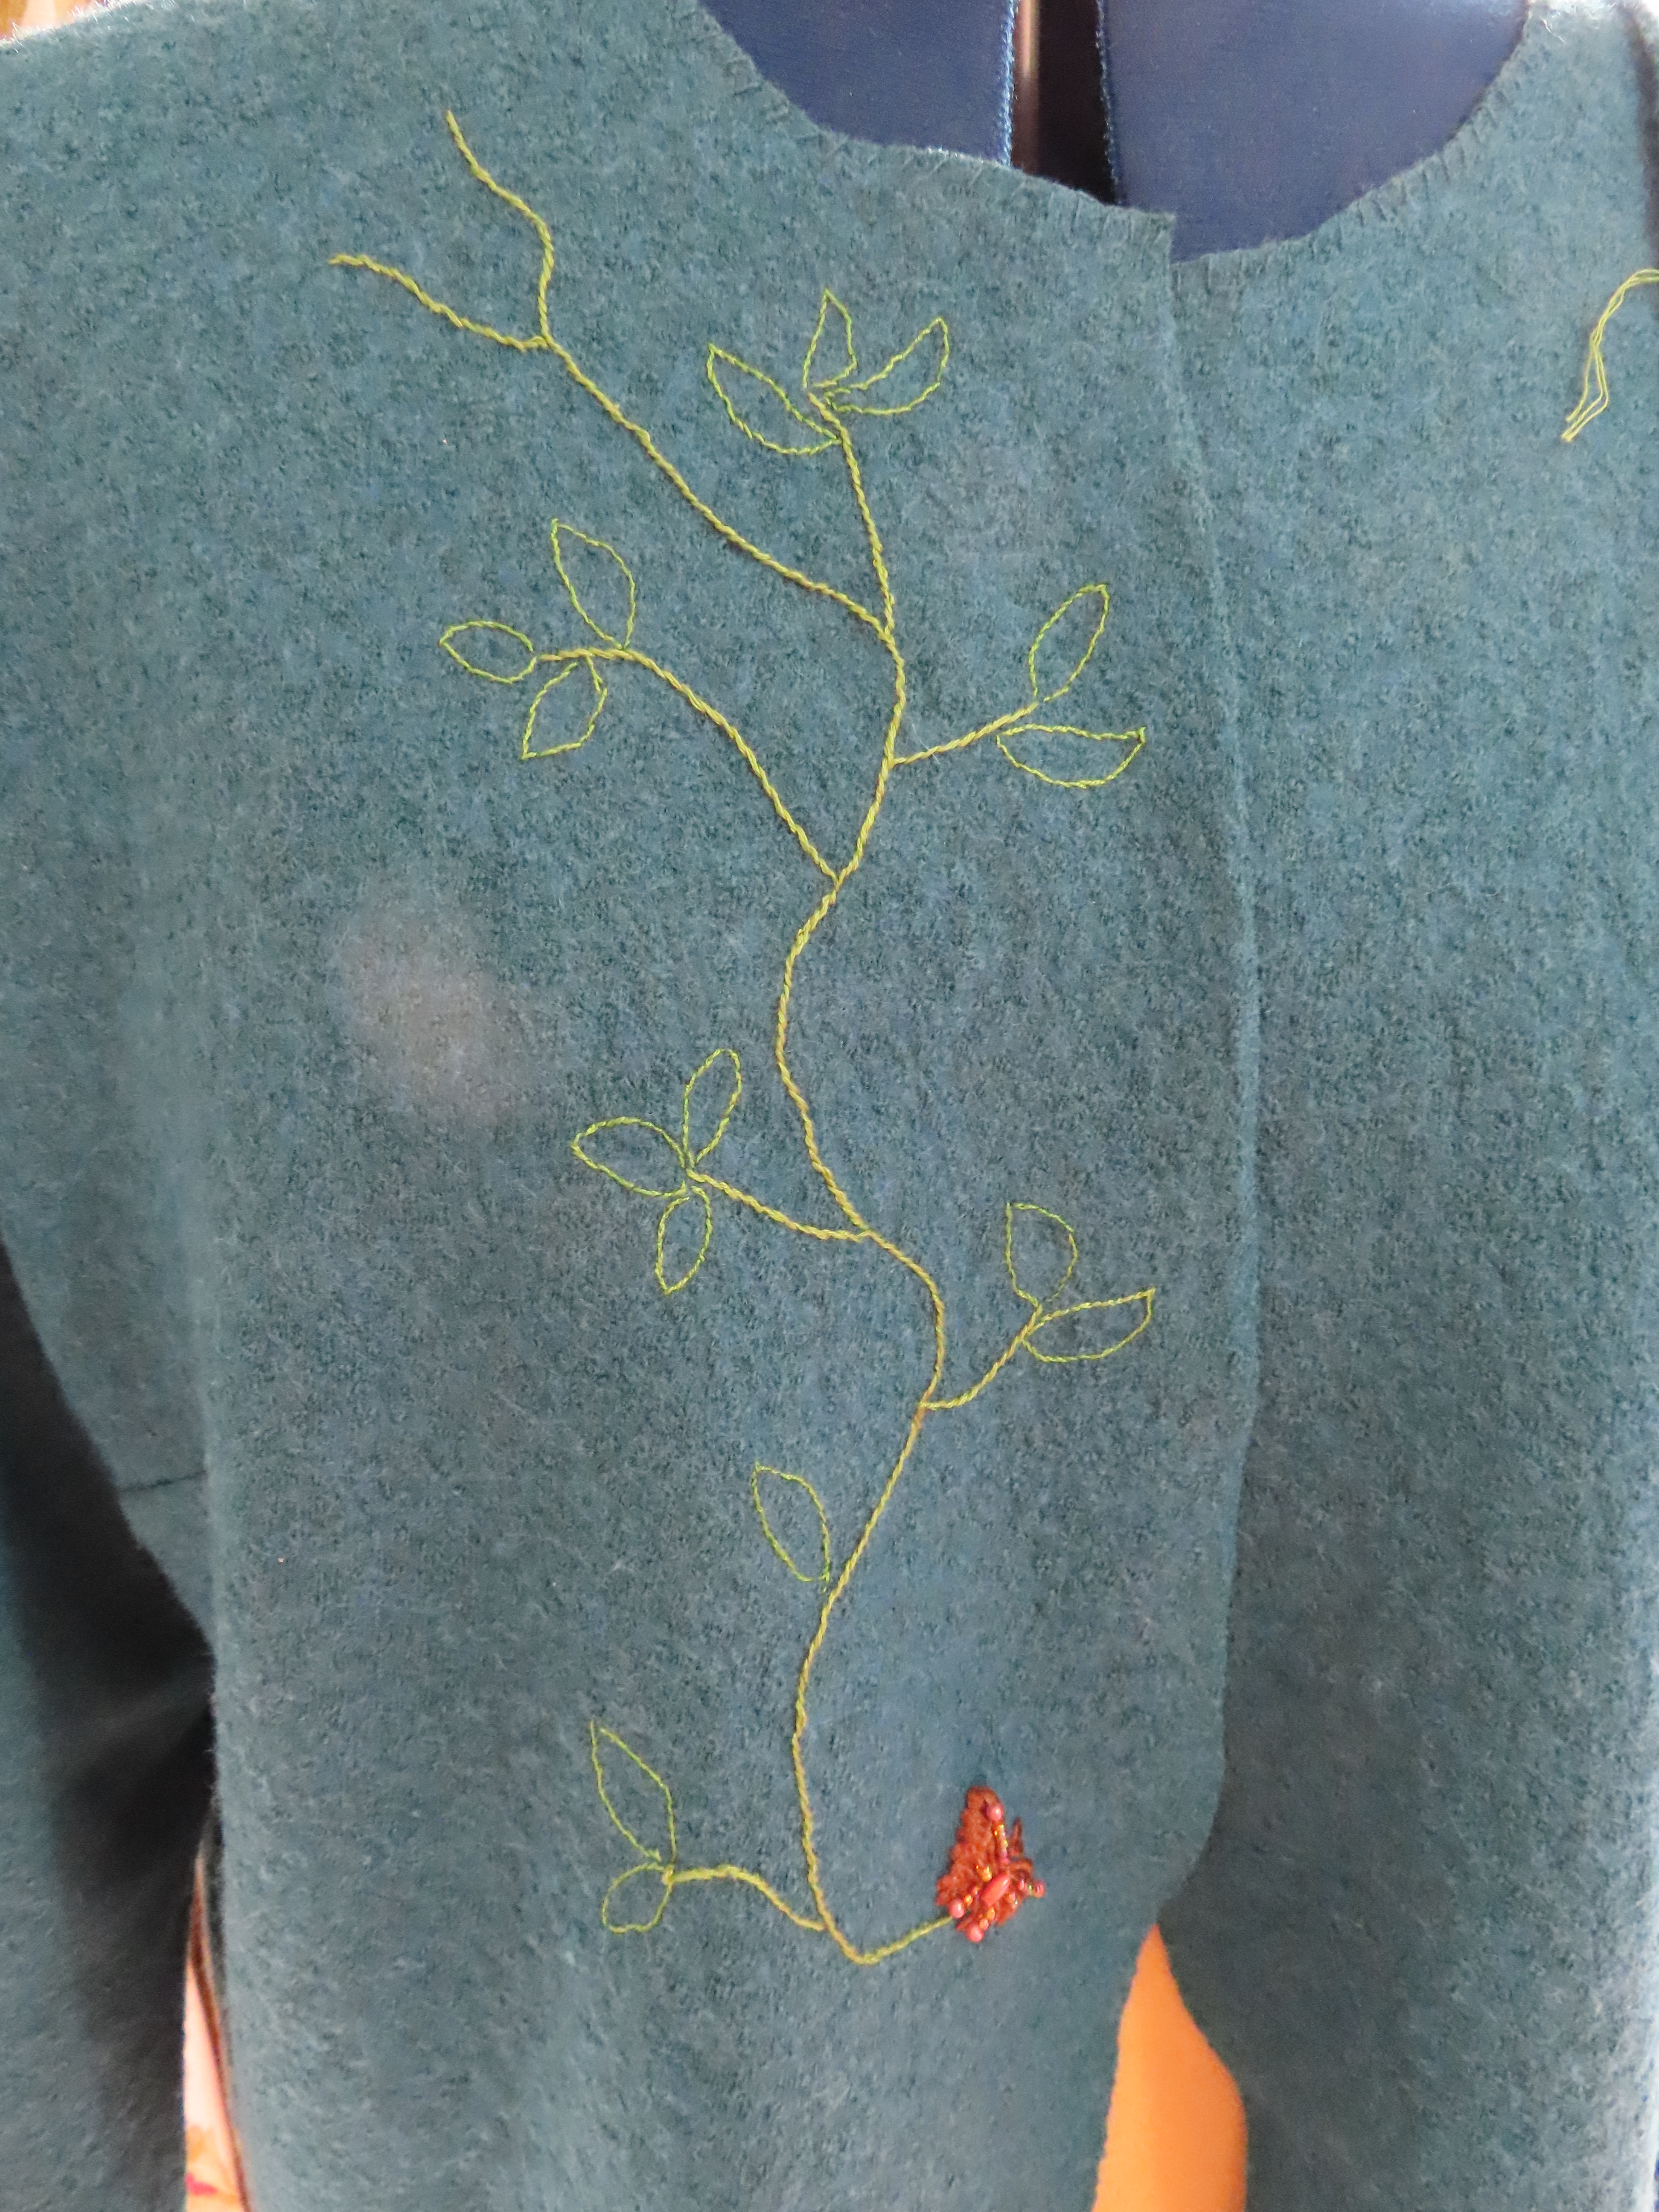
So then i drew a design, starting from the re-located butterfly, using a variety of shades of green and applying fishbone stitch. Previously i have drawn my designs in pencil onto calico, but clearly i couldn’t do that with boiled wool, so there is an element of freehand stitching here, guided by a line of pins. I did chalk the leaves into place and then outline them with split stitch, but often the chalk had rubbed off before i had completed the outlines. Likewise when i chalked a centre line to guide the fishbone stitch.
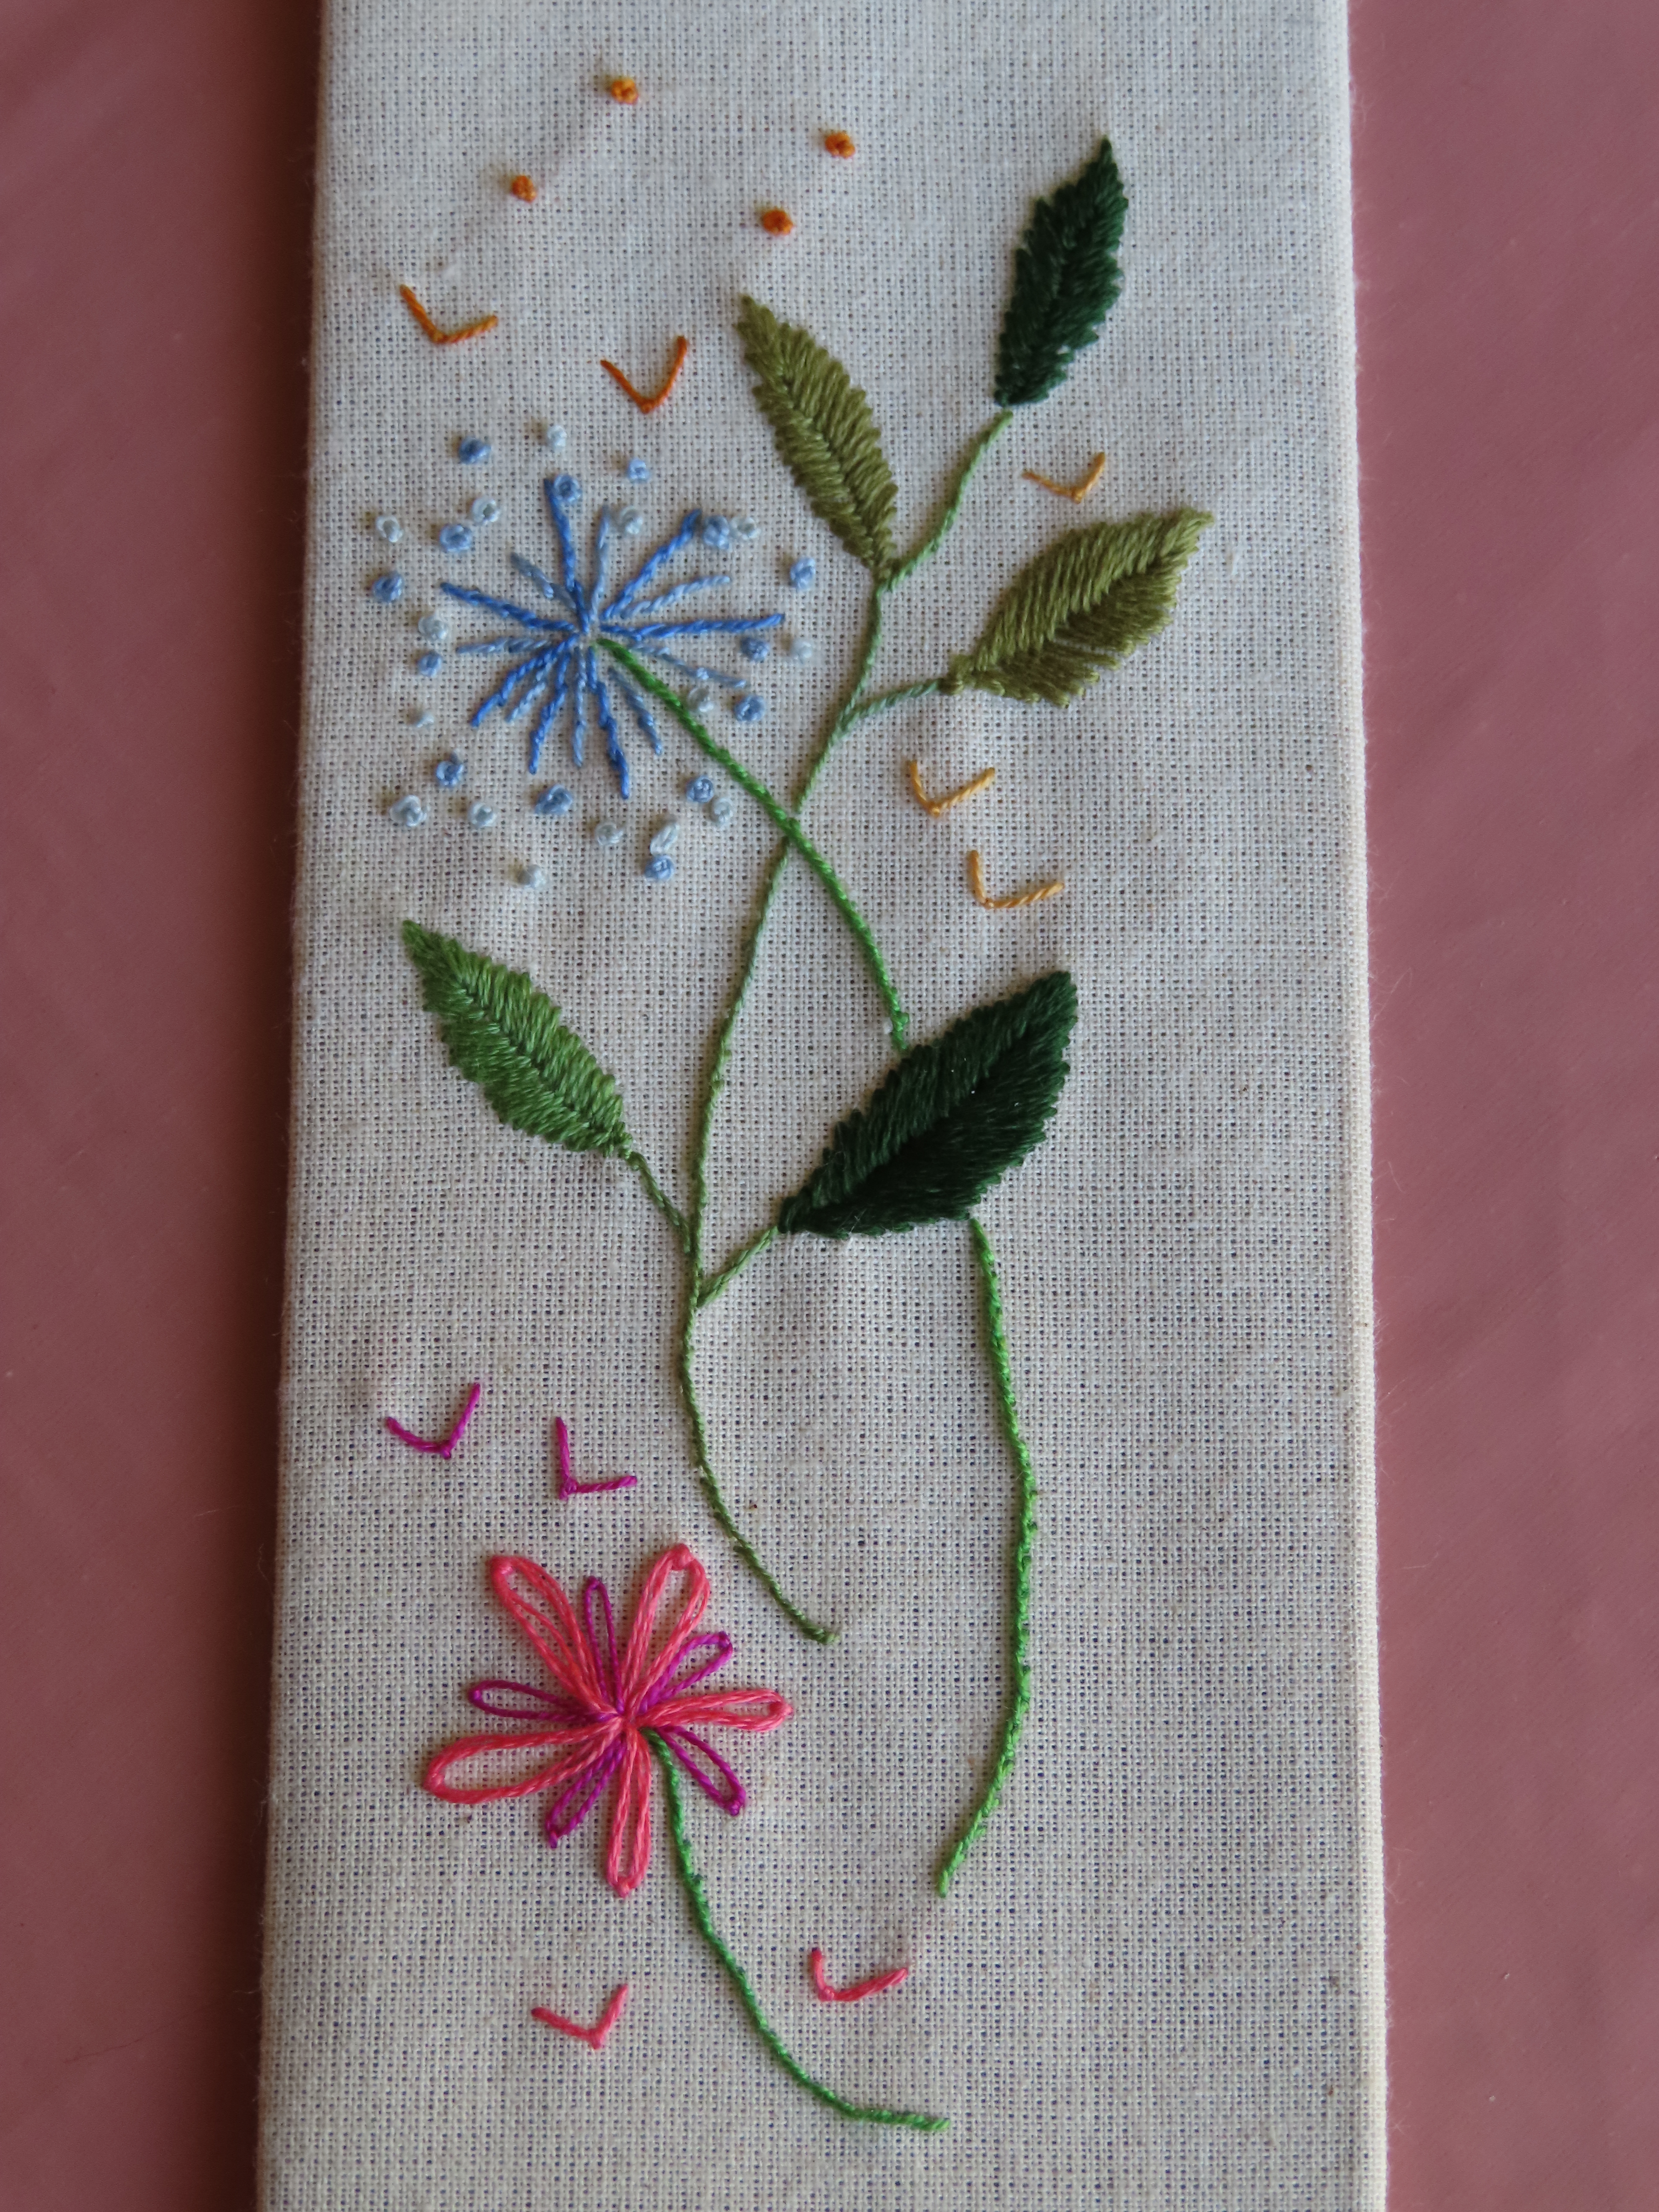
Meanwhile, i created a little sampler to test out fishbone stitch, and lazy daisy stitch. The ‘little sampler’ became a book mark that i gave to a friend to say thank you for my recent birthday present. Whilst a bit reminiscent of embroidered handkerchiefs, i think a book mark is probably far more appreciated and useful these days. I think that the sampler is one of the nicest things i have made so far.
Satisfied with the results, the stitches were deployed on the jacket, to create a unique garment, half way between a jacket and a cardigan. I’m hoping it can be worn both indoors and out of doors, when hopefully we’ll be back to the business of sitting outside in gardens and pubs with friends shortly…..

2 comments on “Re-fashioning with embroidery”
Leave a comment
One Week, One Pattern

Me Made May 2016

Me Made May 2015

Simplicity Competition

Sew Over it Patterns


Such lovely stitching – and your very own one-of-a-kind garment. This is so impressive, Ann!
Thank you!