
Marcy Tilton Raincoat

I sew too much, so I decided to make a raincoat!

I also like Marcy Tilton designs, so I decided to make it using Vogue 8934 above.
The idea was to give myself a challenge with a pattern that would take me a while and stop me whizzing up skirts and tops that I didn’t really need.
The pattern reviews that I have read suggest that this is an easy make. I would say that it is not that easy… I had huge trouble getting the button hole fly the right way round. In fact my first attempt was totally the wrong way round, although I spotted that whilst it was still pinned, and even now, it is fully stitched on the outer edge, whereas I think it is meant to be fully stitched on the inner edge. This makes fastening the buttons a bit harder than it needs to be, but would involve a lot of unpicking if I tried to put it right, and however hard I think about it, I cant work out how I would get it to be the right way round anyway!
I am proud to have a unique raincoat, and Marcy herself has been full of praise for it on twitter.
This is going to be a long post – highly suitable for a bit of a read on a wet day, whilst I am out in my raincoat.
The fabric
Luckily Birmingham has a good choice of fabric stores, so I set off with a open mind to see what I could find. I had early success by walking into Fancy Silk Store, and rather than looking around, I just asked the manager if he had anything. He said he had some Barbour fabric in the store room, if I would like to follow him to the 3rd floor. I’ve never been to the 3rd floor before. There was lots of choice for a wide variety of raincoats, but with Barbour fabric on offer at about £6.99 a metre, I could not resist. He could not confirm that it was all 1st quality, but it is.
I also purchased some designer lining, although I cannot remember which designer, and did not write it down at the time. The colour and sheen of the lining is lovely, but it has been quite hard to sew as it moves around easily.
Planning
I deliberately bought more outer fabric than I needed, as I wanted some to test / play around with before I started. As it happens, I didn’t buy enough lining, and had to go back after I had made the basic coat shape, but luckily there was still some in stock.
Now a raincoat should be waterproof. I did quite a bit of research into sewing waterproof clothing, particularly how to sew and finish the seams. The primary objective has to be to not get too many holes in the fabric. And where holes are unavoidable, to seal them somehow. I read some really good stuff about making cycling jackets with sealant that needs to be used in the garden as the fumes are very strong, but luckily that is not what I am doing here. However, I did order some SeamSeal tape for PU coated fabrics from Pennine Outdoor, with the objective of sealing any seam that might be exposed to the rain. I also developed what I call ‘ the Walter Raleigh’ test.
 This involved taking a fabric sample and laying it in a shallow bowl of water to see what happened. As you can see, I stitched a few seams, left the sample in the water, and water leaked through where I had sewn. This is exactly what I would have expected.
So then I carefully ironed the tape onto the seam, using baking paper under the iron, so as to avoid getting glue all over the place, and tried the test again.
 I think when I tweeted this picture I reflected on the fact that I had forgotten to turn on the iron, so it didn’t stick!
But when subjected to the Walter Raleigh test, it didn’t leak either. Excellent result! Apart from the fact that it only really sticks to the right side of the fabric, which is great for seams, but meant that it didn’t really work when I tried to seal the darts, as then the tape was against the inside of the fabric.
So eventually I sealed the shoulder seam and most of the armhole seams with tape.

The other key trick to minimise the creation of holes was to finish both the hem facing and sleeves with ‘wonder web’ – John Lewis version thereof, which I had had in stock for ages. I’m very sure that I am not the first person to use webbing to finish a hem, but it’s actually the first time that I have used it. So easy! I think i’ll be using it on a few more things in future.

So here’s a picture of ‘no holes’ in the sleeve hem!
I made the lining first, as a sort of ‘muslin’ albeit from shiny lining fabric. That gave me an idea how it was going to make up size-wise.
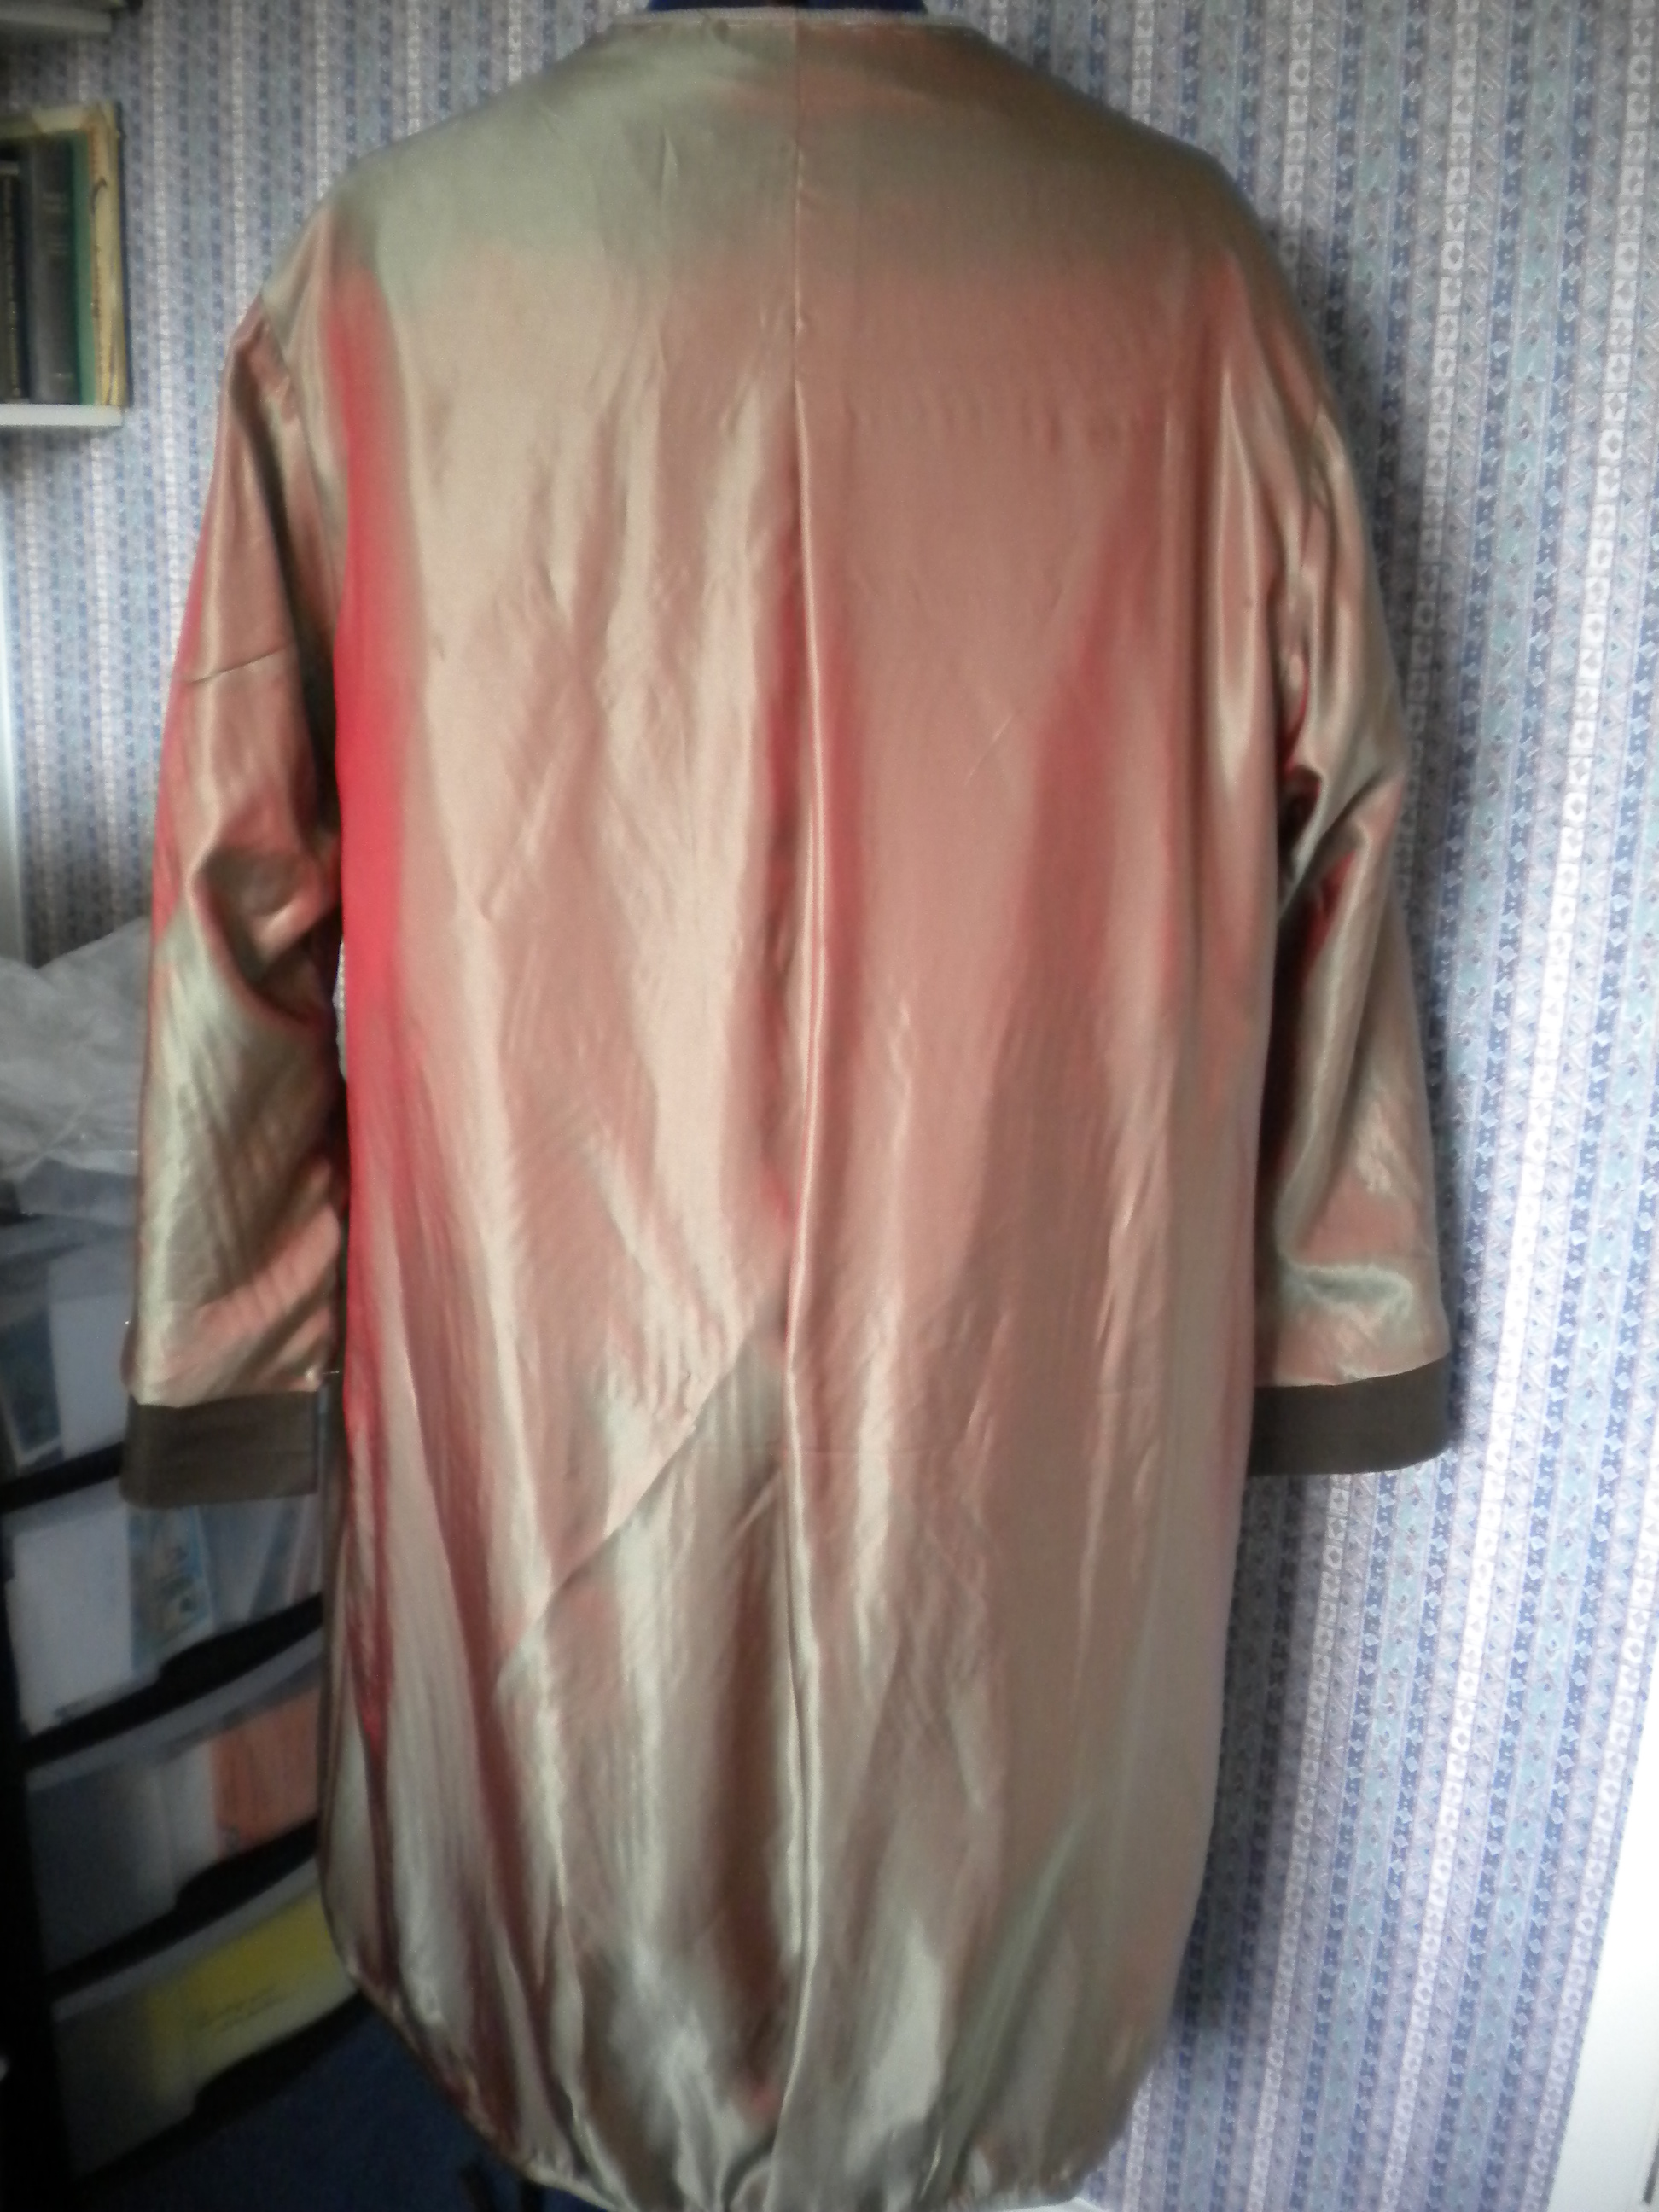
Here it is with its pleat in the back, on my dress form. I also used that to get the length about right, over a Marcy Tilton dress that works wonderfully well with the coat. Isn’t that red / green sheen just lovely?
Making
Yes, a story of constantly changing needles – light weight for the lining, 80 when I was stitching raincoat fabric to lining, and I even used a jeans needle at one point when stitching the outer coat. Maybe that’s not such a good idea when I was trying to avoid holes, as the holes are bigger – but the stitches were longer.
As I said, I made the lining first. That’s not what the pattern says. So, as is not unusual for me, I was moving to and fro around the pattern instructions, and somehow managed to miss cutting out quite a few lining pieces. And then I cut too many….
In principle it is easy to make, but I found two notable issues.
- the lining is considerably longer than the coat. I kept the lining length inside the coat in case I needed it, but after leaving it all to hang for some time, and being particularly cautious in the darted parts of the hem, I sewed as it hung, and its been OK. I tested sitting in it, and particularly getting into the car in it, but its OK. The lining is longer than the coat.
- Even carefully following the pattern, I still had trouble getting the fly front right.
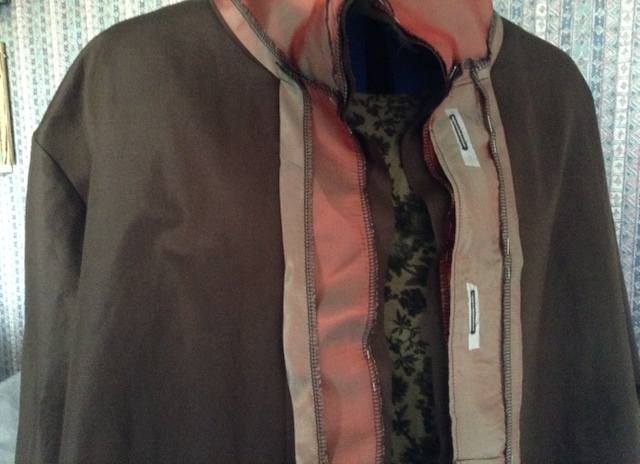 Here is the fly front, luckily only pinned, the wrong way round. The pins were of course, all in the seam line, or that would have been even more holes!
I’d have liked to have put waterproof tape down the front seam, but they are never exposed in a way that allows the tape to be ironed in place. So if rain is driving horizontally, maybe the approach will be stay indoors!
So, as you will see from the blog updates, this does appears to have been ‘slow sewing’, which is what I wanted. It was, but I have also made a few Christmas presents in between.
I have now worn it a few times during the last couple of wet weeks. Its comfortable, presents no problems getting in and out of the car, has plenty of space for winter jackets underneath, and I have found that the lowest button, which is quite low on the coat, does need to be fastened if I am walking any distance or the bottom section, which is after all, the main ‘designer’ aspect of the coat, flaps around.
Will I make another? Probably not. Will I wear this a lot? Almost certainly , yes. It does look very similar to version B on the pattern cover, which is what I wanted.
One Week, One Pattern

Me Made May 2016

Me Made May 2015

Simplicity Competition

Sew Over it Patterns

