
Shirt dress

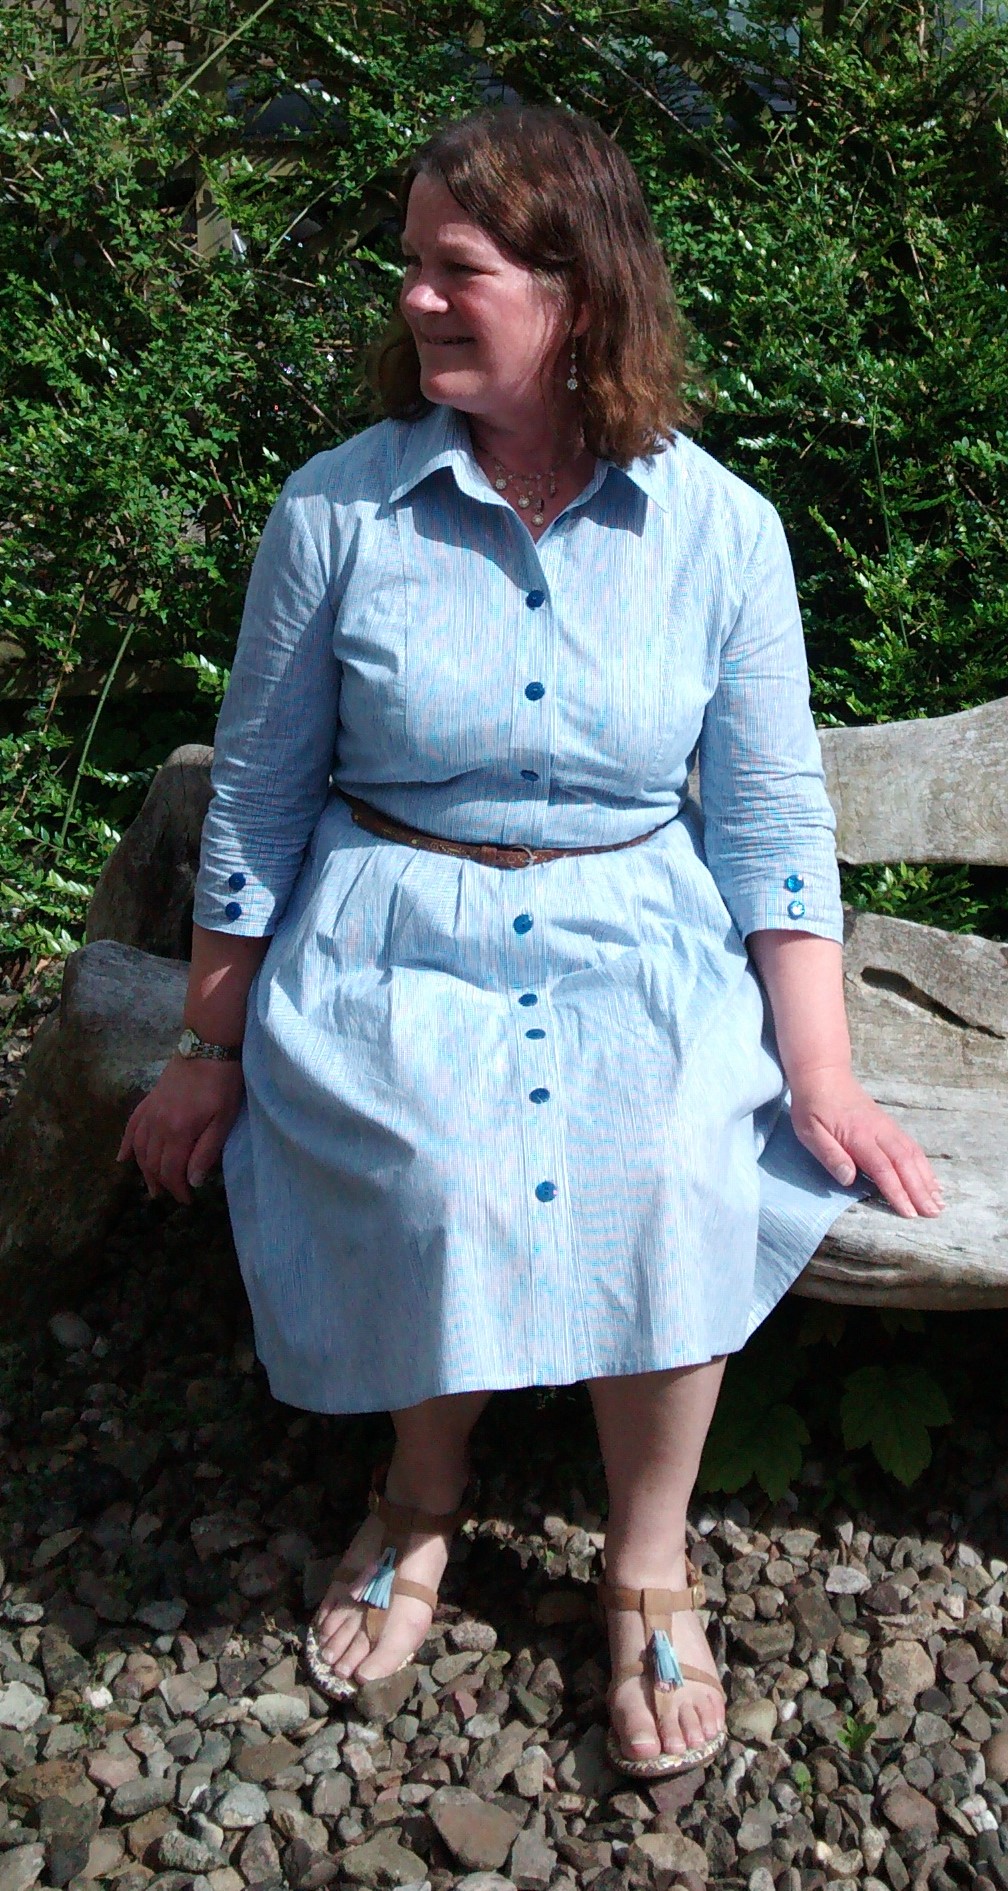 This is my second make from NEC purchased fabric. Its John Louden fabric from Fabrics Galore. I was looking for chambray for a shirt dress, but decided that this was just a little bit unusual and would be different. Everyone else is wearing chambray or denim. It may look like blue stripes, but the stripes are uneven, meaning that there is no pattern matching to worry about.
I was interested to find out the John Louden is an old family textile firm, based in Leeds, not far from where I travel to visit family. Pleased to have given them some indirect business!
The dress was harder to make than I expected, although I did think to myself at one point that I was enjoying doing all the technical sewing. It’s Butterick 6333, below, with a few changes. I think my choice of fabric is better than Butterick’s! There are also short sleeved and sleeveless versions, and there is a belt with the pattern, but I haven’t made one.

I also decided not to make the turned back cuffs on the sleeves, as they would inhibit wearing the dress with jackets and cardies, especially By Hand London Victoria, which has the same type of cuffs and will go well.
I am wary of any pattern with a waist line, so I did lots of measurements and mocked up the bodice beforehand.
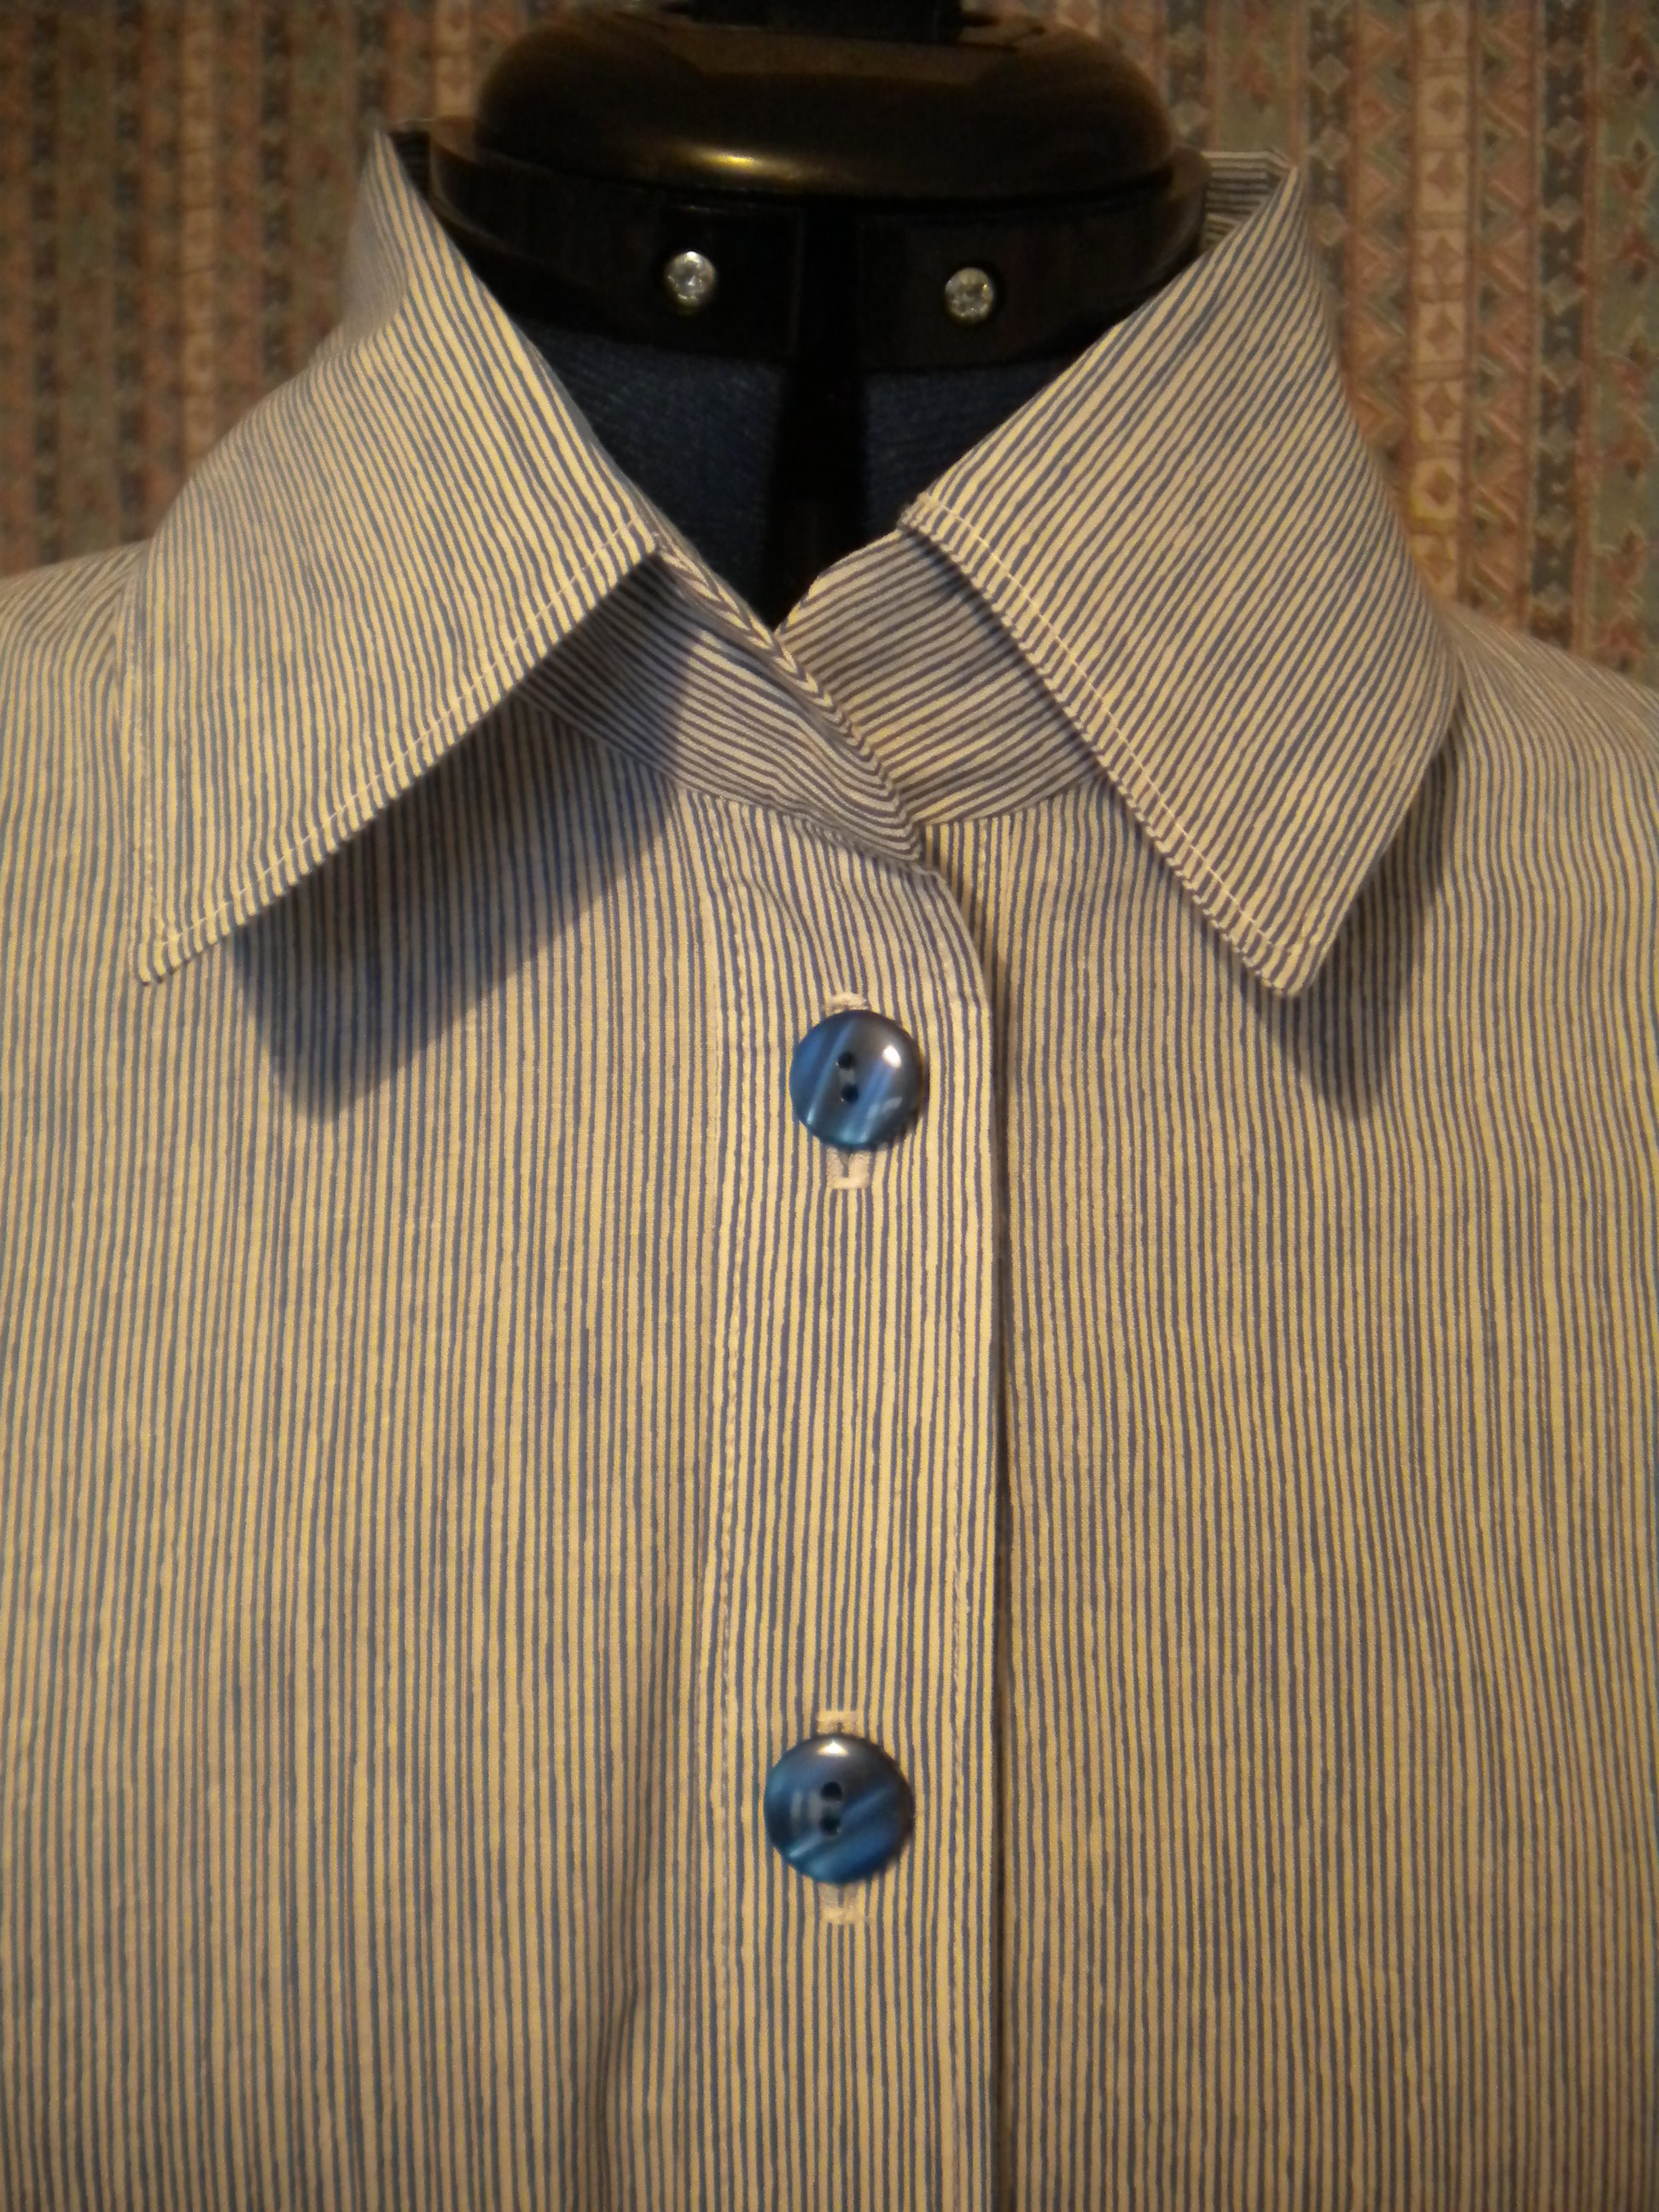
 This is quite a rare process for me, but my measuring paid off and I was happy with the first take. I just added 1cm to each side seam (4 cm in total) and graded the seams accordingly. What I did not spot at the time of this photo, was that the front band should be flush with the neckline, and it isn’t. It wasn’t on the actual dress either and however much I checked and re-checked all the pattern pieces, I have cut the right sizes. So if you chose this pattern, or I unexpectedly make it again, you need to cut the front band about 1.5cm longer at the top, and move the central dot accordingly.
Despite needing to pay quite close attention to the pattern instructions, I still made it in a different order. Having carefully marked all of the skirt pleats, I folded and tacked them, whilst it was still clear to me which dots I was supposed to be folding to what. Actually, they are quite straightforward. Then I completed the rest of the skirt.
Then I made the bodice, and attached it to the skirt, thus proving to myself that all of my altered side seams came together correctly. Success! But then I pinned the front band in place and noticed that it didn’t line up at the top – just like the mock up. The waist line and a notch near the bust all line up fine, so the problem is at the top,
I agonised one evening about how to handle this.
- Remove, re-cut and re-stitch a longer front band
- Add a small 1.5 cm section to the top of each band, which would result in a seam very close to the collar stand
- Leave it as it is, and make it work. A quick pin of the collar stand seemed to suggest that there was enough fabric in the collar stand to do this.
I chose the third option, because it was easier and looked as if it was going to work. You wouldn’t know (so it was the right choice), but I know that the top of the band is at an angle and not horizontal, as it should be.
In fact, I had quite a bit of trouble with anything to do with the front band.
- The top didn’t line up
- I had to undo my top stitching as it was causing the right skirt to hang badly. Lesson – iron after each process and then iron again. I’m usually quite good at that, but with this fabric there was no getting away with any ironing stage.
- Then I had trouble with the button holes, for the first time since I had my machine serviced a year ago. I don’t think it was the machine. All tests were good, and the bodice button holes were all good too. It was the ones on the skirt that refused to reverse. I undid, and persevered, sometimes by working in the opposite direction, and eventually I got good button holes all the way down. I did the waist one 3 times. I suspect it was the waist seam inside the band that caused that problem, but I am not sure about the rest.
I thought you might like to see how I add the buttons. I never mark the button spots; just the holes.
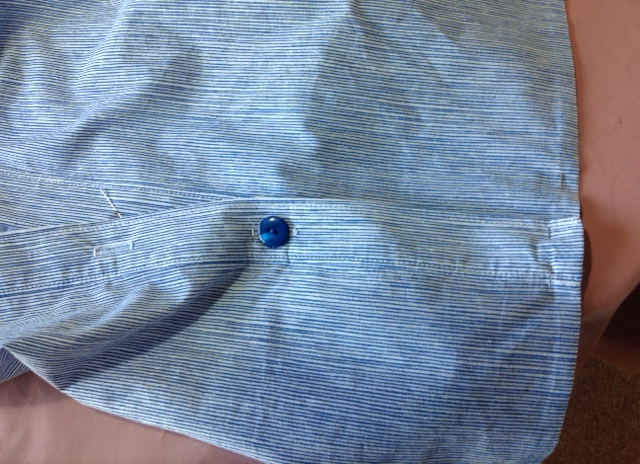 Then when all the button holes are sewn (eventually….), I pin the bottom of the garment level. Then I cut open the bottom hole, and sew the first button beneath the hole. Then I fasten that button. Then I cut the next hole and mark where the next button will go. As shown above. And so on. Although I didn’t leave the top button hole until last, as that needs to line up with the neck. So I think I did the top button third from last, and then placed the final two buttons between the top and waist, accordingly. I find this method to be pretty much fool proof, even when I have had trouble with the positioning of the top of the button band.
To finish, I had selected bright but plain buttons that would stand out, and added them to the sleeves, purely for decoration. After a short period of consideration, I finished the hem on the sewing machine. The alternative would have been to stitch by hand, as I often do, but I would still be doing it now if I had chosen that method! I have also added a purchased belt, which I think looks better than no belt.
It was a lot of work. I don’t want a cool summer, or fierce air conditioning in an office, but it will get lots of wear if either or both happen!
One Week, One Pattern

Me Made May 2016

Me Made May 2015

Simplicity Competition

Sew Over it Patterns

